标签:
在 nginx 中,proxy 用来实现反向代理,upstream 用来实现负载均衡。
例如有两台服务器,nginx 服务器作为代理服务器,执行 .html 文件,apache 服务器上执行 .php 文件,客户端发来的请求首先发送给 nginx 服务器,如果发送请求的是 .php 文件,则把请求通过 proxy pass 转发给 apache 服务器,apache 服务器处理后把结果返回给 nginx 服务器,nginx 服务再把结果返回给客户端。该例中 nginx 服务器实现了反向代理,或者说实现了 nginx + apache 的动静分离。
配置过程:
① 首先不让 nginx 服务器执行 .php 文件,修改 /usr/local/nginx/conf/nginx.conf 文件,把以下 location 段注释:
        location ~ \.php$ {
            #root           html;
            #fastcgi_pass   127.0.0.1:9000;
            #fastcgi_index  index.php;
            #fastcgi_param  SCRIPT_FILENAME  $document_root$fastcgi_script_name;
            #include        fastcgi_params;
        }
保存退出。平滑重启 nginx。
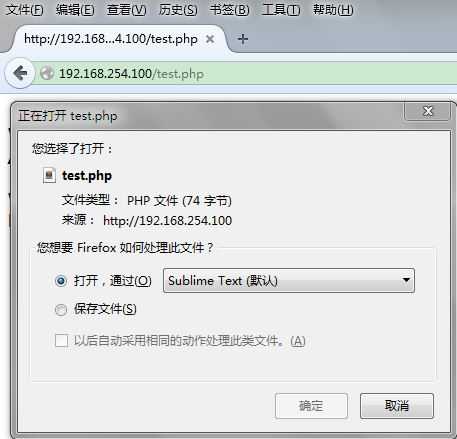
此时访问 http://192.168.254.100/test.php:

nginx 已经不能解析 .php 文件了。
② 编辑 apache 的配置文件 httpd.conf
[root@localhost nginx]# find / -name httpd
/usr/local/apache2/bin/httpd
/root/httpd-2.2.21/httpd
/root/httpd-2.2.21/.libs/httpd
[root@localhost nginx]# vim /usr/local/apache2/conf/httpd.conf
修改监听端口(nginx 已经监听 80 端口,所以把 apache 的监听端口改为 8080):Listen 8080
保存退出。
③ 启动 apache:
[root@localhost nginx]# /usr/local/apache2/bin/apachectl start
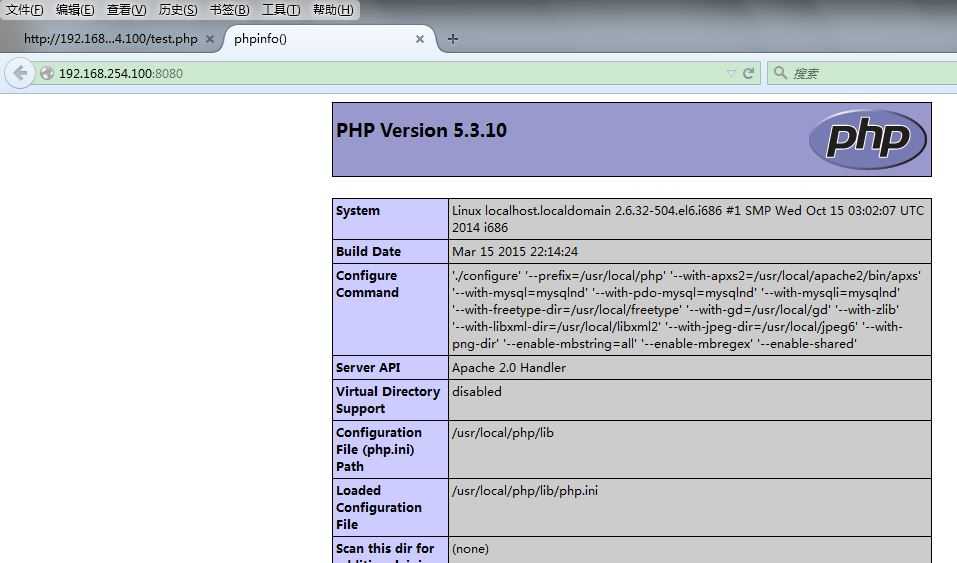
访问 http://192.168.254.100:8080:

④ 配置 apache 的虚拟主机及端口:
[root@localhost nginx]# vim /usr/local/apache2/conf/extra/httpd-vhosts.conf
修改 httpd-vhosts.conf:
NameVirtualHost *:8080

#
# VirtualHost example:
# Almost any Apache directive may go into a VirtualHost container.
# The first VirtualHost section is used for all requests that do not
# match a ServerName or ServerAlias in any <VirtualHost> block.
#
<VirtualHost *:8080>
    DocumentRoot "/usr/local/nginx/html"
    ServerName test.com
</VirtualHost>
把 DocumentRoot 定义到 /usr/local/nginx/html 目录下。保存退出。
编辑 httpd.conf:
把
<Directory />
    Options FollowSymLinks
    AllowOverride None
    Order deny,allow
    Deny from all
</Directory>
改为
<Directory />
    Options FollowSymLinks
    AllowOverride all
    Order deny,allow
    Allow from all
</Directory>
把 line:151
AllowOverride None
改为
AllowOverride All
保存退出。重启 apache。
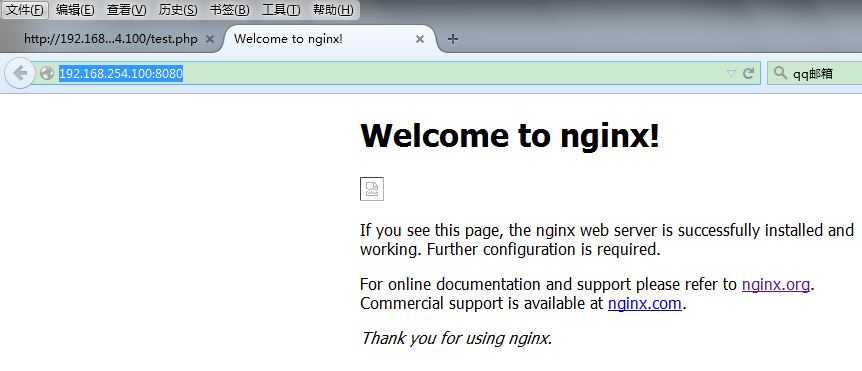
⑤ 测试:访问 http://192.168.254.100:8080

访问 http://192.168.254.100:8080/ecshop/

⑥ 配置 nginx 的反向代理
[root@localhost nginx]# vim conf/nginx.conf
nginx.conf,修改 location ~ \.php$,只需要添加一句:proxy_pass 192.168.254.100:8080;
        location ~ \.php$ {
            proxy_pass http://192.168.254.100:8080;
            #root           html;
            #fastcgi_pass   127.0.0.1:9000;
            #fastcgi_index  index.php;
            #fastcgi_param  SCRIPT_FILENAME  $document_root$fastcgi_script_name;
            #include        fastcgi_params;
        }
保存退出。平滑重启 nginx。
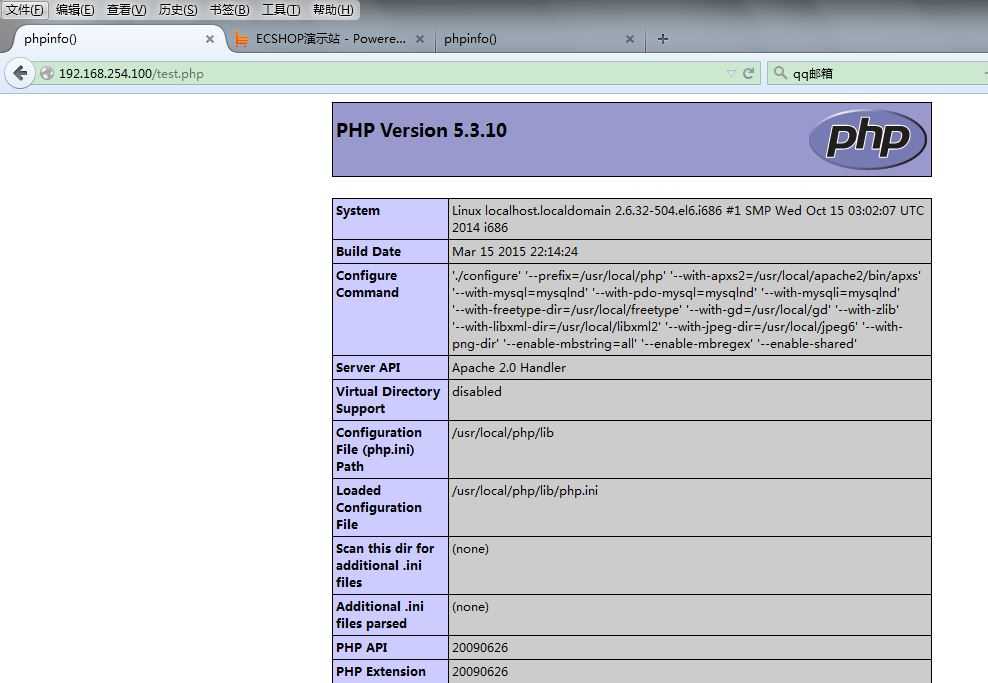
测试动静分离:此时访问 http://192.168.254.100/test.php

也就是说,此时的 url 不带 8080 端口,访问 .php 文件,同样能够解析,而且是通过 apache 进行解析。
测试动静分离 2:
修改 /usr/local/nginx/html/test.php
[root@localhost nginx]# vim html/test.php
test.php:
<?php
//phpinfo();
echo rand(1,100000);
?>
<img src=‘image/nginx.png‘>
保存退出。
再次访问 http://192.168.254.100/test.php

此时分析 apache 日志:
[root@localhost nginx]# tail -f /usr/local/apache2/logs/access_log
access.log:

apache 没有响应图片。
再分析 nginx 日志:
[root@localhost nginx]# tail -f /usr/local/nginx/logs/access.log
![]()
nginx 响应的图片。
Nginx 笔记与总结(15)nginx 实现反向代理 ( nginx + apache 动静分离)
标签:
原文地址:http://www.cnblogs.com/dee0912/p/4746365.html