标签:
利用了pyinotify库,我用的是这里的这个,https://github.com/seb-m/pyinotify
其实网上yum上也有pyinotify库可以安装。
写入数据库是pymysql这里做一下记录,
先务pyinotify实现一个tail -f 的功能:
#!/opt/python3/bin/python3
#
import pyinotify
import time
import os
import sys

class ProcessTransientFile(pyinotify.ProcessEvent):
    def process_IN_MODIFY(self,event):
        line = file.readline()
        if line:
            print(line, end=‘‘)


if __name__ == ‘__main__‘:
    filename = sys.argv[1]
    file = open(filename,‘r‘)
    st_results = os.stat(filename)
    st_size = st_results[6]
    file.seek(st_size)

    wm = pyinotify.WatchManager()
    notifier = pyinotify.Notifier(wm)
    wm.watch_transient_file(filename, pyinotify.IN_MODIFY, ProcessTransientFile)
    notifier.loop()
然后通过pytaif /usr/local/nginx/logs/www.tbbpay.com.access.log就可以进行日志的实时查看。

这个是实时查看,和tail -f 功能一样。只打印一行,
现在就是定义一个nginxloganalyzer函数进行日志分析,是默认的nginx日志,这个没有用正则,用了土办法查找特定字符。
def nginxLogAnalyzer(line):
    #print(line)
    g1 = line.find(‘[‘)
    g2 = line.find(‘]‘)
    h1 = line.find(‘"‘)
    h2 = line.find(‘"‘, h1+1)
    h3 = line.find(‘"‘, h2+1)
    h4 = line.find(‘"‘, h3+1)
    h5 = line.find(‘"‘, h4+1)
    h6 = line.find(‘"‘, h5+1)

    #print("g1:%d"%g1)
    #print("g2:%d"%g2)
    #print("h1:%d"%h1)
    #print("h2:%d"%h2)
    #print("h3:%d"%h3)
    #print("h4:%d"%h4)
    #print("h5:%d"%h5)
    #print("h6:%d"%h6)

    remote_addr = ""
    remote_user = ""
    time=""
    time_local = ""
    time_zone = ""
    request = ""
    status = ""
    body_bytes_sent = ""
    http_referer = ""
    http_user_agent = ""
    http_x_forwarded_for = ""

    time = line[g1+1:g2]
    time_local = time.split()[0]
    time_zone = time.split()[1]

    request = line[h1+1:h2]
    http_referer = line[h3+1:h4]
    http_user_agent = line[h5+1:h6]

    remote_addr = line.split()[0]
    remote_user = line.split()[1]
    status = line.split()[8]
    body_bytes_sent = line.split()[9]

    request = urllib.parse.unquote(request)
    print("time:%s"%(time) )
    print("time_local:%s"%(time_local) )
    print("time_zone:%s"%(time_zone) )
    print("request:%s"%(request) )
    print("http_referer:%s"%(http_referer) )
    print("http_user_agent:%s"%(http_user_agent) )

    print("status:%s"%(status) )
    print("body_bytes_sent:%s"%(body_bytes_sent) )

    print("request--------:%s"%(urllib.parse.unquote(request)) )
    l = []
    l.append(remote_addr)
    l.append(remote_user)
    l.append(time)
    l.append(time_local)
    l.append(time_zone)
    l.append(request)
    l.append(status)
    l.append(body_bytes_sent)
    l.append(http_referer)
    l.append(http_user_agent)
    l.append(http_x_forwarded_for)
    print(l)
    return l
CREATE DATABASE `nginxlog` CHARSET=utf8;
use nginxlog;

CREATE TABLE `nginxlog` (
  `id` int(11) NOT NULL AUTO_INCREMENT,
  `remote_add` varchar(50) DEFAULT NULL,
  `remote_user` varchar(50) DEFAULT NULL,
  `time` varchar(50) DEFAULT NULL,
  `time_local` varchar(50) DEFAULT NULL,
  `time_zone` varchar(10) DEFAULT NULL,
  `request` varchar(1024) DEFAULT NULL,
  `status` varchar(10) DEFAULT NULL,
  `body_bytes_sent` varchar(10) DEFAULT NULL,
  `http_referer` varchar(1024) DEFAULT NULL,
  `http_user_agent` varchar(1024) DEFAULT NULL,
  `http_x_forwarded_for` varchar(1024) DEFAULT NULL,
  PRIMARY KEY (`id`),
) ENGINE=InnoDB AUTO_INCREMENT=1001 DEFAULT CHARSET=utf8;

GRANT ALL PRIVILEGES ON nginxlog.* TO ‘nginxlog‘@‘192.168.1.112‘ IDENTIFIED BY ‘nginxlog‘;
def intodb(line):
    l = nginxLogAnalyzer(line)

    s = "INSERT INTO `nginxlog`.`nginxlog` (`id` ,`remote_add` ,`remote_user` ,`time` ,`time_local` ,`time_zone` ,`request` ,`status` ,`body_bytes_sent` ,`http_referer` ,`http_user_agent` ,`http_x_forwarded_for` )VALUES (‘null‘, ‘%s‘, ‘%s‘, ‘%s‘, ‘%s‘, ‘%s‘, ‘%s‘, ‘%s‘, ‘%s‘, ‘%s‘, ‘%s‘, ‘%s‘);"%(l[0],l[1],l[2],l[3],l[4],l[5],l[6],l[7],l[8],l[9],l[10])
    print(s)
    cur.execute(s)
    conn.commit()
[root@localhost ~]# cat nginxLogtoMysql.py
#!/opt/python3/bin/python3
#
import pyinotify
import time
import os
import sys
import urllib
import urllib3
import pymysql


class ProcessTransientFile(pyinotify.ProcessEvent):
    def process_IN_MODIFY(self,event):
        line = file.readline()
        if line:
            #nginxLogAnalyzer(line)
            intodb(line)


def nginxLogAnalyzer(line):
    print(line,end=‘‘)
    g1 = line.find(‘[‘)
    g2 = line.find(‘]‘)
    h1 = line.find(‘"‘)
    h2 = line.find(‘"‘, h1+1)
    h3 = line.find(‘"‘, h2+1)
    h4 = line.find(‘"‘, h3+1)
    h5 = line.find(‘"‘, h4+1)
    h6 = line.find(‘"‘, h5+1)

    remote_addr = ""
    remote_user = ""
    time=""
    time_local = ""
    time_zone = ""
    request = ""
    status = ""
    body_bytes_sent = ""
    http_referer = ""
    http_user_agent = ""
    http_x_forwarded_for = ""

    time = line[g1+1:g2]
    time_local = time.split()[0]
    time_zone = time.split()[1]

    request = line[h1+1:h2]
    http_referer = line[h3+1:h4]
    http_user_agent = line[h5+1:h6]

    remote_addr = line.split()[0]
    remote_user = line.split()[1]
    status = line.split()[8]
    body_bytes_sent = line.split()[9]

    request = urllib.parse.unquote(request)
    #print("time:%s"%(time) )
    #print("time_local:%s"%(time_local) )
    #print("time_zone:%s"%(time_zone) )
    #print("request:%s"%(request) )
    #print("http_referer:%s"%(http_referer) )
    #print("http_user_agent:%s"%(http_user_agent) )
    #print("status:%s"%(status) )
    #print("body_bytes_sent:%s"%(body_bytes_sent) )
    #print("request--------:%s"%(urllib.parse.unquote(request)) )
    l = []
    l.append(remote_addr)
    l.append(remote_user)
    l.append(time)
    l.append(time_local)
    l.append(time_zone)
    l.append(request)
    l.append(status)
    l.append(body_bytes_sent)
    l.append(http_referer)
    l.append(http_user_agent)
    l.append(http_x_forwarded_for)
    #print(l)
    return l


def intodb(line):
    l = nginxLogAnalyzer(line)
    s = "INSERT INTO `nginxlog`.`nginxlog` (`id` ,`remote_add` ,`remote_user` ,`time` ,`time_local` ,`time_zone` ,`request` ,`status` ,`body_bytes_sent` ,`http_referer` ,`http_user_agent` ,`http_x_forwarded_for` )VALUES (‘null‘, ‘%s‘, ‘%s‘, ‘%s‘, ‘%s‘, ‘%s‘, ‘%s‘, ‘%s‘, ‘%s‘, ‘%s‘, ‘%s‘, ‘%s‘);"%(l[0],l[1],l[2],l[3],l[4],l[5],l[6],l[7],l[8],l[9],l[10])
    #print(s)
    cur.execute(s)
    conn.commit()


if __name__ == ‘__main__‘:

    conn = pymysql.connect(host=‘192.168.1.112‘, port=3306, user=‘nginxlog‘, passwd=‘nginxlog‘, db=‘nginxlog‘,charset="utf8")
    cur = conn.cursor()
    cur.execute("SET NAMES utf8")

    filename = sys.argv[1]
    file = open(filename,‘r‘)
    st_results = os.stat(filename)
    st_size = st_results[6]
    file.seek(st_size)

    wm = pyinotify.WatchManager()
    notifier = pyinotify.Notifier(wm)
    wm.watch_transient_file(filename, pyinotify.IN_MODIFY, ProcessTransientFile)
    notifier.loop()

[root@localhost ~]#
运行方式如下:
./nginxlogtomysql.py /usr/local/nginx/logs/www.tbbpay.com.access.log
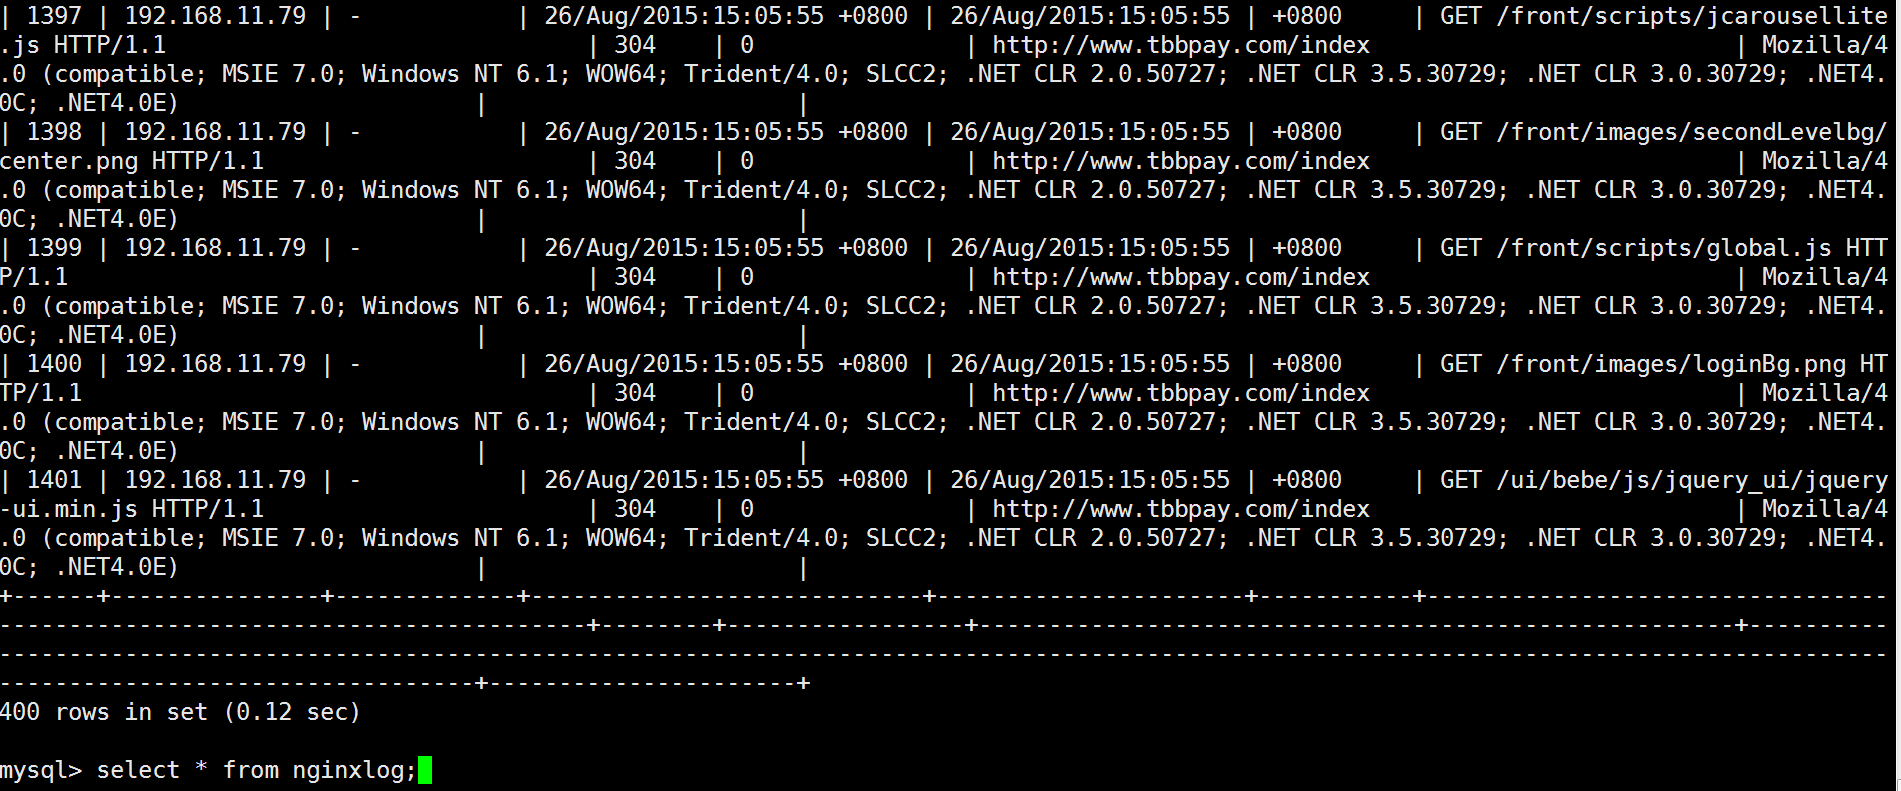
效果如下

python利用inotify实现把nginx日志实时写入数据库
标签:
原文地址:http://my.oschina.net/lenglingx/blog/497321