标签:
仿网易彩票,最终要做成的效果如下:
一、分层搭建
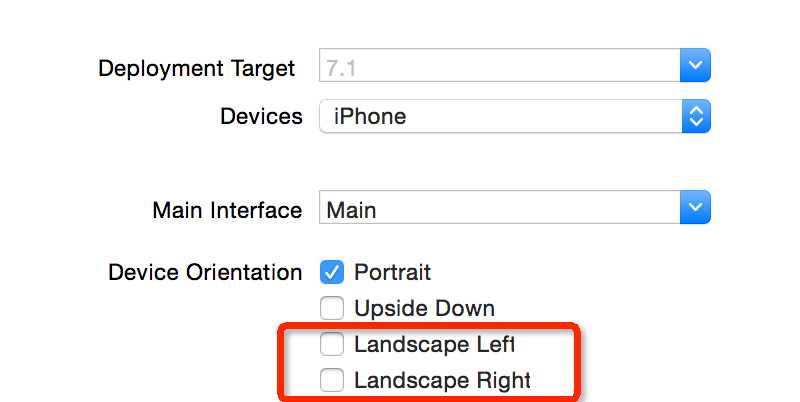
1.新建一个项目,Lottery.只支持7.1以上坚屏。
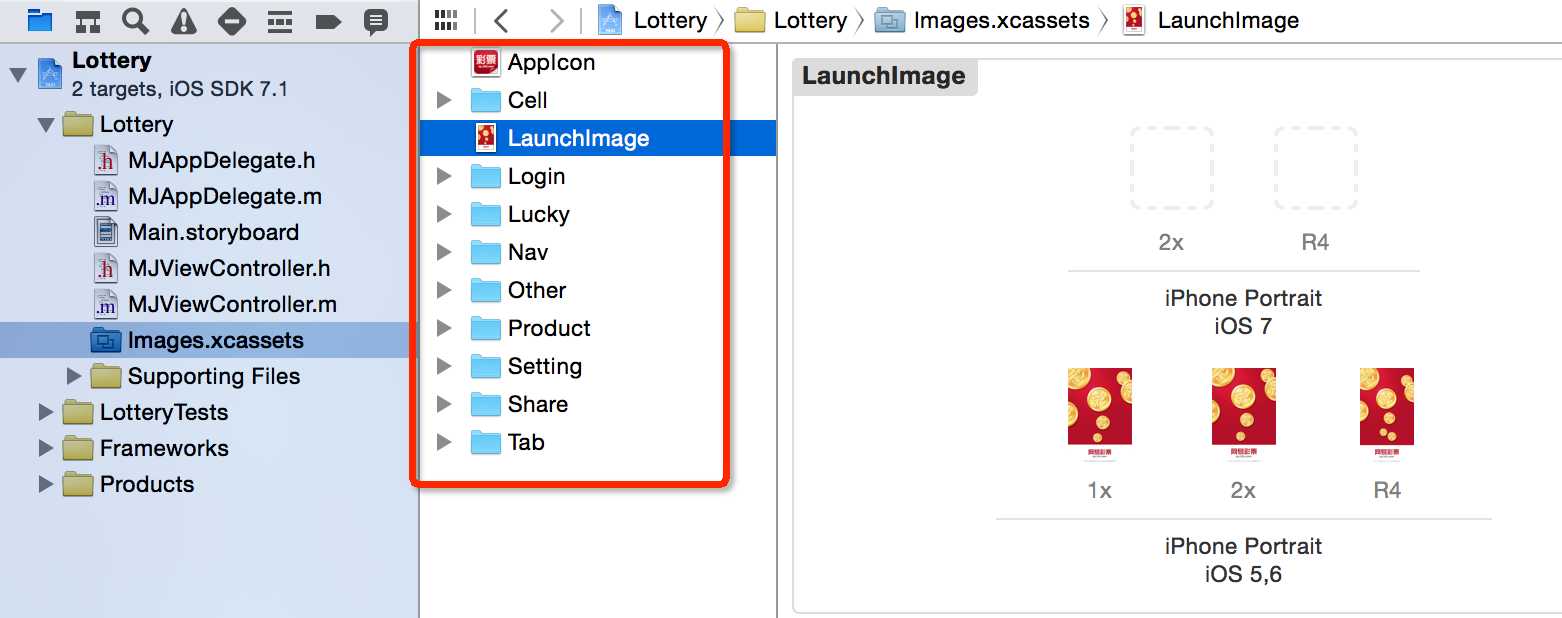
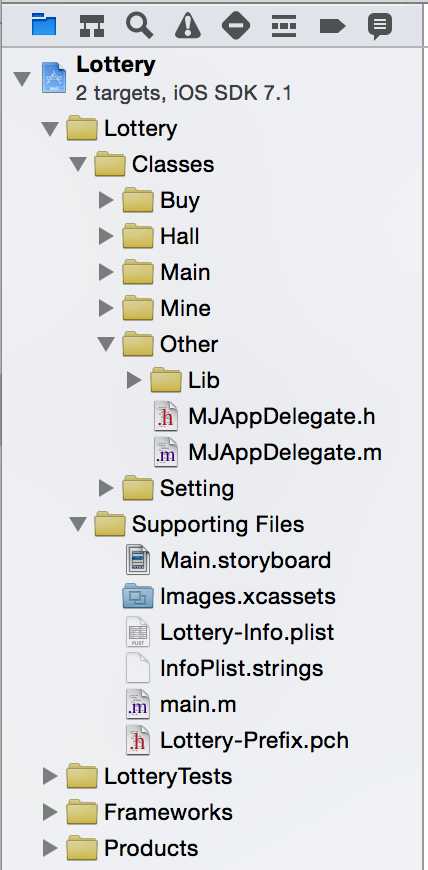
2.将素材全部图片全部拉到相应的文件夹里。
3.选中Lottery--右键Show in Finder ,在Lottery文件夹下新建一个Classes,并分别分层成MVC文件夹。
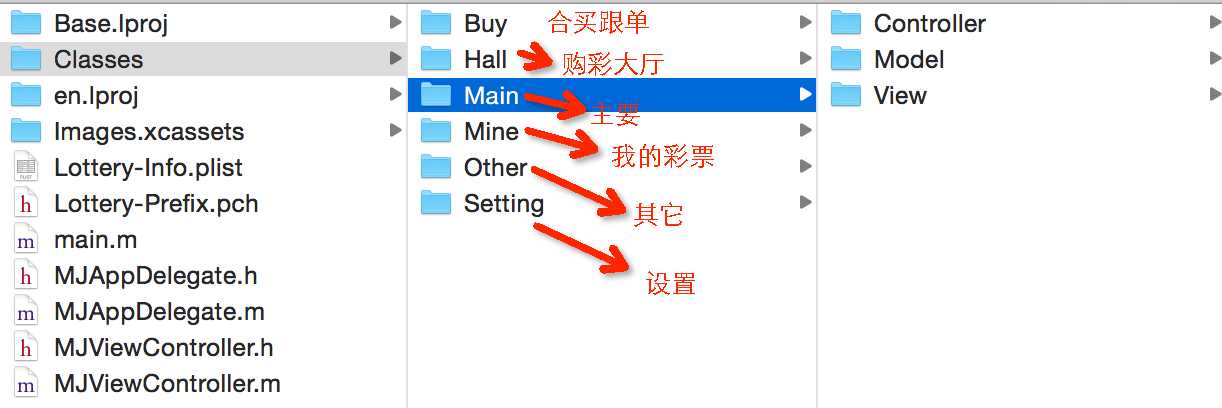
4.把Classes拉到Lottery项目里,整个框架结构如
二、UI搭建
分层好之后,接下来,我们搭建一下界面。使用Storyboard进行搭建。
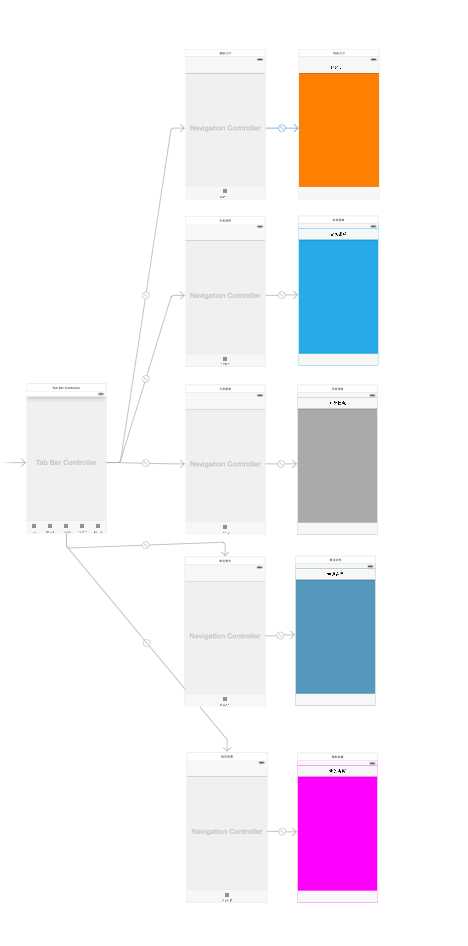
1.点击Main.storyboard,删除原来的界面,分别拉入TabBar Controller和5个Navigation Controller。删除Navigation Controller自带的TableViewController,我们拉入自己的ViewController.
TabBar Controller与Navigation Controller关联
Navigation Controller与View Controller 关联
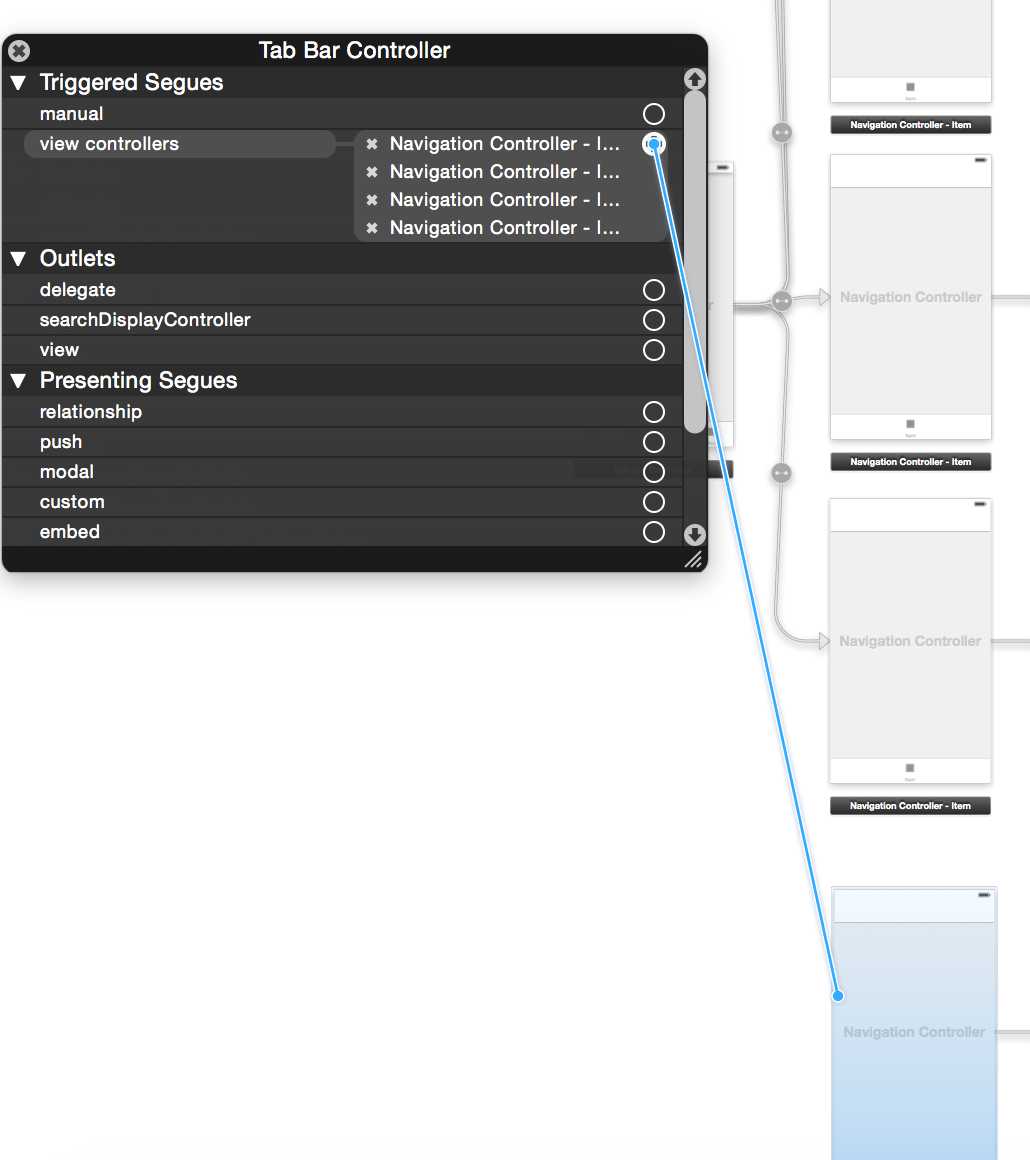
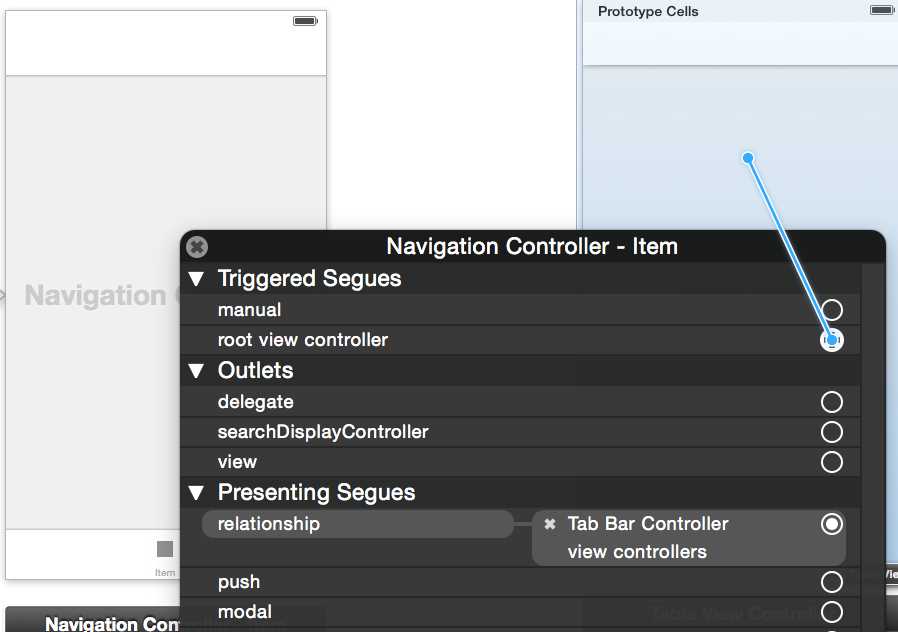
2.分别修改Navigation Controller与View Controller的显示名称


3.最终界面的导航效果
4.运行后的效果
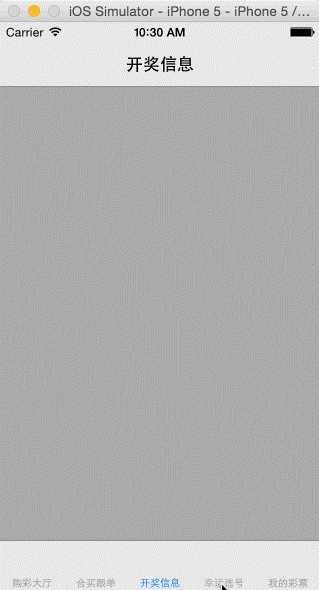
三、代码实现
UI搭建完之后,我们发现系统自带的底部的导航栏,点击是蓝色,设置不了整一块的图片。因此,接下来,我们是自定义一个底部导航栏。
1.自定义一个MJTabBarController ,继承UITabBarController
MJTabBarController.m
#import "MJTabBarController.h"

@interface MJTabBarController ()
/**
 *  记录当前选中的按钮
 */
@property (nonatomic, weak) UIButton *selectedButton;
@end

@implementation MJTabBarController

- (void)viewDidLoad {
    [super viewDidLoad];

    // 1.移除系统自带的tabbar
    [self.tabBar removeFromSuperview];

    // 2.添加自己的tabbar
    UIView *myTabBar = [[UIView alloc] init];
    myTabBar.frame = self.tabBar.frame;
    myTabBar.backgroundColor = [UIColor greenColor];
    [self.view addSubview:myTabBar];

    // 3.添加5个按钮
    for (int i = 0; i<5; i++) {
        // 创建按钮
        UIButton *button = [UIButton buttonWithType:UIButtonTypeCustom];
        button.tag = i;

        // 设置图片
        NSString *name = [NSString stringWithFormat:@"TabBar%d", i + 1];
        [button setBackgroundImage:[UIImage imageNamed:name] forState:UIControlStateNormal];

        NSString *selectedName = [NSString stringWithFormat:@"TabBar%dSel", i + 1];
        [button setBackgroundImage:[UIImage imageNamed:selectedName] forState:UIControlStateSelected];

        // 设置frame
        CGFloat buttonY = 0;
        CGFloat buttonW = myTabBar.frame.size.width * 0.2;
        CGFloat buttonH = myTabBar.frame.size.height;
        CGFloat buttonX = i * buttonW;
        button.frame = CGRectMake(buttonX, buttonY, buttonW, buttonH);

        // 添加
        [myTabBar addSubview:button];

        // 监听
        [button addTarget:self action:@selector(buttonClick:) forControlEvents:UIControlEventTouchDown];

        // 默认选中第0个位置的按钮(点击了这个按钮)
        if (i == 0) {
            [self buttonClick:button];
        }
    }
}
    /**
     *  监听按钮点击
     */
- (void)buttonClick:(UIButton *)button
   {
        // 1.让当前选中的按钮取消选中
        self.selectedButton.selected = NO;

        // 2.让新点击的按钮选中
        button.selected = YES;

        // 3.新点击的按钮就成为了"当前选中的按钮"
        self.selectedButton = button;

        // 4.切换子控制器
        self.selectedIndex = button.tag;
    }
@end
标签:
原文地址:http://www.cnblogs.com/jys509/p/4762701.html