标签:
第一步:建立mobile项目类型
第二步:添加针对对话框的的DialogController.cs:
建立这个Controller的目的是此Dlg可以反复使用,把它做成一个固定界面,其他的Controller也可以调用。

 1 using System;
 2 using System.Collections.Generic;
 3 using System.Linq;
 4 using System.Web;
 5 using System.Web.Mvc;
 6
 7 namespace MvcDlgTest.Controllers
 8 {
 9     public class DialogController : Controller
10     {
11         //
12         // GET: /Dialog/
13
14         public ActionResult Index(string OKAction,string CancelAction,string CtrlName,string Message)
15         {
16             if (string.IsNullOrWhiteSpace(CtrlName))
17                 CtrlName = "Home";
18             ViewBag.CtrlName = CtrlName;
19             ViewBag.Message = Message;
20             ViewBag.OKAction = OKAction;
21             ViewBag.CancelAction = CancelAction;
22             return View();
23         }
24
25     }
26 }
针对上述的Index的View为:
Index.cshtml:
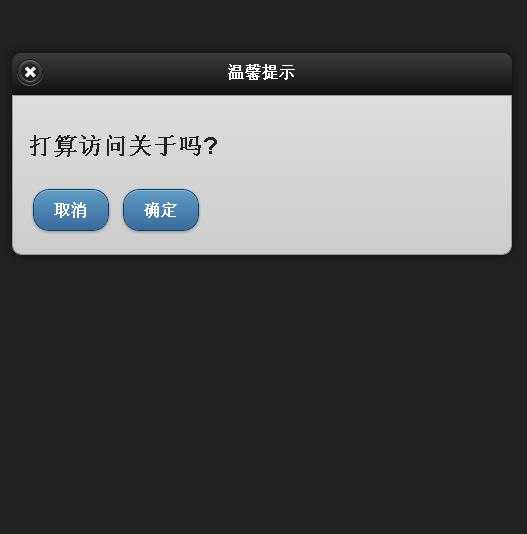
@{
    ViewBag.Title = "温馨提示";
    Layout = "~/Views/Shared/_DlgLayout.cshtml";
}
<h2>@ViewBag.Message</h2>
<div data-inline="true">
@Html.ActionLink("取消", (string)ViewBag.CancelAction, (string)ViewBag.CtrlName, null, new { @data_role = "button", @data_inline = "true" })
@Html.ActionLink("确定", (string)ViewBag.OKAction, (string)ViewBag.CtrlName, null, new { @data_role = "button", @data_inline = "true" })
</div>
给上方的View做一个专用母版.复制默认模板_Layout.cshtml,,改名为: _DlgLayout.cshtml,内容如下:
<!DOCTYPE html>
<html lang="en">
    <head>
        <meta charset="utf-8" />
        <title>@ViewBag.Title</title>
        <meta name="viewport" content="width=device-width" />
        <link href="~/favicon.ico" rel="shortcut icon" type="image/x-icon" />
        @Styles.Render("~/Content/mobileCss", "~/Content/css")
        @Scripts.Render("~/bundles/modernizr")
    </head>
    <body>
        <div data-role="page" data-theme="b">
            <div data-role="header">
             <h1>@ViewBag.Title</h1>
           </div>
             <div data-role="content">
                @RenderBody()
            </div>
        </div>

        @Scripts.Render("~/bundles/jquery", "~/bundles/jquerymobile")
        @RenderSection("scripts", required: false)
    </body>
</html>
修改Home/index.cshtml:
@{
    ViewBag.Title = "Home Page";
}

   <h2>@Html.ActionLink("访问关于1", "Index", "Dialog", new {OKAction ="About", CancelAction="Index",CtrlName="Home",Message = "打算访问关于吗?" }, new{@data_rel="dialog",@data_transition="pop"})</h2>
   <h2>@Html.ActionLink("访问联系方式", "Index", "Dialog", new { OKAction = "Contact", CancelAction = "Other", CtrlName="Home",Message = "打算访问联系方式吗?" }, new { @data_rel = "dialog", @data_transition = "pop" })</h2>
 <h2> <a href="@Url.Action("Index", "Dialog",new { OKAction = "About", CancelAction = "Index", CtrlName = "Home", Message = "打算访问关于吗?"})" data-rel = "dialog", data-transition = "pop" > 访问关于2</a></h2>
在HomeController.cs文件中,增加一个Other Action以及相应的View Other,增加测试变化。
演示效果图:
演示代码下载:
标签:
原文地址:http://www.cnblogs.com/exesoft/p/4801544.html
