标签:
This tutorial shows how to cross-compile the Embedded build of Qt 5.5 for Raspberry Pi 2. The Embedded build does not use the X11 server and instead displays the GUI directly using the Raspberry Pi framebuffer. We will show how to use a Raspberry Pi cross-compiler to build the Qt5 framework for Raspberry Pi on a Windows machine.
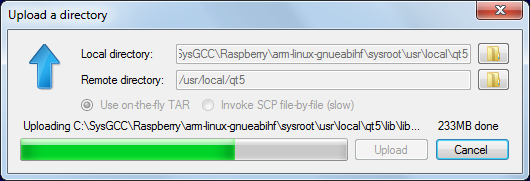
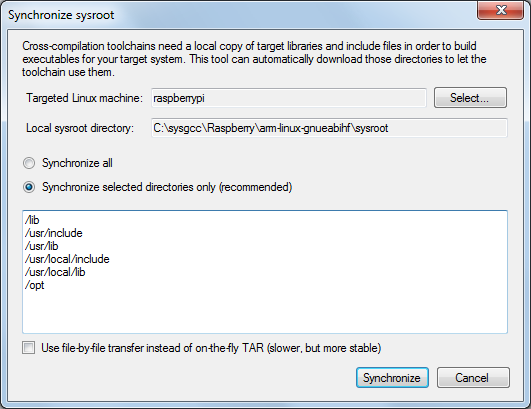 You need to synchronize at least the /opt folder, as it contains OpenGL headers that are not included in the toolchain. If you have installed additional packages on your Raspberry Pi, resynchronize other suggested directories as well.
|
1
2
3
|
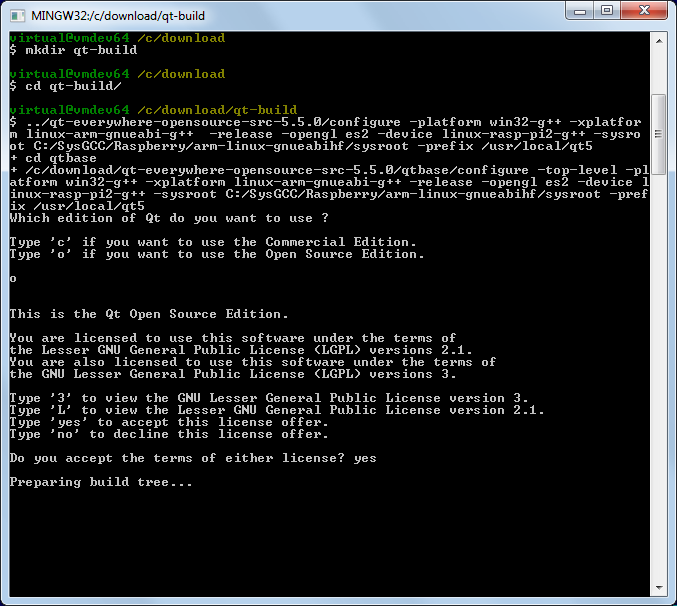
mkdir qt-build
cd qt-build
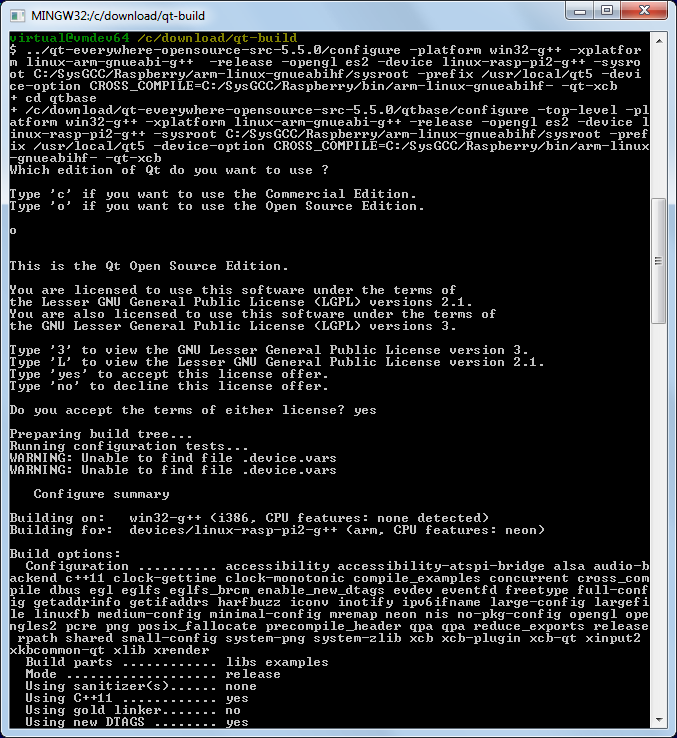
../qt-everywhere-opensource-src-5.5.0/configure -platform win32-g++ -xplatform linux-arm-gnueabi-g++ -release -opengl es2 -device linux-rasp-pi2-g++ -sysroot C:/SysGCC/Raspberry/arm-linux-gnueabihf/sysroot -prefix /usr/local/qt5
|
 Note the “-opengl es2″ option that configures Qt to use the Raspberry Pi framebuffer directly instead of the X11 system.
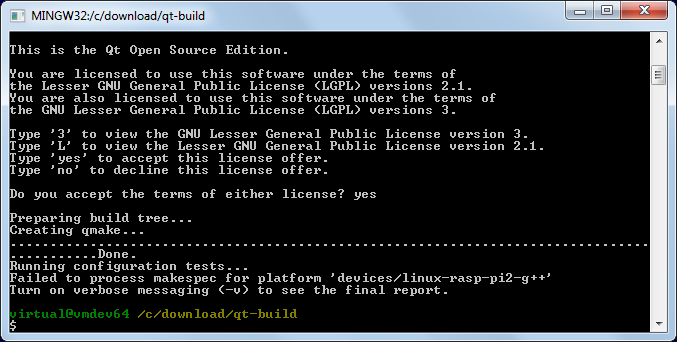
|
1
|
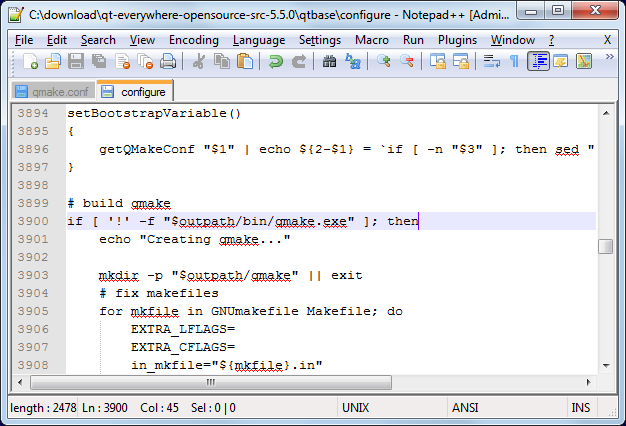
if [ ‘!‘ -f "$outpath/bin/qmake.exe" ]; then
|
|
1
|
-device-option CROSS_COMPILE=C:/SysGCC/Raspberry/bin/arm-linux-gnueabihf- -qt-xcb
|
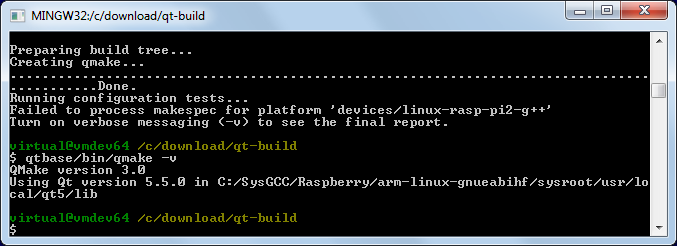
 The -device-option is required when using the device specification, however if you specify it while building Qmake, the Qt build system will try to use the cross-compiler to build the Windows Qmake executable that will obviously fail.
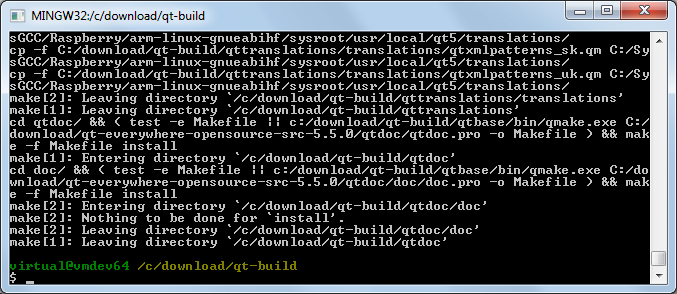 Warning: do not run “make install” before “make” succeeds as it would fail leaving the build directory in a partially built state failing further builds until the entire directory is deleted and re-created.
|
1
2
3
|
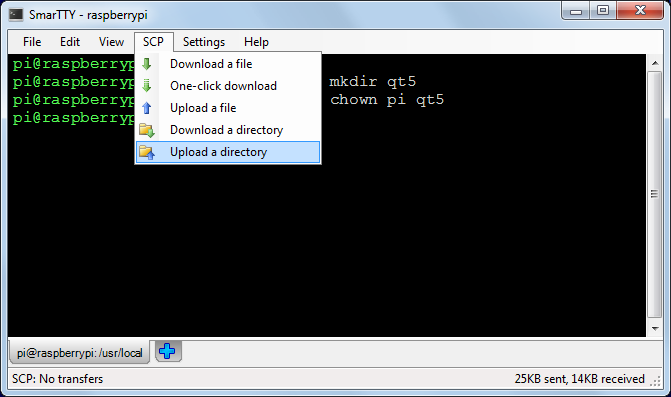
cd /usr/local
sudo mkdir qt5
sudo chown pi qt5
|

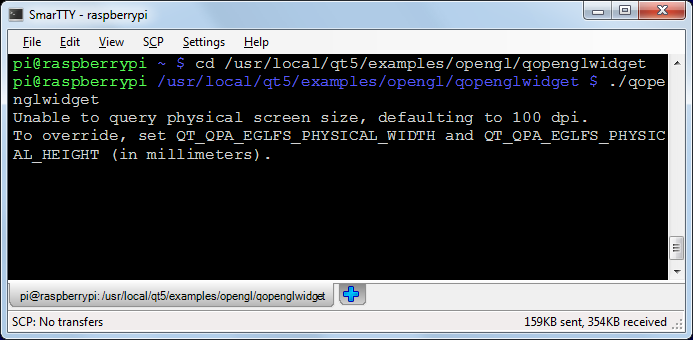
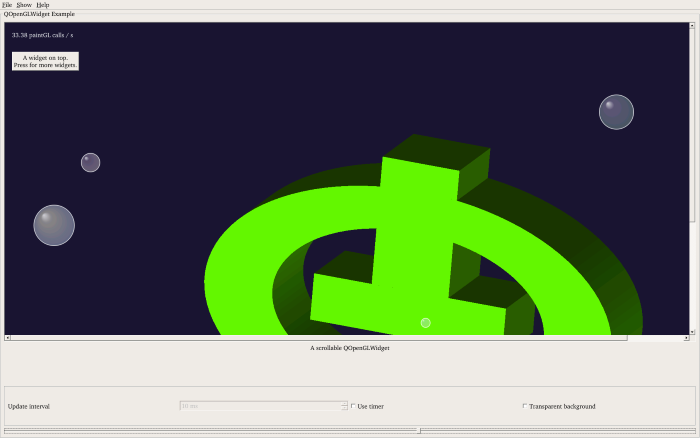 If the screen does not show anything, shut down your Raspberry Pi and re-plug the power connector. As long as the screen is connected when the device is powered on, Raspberry Pi should recognize it.
Now that you have cross-compiled the Qt framework for your Raspberry, follow this tutorial to create and build a basic Qt application using the same cross-compiler.
http://visualgdb.com/tutorials/raspberry/qt/embedded/
Cross-compiling Qt Embedded 5.5 for Raspberry Pi 2
标签:
原文地址:http://www.cnblogs.com/findumars/p/4878475.html