标签:
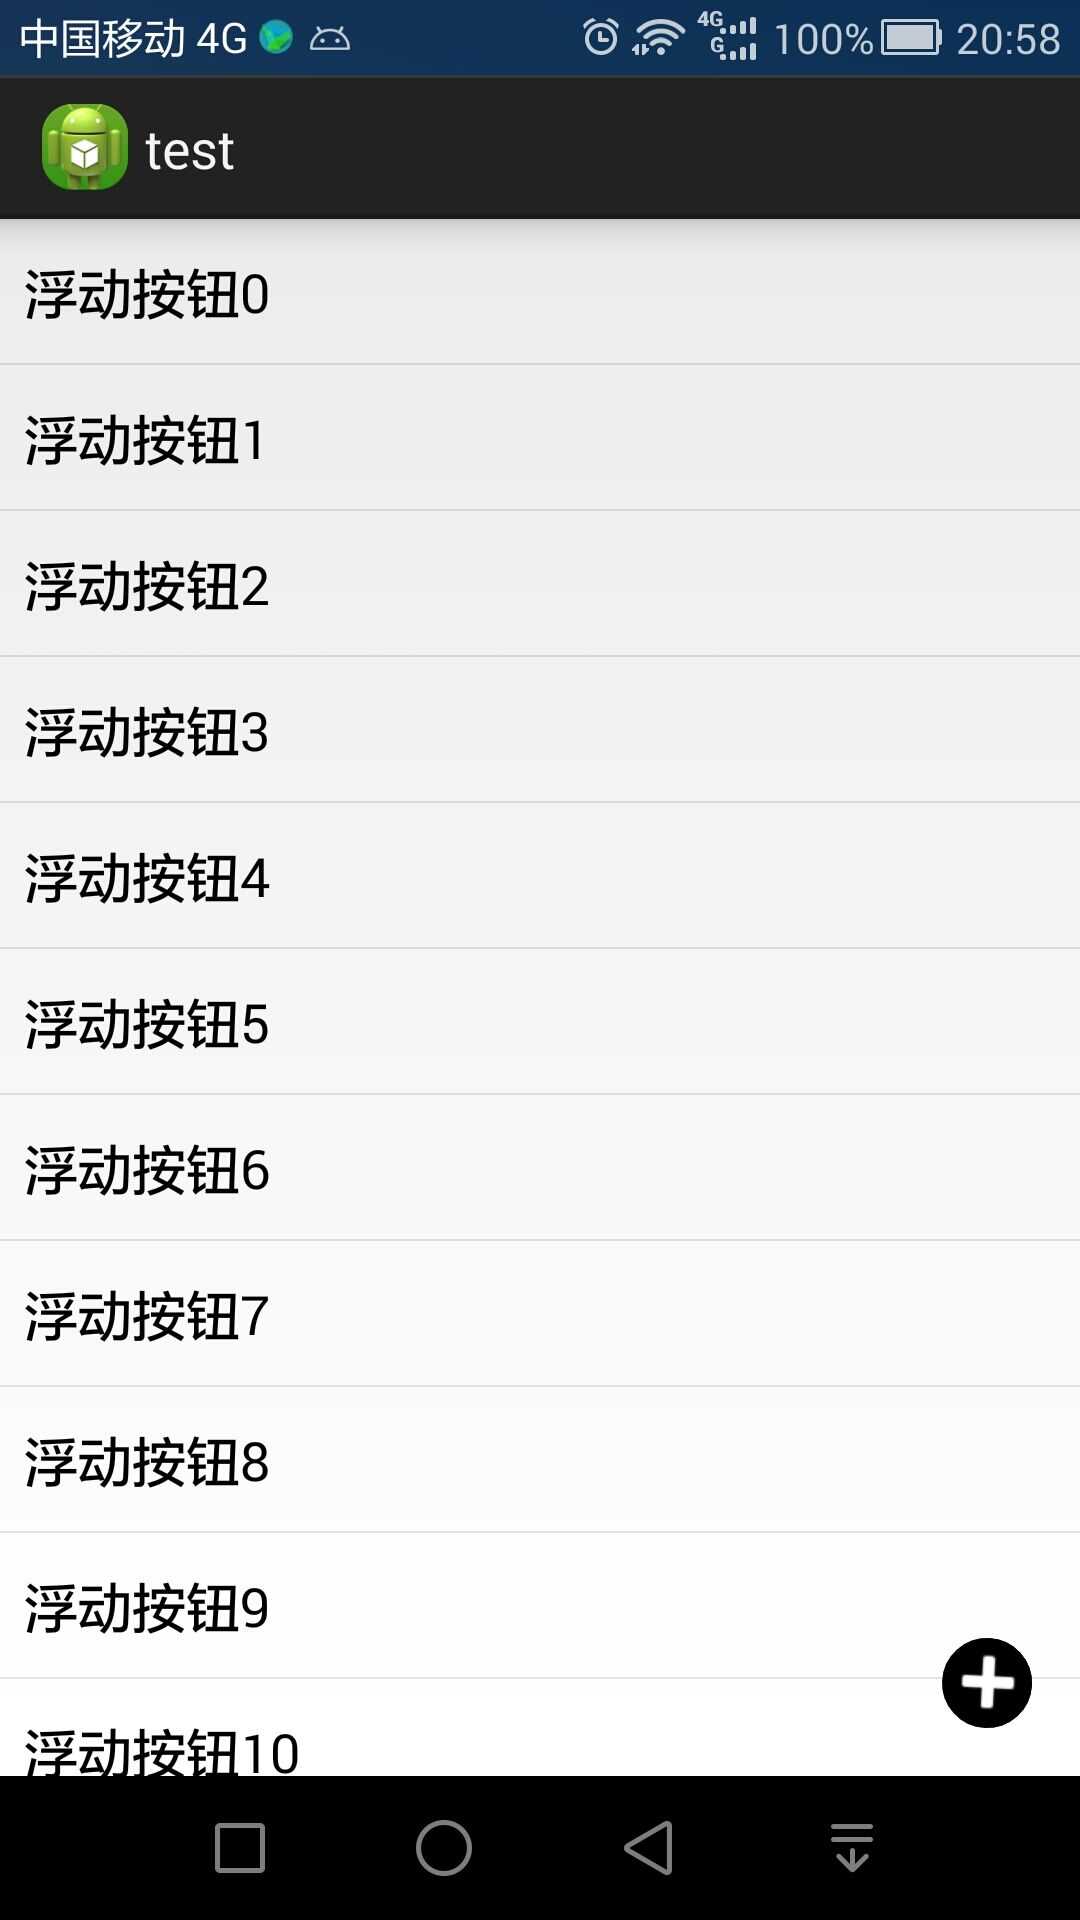
因为项目需要一个右下角浮动的圆形的按钮,顺便增加了一个用户友好体验,点击按钮后开始转动,再次点击后停止转动,如图:
实现方式:
首先添加一个FABImageButton.java的类文件
package com.example.test;

import android.annotation.SuppressLint;
import android.content.Context;
import android.content.res.Resources;
import android.content.res.TypedArray;
import android.graphics.Color;
import android.graphics.LinearGradient;
import android.graphics.Shader;
import android.graphics.drawable.Drawable;
import android.graphics.drawable.LayerDrawable;
import android.graphics.drawable.ShapeDrawable;
import android.graphics.drawable.StateListDrawable;
import android.graphics.drawable.shapes.OvalShape;
import android.util.AttributeSet;
import android.view.animation.Animation;
import android.view.animation.AnimationUtils;
import android.view.animation.LinearInterpolator;
import android.widget.ImageButton;

public class FABImageButton extends ImageButton{
    private Context content;
    private Animation operatingAnim;
    private boolean isAnimPlay = false;
    private int bgColor;
    private int bgColorPressed;

    public FABImageButton(Context context) {
		super(context);
		this.content = context;
		init(null);
	}
    public FABImageButton(Context context, AttributeSet attrs) {
		super(context, attrs);
		this.content = context;
		init(attrs);
	}
    public FABImageButton(Context context, AttributeSet attrs, int defStyleAttr) {
		super(context, attrs, defStyleAttr);
		this.content = context;
		init(attrs);
	}
    @SuppressLint("NewApi")
    public FABImageButton(Context context, AttributeSet attrs, int defStyleAttr, int defStyleRes) {
    	super(context, attrs, defStyleAttr, defStyleRes);
        this.content = context;
        init(attrs);
    }
    /**
     * 播放/暂停旋转动画
     * */
    public void PlayAnim(){
    	if(!isAnimPlay){
    		startAnimation(operatingAnim);
		isAnimPlay = true;
    	}else{
    		clearAnimation();
		isAnimPlay = false;
    	}
    }

    private Drawable createButton(int color) {
        OvalShape oShape = new OvalShape();
        ShapeDrawable sd = new ShapeDrawable(oShape);
        setWillNotDraw(false);
        sd.getPaint().setColor(color);
        ShapeDrawable sd1 = new ShapeDrawable(oShape);

        sd1.setShaderFactory(new ShapeDrawable.ShaderFactory() {
            @Override
            public Shader resize(int width, int height) {
                LinearGradient lg = new LinearGradient(0,0,0, height,
                        new int[] {
                                Color.WHITE,
                                Color.GRAY,
                                Color.DKGRAY,
                                Color.BLACK
                        }, null, Shader.TileMode.REPEAT);
                return lg;
            }
        });

        LayerDrawable ld = new LayerDrawable(new Drawable[] { sd1, sd });
        ld.setLayerInset(0, 0, 0, 0, 0);

        return ld;
    }

    @SuppressLint("NewApi")
    private void init(AttributeSet attrSet) {
    	//加载动画
    	operatingAnim = AnimationUtils.loadAnimation(content, R.anim.tip);
		LinearInterpolator lin = new LinearInterpolator();
		operatingAnim.setInterpolator(lin);

        Resources.Theme theme = content.getTheme();
        TypedArray arr = theme.obtainStyledAttributes(attrSet, R.styleable.FAB, 0, 0);
        try {
            setBgColor(arr.getColor(R.styleable.FAB_bg_color, Color.BLACK));
            setBgColorPressed(arr.getColor(R.styleable.FAB_bg_color_pressed, Color.GRAY));
            StateListDrawable sld = new StateListDrawable();

            sld.addState(new int[] {android.R.attr.state_pressed}, createButton(bgColorPressed));
            sld.addState(new int[] {}, createButton(bgColor));
            setBackground(sld);
        }

        catch(Throwable t) {}
        finally {
             arr.recycle();
        }

    }

    public void setBgColor(int color) {
        this.bgColor = color;
    }

    public void setBgColorPressed(int color) {
        this.bgColorPressed = color;
    }
}
2. values文件夹下面定义个名称为stylable.xml的资源文件
<?xml version="1.0" encoding="utf-8"?>
<resources>
    <declare-styleable name="FAB">
        <!-- Background color -->
        <attr name="bg_color" format="color|reference"/>
        <attr name="bg_color_pressed" format="color|reference"/>
    </declare-styleable>
</resources>
3.创建一个旋转的动画效果res文件夹下面建立一个anim文件夹,在文件夹下面建立一个名称为tip.xml的xml文件
<?xml version="1.0" encoding="utf-8"?>
<set xmlns:android="http://schemas.android.com/apk/res/android" >
    <rotate
        android:duration="200"  //转动速度
        android:fromDegrees="0"
        android:pivotX="50%"
        android:pivotY="50%"
        android:repeatCount="-1"
        android:toDegrees="359" />
</set>
4.layout里面添加FABImageButton
<com.example.test.FABImageButton
	android:id="@+id/fabbtn"
	android:layout_width="30dp"
        android:layout_height="30dp"
        android:src="@android:drawable/ic_input_add"
        android:layout_alignParentBottom="true"
        android:layout_alignParentRight="true"
        android:layout_marginRight="16dp"
        android:layout_marginBottom="16dp"
        android:tint="@android:color/white"/>
5.MainActivity文件
public class MainActivity extends Activity {
	FABImageButton fabbtn;
    @Override
    protected void onCreate(Bundle savedInstanceState) {
        super.onCreate(savedInstanceState);
        setContentView(R.layout.activity_main);

        ListView lv = (ListView) findViewById(R.id.lv1);
        String[] data = new String[100];
        for (int i=0; i < data.length; i++)
            data[i] = "浮动按钮" + i;

        ArrayAdapter<String> aAdpt = new ArrayAdapter<String>(this, android.R.layout.simple_list_item_1, data);
        lv.setAdapter(aAdpt);


        fabbtn = (FABImageButton) findViewById(R.id.fabbtn);
        fabbtn.setOnClickListener(new OnClickListener(){
			@Override
			public void onClick(View v) {
				fabbtn.PlayAnim();
			}
        });
    }
}
结束...
Android - 点击可以转动的自定义右下角浮动FABImageButton按钮
标签:
原文地址:http://www.cnblogs.com/brantliu/p/4878882.html