标签:style blog http color 使用 os
1. 安装软件:
sudo apt-get install libvirt0 libvirt-bin libvirt-dev virt-manager qemu-system
2. 配置网桥:
# interfaces(5) file used by ifup(8) and ifdown(8)
auto lo
iface lo inet loopback

# 配置和网桥组合, start
auto eth0
iface eth0 inet manual

auto br0
iface br0 inet static
    address 192.168.1.110
    network 192.168.1.0
    netmask 255.255.255.0
    broadcast 192.168.1.255
    gateway 192.168.1.1
    bridge_ports eth0
    bridge_fd 9
    bridge_stp on
    #bridge_hello 2
    #bridge_maxage 12
# 配置和网桥组合, end
3. 打开virt-manager:如果没有看到localhost(有些Linux安装好就有了localhost,略过)
文件 -- 添加连接 -- QEMU/KVM -- 连接到远程主机 -- SSH -- 用户名:空白(什么也不填写) -- localhost -- 自动连接 -- 连接
注意:如果virt-manager无法打开,请使用命令:python2.7 "/usr/share/virt-manager/virt-manager" 来打开
4. 创建虚拟机:图形化操作,很容易的,假如遇到类似以下问题:
could not open disk image /sonik_data/software_archive/CentOS-5.5-x86_64-netinstall.iso: Permission denied
这个问题的来源是权限的问题,把目录(以及递归的父目录)权限加上可读可执行即可 chmod o+rw /path/to/imgdir
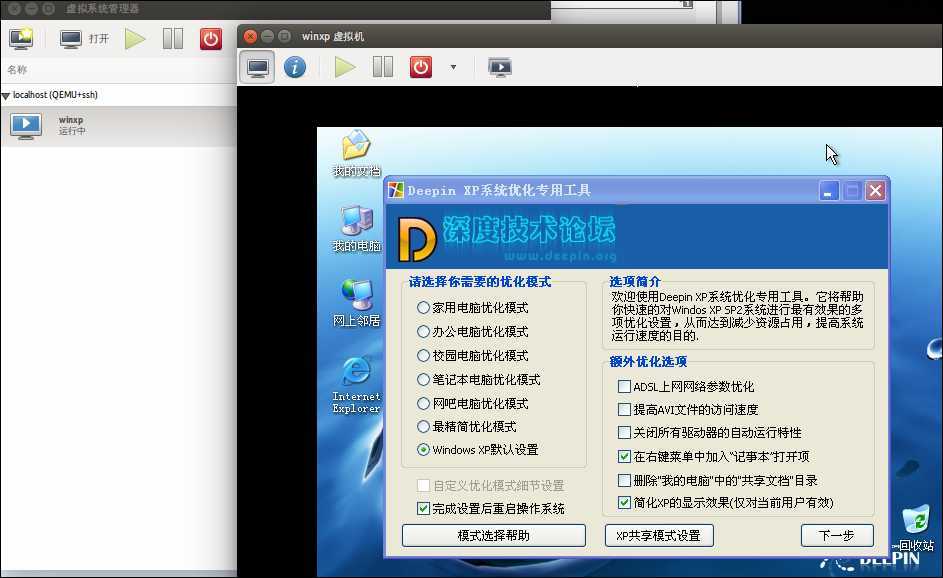
5. 在虚拟机正在运行时,Ubuntu可能出现这个情况,一直显示“为虚拟机系统连接到图形控制台”或其他Linux显示为“为客户端连接到图形控制台”,此时,只要确保虚拟机是正在运行的,点击一下“暂停”按钮,图形界面就显示出来了。

〖Linux〗Ubuntu中使用KVM安装虚拟机,布布扣,bubuko.com
标签:style blog http color 使用 os
原文地址:http://www.cnblogs.com/scue/p/3856333.html