标签:
#import "AppDelegate.h"
#import "RootViewController.h"
#import "LeadViewController.h"
@interface AppDelegate ()

@end

@implementation AppDelegate

- (void)dealloc
{
    self.window = nil;
    [super dealloc];
}

- (BOOL)application:(UIApplication *)application didFinishLaunchingWithOptions:(NSDictionary *)launchOptions {
    self.window = [[[UIWindow alloc] initWithFrame:[[UIScreen mainScreen] bounds]] autorelease];
    // Override point for customization after application launch.
    self.window.backgroundColor = [UIColor whiteColor];
    [self.window makeKeyAndVisible];


    // 在用户的偏好设置中做标记,判断用户是否是第一次打开应用
//    [NSUserDefaults standardUserDefaults]; // 获取用户的偏好设置选项
    BOOL isFirst = [[NSUserDefaults standardUserDefaults] boolForKey:@"NB"];
    NSLog(@"isFirst = %d", isFirst); // 第一次打印为0 ,第二次打印为1
    if (isFirst) {// 若为真,直接进入应用

        RootViewController *rootVC = [[RootViewController alloc] init];
        self.window.rootViewController = rootVC;
        [rootVC release];

    } else { // 若为假,启动引导页

        LeadViewController *leadVC = [[LeadViewController alloc] init];
        self.window.rootViewController = leadVC;
        [leadVC release];

    }


    return YES;
}
2. 在LeadViewController中写主要代码
//
//  LeadViewController.m

/**
 *  引导页面制作
 *
 */

#import "LeadViewController.h"

#import "RootViewController.h"

#define kScreenWidth [UIScreen mainScreen].bounds.size.width
#define kScreenHeight [UIScreen mainScreen].bounds.size.height
#define kImageCount 6
@interface LeadViewController ()<UIScrollViewDelegate>
@property (nonatomic, retain) UIPageControl *pageControl;
@property (nonatomic, retain) UIScrollView *scrollView;
@end

@implementation LeadViewController

- (void)dealloc
{
    self.pageControl = nil;
    self.scrollView = nil;
    [super dealloc];
}

- (void)viewDidLoad {
    [super viewDidLoad];
    //self.view.backgroundColor = [UIColor redColor];

    [self configureScrollView];

    [self configurePageControl]; //! 先调用这个方法的话,后来的scrollView就会把pageControl给盖住


}
// 配置滚动视图
- (void)configureScrollView {

    self.scrollView = [[UIScrollView alloc] initWithFrame:[UIScreen mainScreen].bounds];
    _scrollView.backgroundColor = [UIColor yellowColor];
    // 内容区域大小
    _scrollView.contentSize = CGSizeMake(kImageCount * kScreenWidth, kScreenHeight); // 内容区域宽度为图片个数*屏幕宽度
    [self.view addSubview:_scrollView];
    [_scrollView release];

    // 向_scrollView上添加imageView对象
    for (int i = 0; i < kImageCount; i++) {
        // 准备图片
        UIImage *image = [UIImage imageNamed:[NSString stringWithFormat:@"v6_guide_%d", i+1]];
        // 创建UIImageView对象
        UIImageView *imageView = [[UIImageView alloc] initWithImage:image];
        // 设置frame
        imageView.frame = CGRectMake(kScreenWidth * i, 0, kScreenWidth, kScreenHeight); //!

        //! 让_scrollView整页滑动
        _scrollView.pagingEnabled = YES;
        //! 关闭弹簧效果
        _scrollView.bounces = NO;

        _scrollView.delegate = self; // 添加代理,处理事件

        [_scrollView addSubview:imageView];

        [imageView release];

        // 最后一张图片添加轻拍手势
        if (5 == i) {

            imageView.userInteractionEnabled = YES; //!UIlabel和UIimageView的默认交互是关的

            UITapGestureRecognizer *tap = [[UITapGestureRecognizer alloc] initWithTarget:self action:@selector(handleTap:)];

            [imageView addGestureRecognizer:tap];// 手势添加到imageView上

            [tap release];

        }
    }

}

// 实现手势关联的事件
- (void)handleTap:(UITapGestureRecognizer *)tap {
    // 设置用户的偏好设置
    [[NSUserDefaults standardUserDefaults] setBool:YES forKey:@"NB"];
    // 更改应用window的根视图控制器
//    [UIApplication sharedApplication] 取出当前应用对象
    RootViewController *rootVC = [[RootViewController alloc]init];

    [UIApplication sharedApplication].keyWindow.rootViewController = rootVC; // 这个window和AppDelegate.m中的window是一个window

    [rootVC release];


}
// 配置分页控制器
- (void)configurePageControl {
    self.pageControl = [[UIPageControl alloc] initWithFrame:(CGRectMake(0, kScreenHeight - 40, kScreenWidth, 30))];// 在屏幕下方添加pageContro
    //_pageControl.backgroundColor = [UIColor blackColor];
    // 分页个数
    _pageControl.numberOfPages = kImageCount;
    // 当前点的颜色
    _pageControl.currentPageIndicatorTintColor = [UIColor greenColor];
    // 其他点的颜色
    _pageControl.pageIndicatorTintColor = [UIColor yellowColor];
    // 添加关联事件
    [_pageControl addTarget:self action:@selector(handlePageControl:) forControlEvents:(UIControlEventValueChanged)];
    // 添加到视图控制器上
    [self.view addSubview:_pageControl];
    [_pageControl release];

}
#pragma maek - 实现代理方法(协议中的方法)
- (void)scrollViewDidEndDecelerating:(UIScrollView *)scrollView {
    // 减速结束时取出偏移量
    CGPoint offSet = scrollView.contentOffset;
    CGFloat number = offSet.x / kScreenWidth;
    _pageControl.currentPage = (NSInteger)number; // image与点关联  scrollView 与 pageControl关联
}

// 实现分页控制器关联的方法
- (void)handlePageControl:(UIPageControl *)sender {
    // 取出当前分页
    NSInteger number = sender.currentPage;
    // 通过分页控制scrollView的偏移量
    _scrollView.contentOffset = CGPointMake(number * kScreenWidth, 0); // 点与image关联  pageControl 与 scrollView关联
}


- (void)didReceiveMemoryWarning {
    [super didReceiveMemoryWarning];
    // Dispose of any resources that can be recreated.
}

@end


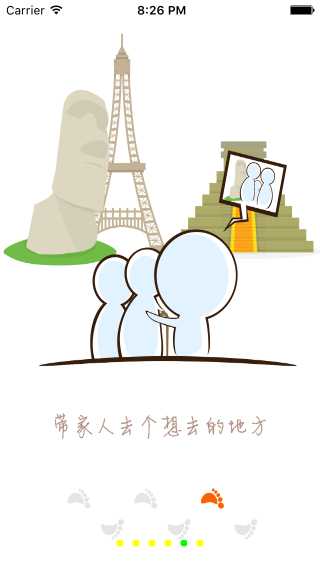
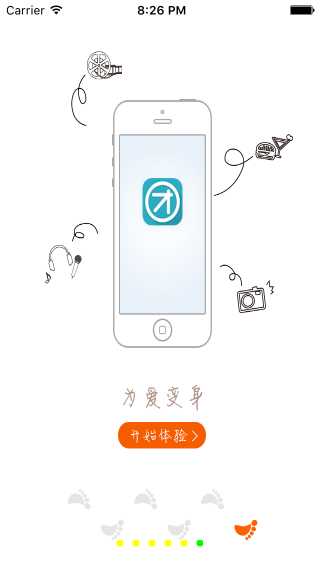
UIPageControl和UIScrollView这两种UI控件的结合使用,很常见,APP第一次打开时的引导界面用这两个控件就可以完成了~
使用UIPageControl UIScrollView制作APP引导界面
标签:
原文地址:http://www.cnblogs.com/yunji5566/p/5030969.html