标签:

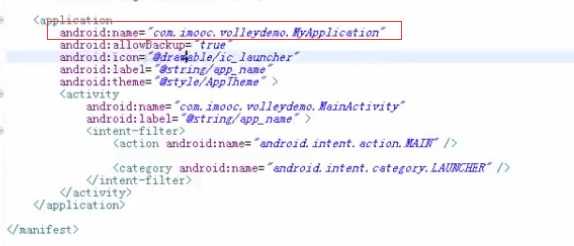
 1 package com.timliu.volleyactivity;
 2
 3 import android.app.Application;
 4
 5 import com.android.volley.RequestQueue;
 6 import com.android.volley.toolbox.Volley;
 7
 8 /**
 9  * Created by tim2 on 15/8/9.
10  */
11 public class MyApplication extends Application
12 {
13     public static RequestQueue queues;
14
15     @Override
16     public void onCreate() {
17         super.onCreate();
18         queues = Volley.newRequestQueue(getApplicationContext());
19     }
20
21     public static RequestQueue getHttpQueues()
22     {
23         return queues;
24     }
25 }




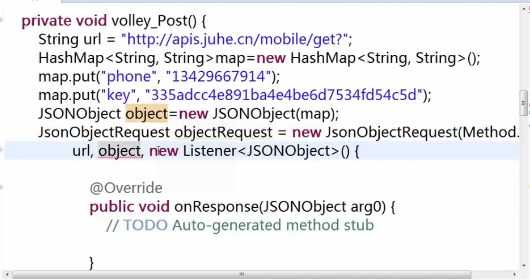
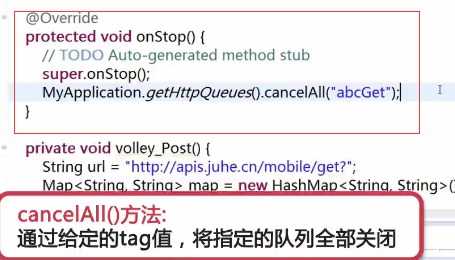

 1 package utils;
 2
 3 import android.content.Context;
 4
 5 import com.android.volley.AuthFailureError;
 6 import com.android.volley.Request;
 7 import com.android.volley.toolbox.StringRequest;
 8 import com.timliu.volleyactivity.MyApplication;
 9
10 import java.util.Map;
11
12
13 public class VolleyRequest
14 {
15     public static StringRequest stringRequest;
16     public static Context context;
17
18     public static void RequestGet(Context context,String url, String tag, VolleyInterface vif)
19     {
20
21         MyApplication.getHttpQueues().cancelAll(tag);
22         stringRequest = new StringRequest(Request.Method.GET,url,vif.loadingListener(),vif.errorListener());
23         stringRequest.setTag(tag);
24         MyApplication.getHttpQueues().add(stringRequest);
25         // 不写也能执行
26 //        MyApplication.getHttpQueues().start();
27     }
28
29     public static void RequestPost(Context context,String url, String tag,final Map<String, String> params, VolleyInterface vif)
30     {
31         MyApplication.getHttpQueues().cancelAll(tag);
32         stringRequest = new StringRequest(Request.Method.POST,url,vif.loadingListener(),vif.errorListener())
33         {
34             @Override
35             protected Map<String, String> getParams() throws AuthFailureError {
36                 return params;
37             }
38         };
39         stringRequest.setTag(tag);
40         MyApplication.getHttpQueues().add(stringRequest);
41         // 不写也能执行
42 //        MyApplication.getHttpQueues().start();
43     }
44 }

 1 package utils;
 2
 3 import android.content.Context;
 4
 5 import com.android.volley.Response;
 6 import com.android.volley.VolleyError;
 7
 8 import org.json.JSONException;
 9
10
11 public abstract class VolleyInterface
12 {
13     public Context context;
14     public static Response.Listener<String> listener;
15     public static Response.ErrorListener errorListener;
16
17     public abstract void onMySuccess(String result);
18     public abstract  void onMyError(VolleyError error);
19
20     public VolleyInterface (Context context, Response.Listener<String> listener, Response.ErrorListener errorListener)
21     {
22         this.context = context;
23         this.listener = listener;
24         this.errorListener = errorListener;
25     }
26
27     public Response.Listener<String> loadingListener()
28     {
29         listener = new Response.Listener<String>() {
30             @Override
31             public void onResponse(String response) {
32                 onMySuccess(response);
33             }
34         };
35         return listener;
36     }
37
38     public Response.ErrorListener errorListener()
39     {
40         errorListener = new Response.ErrorListener() {
41             @Override
42             public void onErrorResponse(VolleyError error) {
43                 onMyError(error);
44             }
45         };
46         return errorListener;
47     }
48 }


 1  String url = "http://h.hiphotos.baidu.com/image/pic/item/d53f8794a4c27d1e3584e91b1fd5ad6edcc4384b.jpg";
 2          //参1 url;  参2 访问网络成功返回的bitmap对象; 参3 4设置图片显示的大小[0,0表示图片多大就显示多大] ;参5 加载图片的格式;参6加载失败回调
 3         ImageRequest request = new ImageRequest(url, new Response.Listener<Bitmap>() {
 4             @Override
 5             public void onResponse(Bitmap response) {
 6                 textview.setText("获取图片成功");
 7                 imageView.setImageBitmap(response);
 8             }
 9         }, 0, 0, Bitmap.Config.RGB_565, new Response.ErrorListener() {
10             @Override
11             public void onErrorResponse(VolleyError error) {
12                 textview.setText("获取图片错误");
13                 imageView.setImageBitmap(null);
14             }
15         });
16
17         //将请求添加到队列中
18         MyApplication.getHttpQueues().add(request);
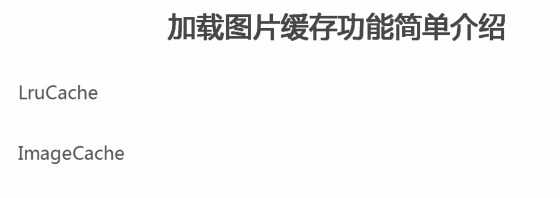
方式2 : 使用Volley中的ImageLoader加载图片

 1 package utils;
 2
 3 import android.graphics.Bitmap;
 4 import android.util.LruCache;
 5
 6 import com.android.volley.toolbox.ImageLoader;
 7
 8 /**
 9  * Created by tim2 on 15/8/11.
10  */
11 public class BitmapCache implements ImageLoader.ImageCache
12 {
13     public LruCache<String, Bitmap> cache;
14     public int max = 10*1024*1024; // 10M图片大小
15
16     public BitmapCache()
17     {
18         cache = new LruCache<String, Bitmap>(max){
19             @Override
20             protected int sizeOf(String key, Bitmap value)
21             {
22                 return value.getRowBytes() * value.getHeight();
23             }
24         };
25     }
26
27     @Override
28     public Bitmap getBitmap(String url) {
29         return cache.get(url);
30     }
31
32     @Override
33     public void putBitmap(String url, Bitmap bitmap) {
34         cache.put(url, bitmap);
35     }
36 }

1  String url = "http://g.hiphotos.baidu.com/image/pic/item/21a4462309f790521631d9e908f3d7ca7bcbd53f.jpg";
2         //使用ImageLoader请求  参1 请求队列; 参2 缓存对象
3         ImageLoader loader = new ImageLoader(MyApplication.getHttpQueues(), new BitmapCache());
4         //访问监听 参1 要绑定的控件; 参2 未加载网络图片之前默认显示图片; 参3访问网络失败显示图片
5         ImageLoader.ImageListener listener = ImageLoader.getImageListener(imageView, R.drawable.default_icon , R.drawable.error );
6         //访问网络
7         loader.get(url, listener);

1  String url = "http://g.hiphotos.baidu.com/image/pic/item/0ff41bd5ad6eddc487907ddd3cdbb6fd526633a5.jpg";
2         textview.setText("获取NetworkImageView图片开始了");
3         imageView.setImageBitmap(null);
4         ImageLoader loader = new ImageLoader(MyApplication.getHttpQueues(), new BitmapCache());
5         networkImageView.setErrorImageResId(R.drawable.error2);
6         networkImageView.setDefaultImageResId(R.drawable.default_icon);
7         networkImageView.setImageUrl(url, loader);
标签:
原文地址:http://www.cnblogs.com/kumar/p/296f644f7731f4e310449e5be43c5c9b.html