标签:style blog http color 使用 文件
模仿SDWebImage实现异步加载图片

SDWebImage想必大家都不陌生吧,要实现它的图片异步加载功能这个还是很简单的.
注意:此处我只实现了异步加载图片,并没有将文件缓存到本地的打算哦:)
源码:
UIImageView+YXImageView.h
//
//  UIImageView+YXImageView.h
//  PicDemo
//
//  Copyright (c) 2014年 Y.X. All rights reserved.
//

#import <UIKit/UIKit.h>

@interface UIImageView (YXImageView)

- (void)setImageWithURL:(NSString *)url placeholderImage:(UIImage *)placeholder;

@end
UIImageView+YXImageView.m
//
//  UIImageView+YXImageView.m
//  PicDemo
//
//  Copyright (c) 2014年 Y.X. All rights reserved.
//

#import "UIImageView+YXImageView.h"

@implementation UIImageView (YXImageView)

- (void)setImageWithURL:(NSString *)url placeholderImage:(UIImage *)placeholder
{
    // 先设置placeholder
    self.image = placeholder;

    // 异步下载完了之后再加载新的图片
    if (url)
    {
        // 子线程下载
        dispatch_async(dispatch_get_global_queue(DISPATCH_QUEUE_PRIORITY_DEFAULT, 0), ^{

            NSURLRequest *request = [NSURLRequest requestWithURL:[NSURL URLWithString:url]];
            NSData *data          = [NSURLConnection sendSynchronousRequest:request
                                                          returningResponse:nil
                                                                      error:nil];
            // 主线程更新
            dispatch_async(dispatch_get_main_queue(), ^{
                if (data)
                {
                    self.image = [UIImage imageWithData:data];
                    [self setNeedsDisplay];
                }
            });
        });
    }
}

@end
使用的源码:
RootViewController.m
//
//  RootViewController.m
//  PicDemo
//
//  Copyright (c) 2014年 Y.X. All rights reserved.
//

#import "RootViewController.h"
#import "UIImageView+YXImageView.h"

@interface RootViewController ()

@end

@implementation RootViewController

- (void)viewDidLoad
{
    [super viewDidLoad];

    UIImageView *imageView = [[UIImageView alloc] initWithFrame:self.view.bounds];
    [self.view addSubview:imageView];

    [imageView setImageWithURL:@"http://pic.cnitblog.com/avatar/572952/20140226185251.png"
              placeholderImage:[UIImage imageNamed:@"1.png"]];
}

@end
核心代码:
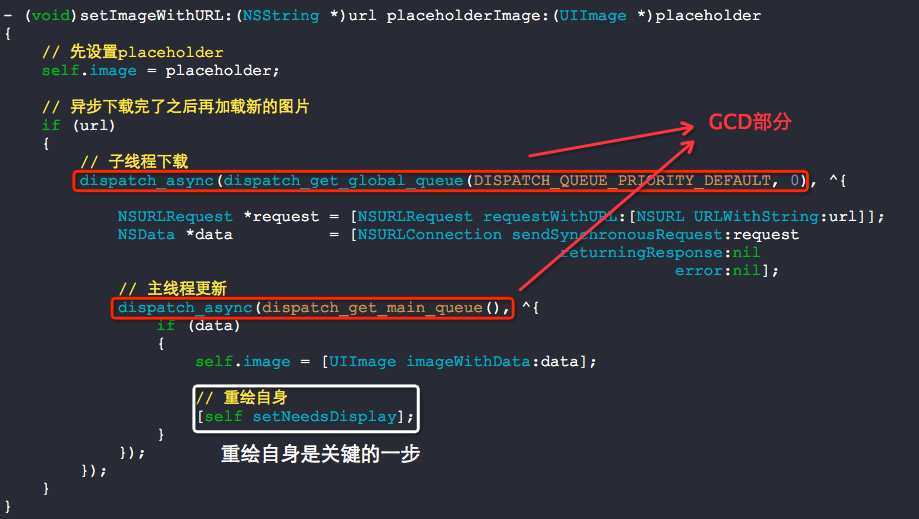
GCD部分就不讲解了,关键的一步是需要重绘view本身,这个涨知识了:)

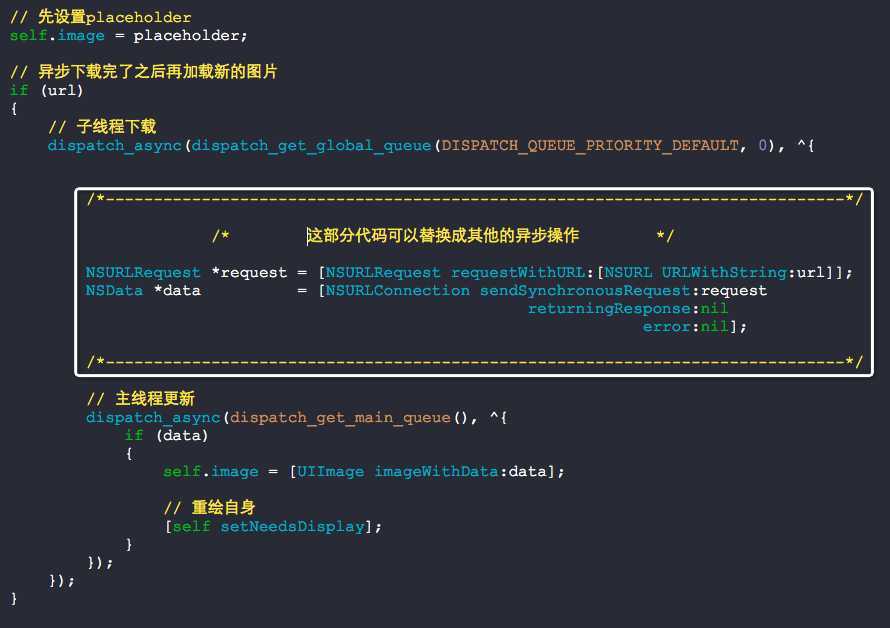
除了下载图片,你还可以做其他操作呢:)

模仿SDWebImage实现异步加载图片,布布扣,bubuko.com
标签:style blog http color 使用 文件
原文地址:http://www.cnblogs.com/YouXianMing/p/3862208.html