标签:
代码布局抛弃storyboard,用代码生成界面,它的优劣不谈
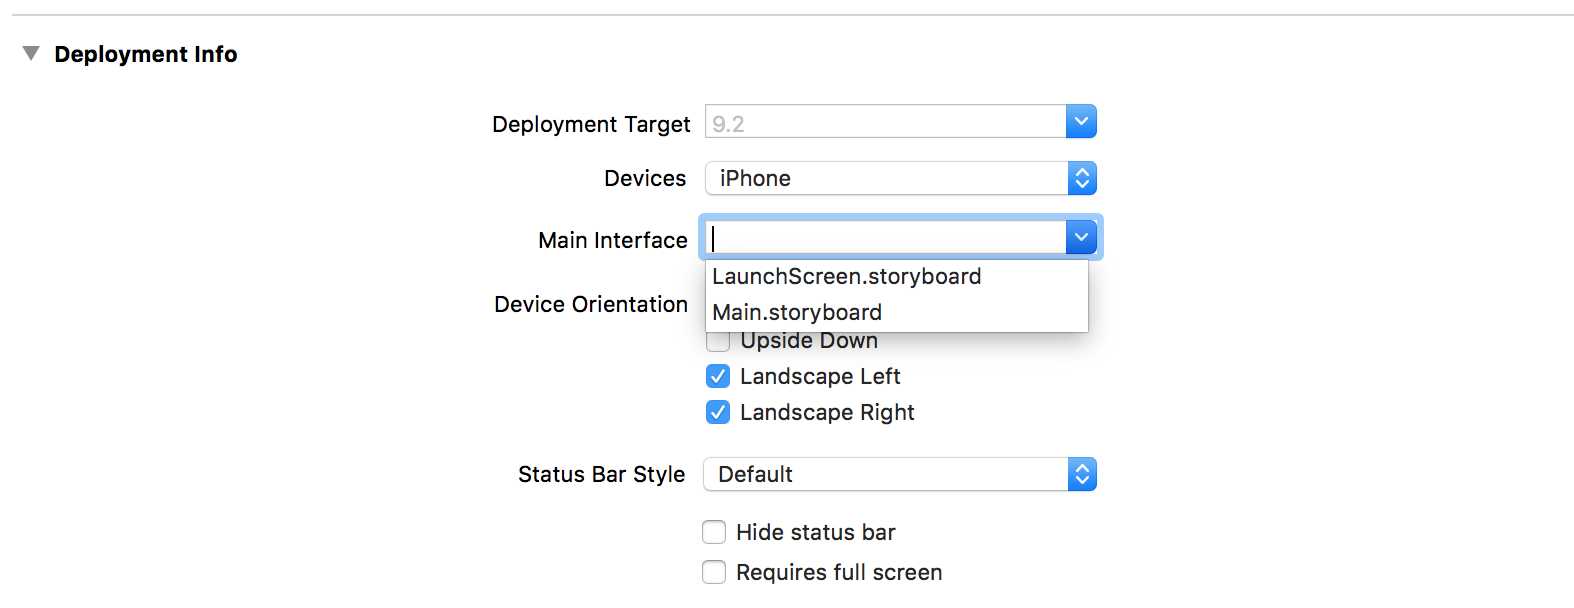
首先在项目设置中,更改应用的“入口”

不选main,清空它
然后在AppDelegate.m中,更改(添加内容),别忘了import
1 - (BOOL)application:(UIApplication *)application didFinishLaunchingWithOptions:(NSDictionary *)launchOptions {
2     // Override point for customization after application launch.
3     self.window = [[UIWindow alloc] initWithFrame:[UIScreen mainScreen].bounds];
4     self.window.rootViewController = [[ViewController alloc]init];
5     [self.window makeKeyAndVisible];
6     self.window.backgroundColor = [UIColor greenColor];
7     return YES;
8 }
// why???
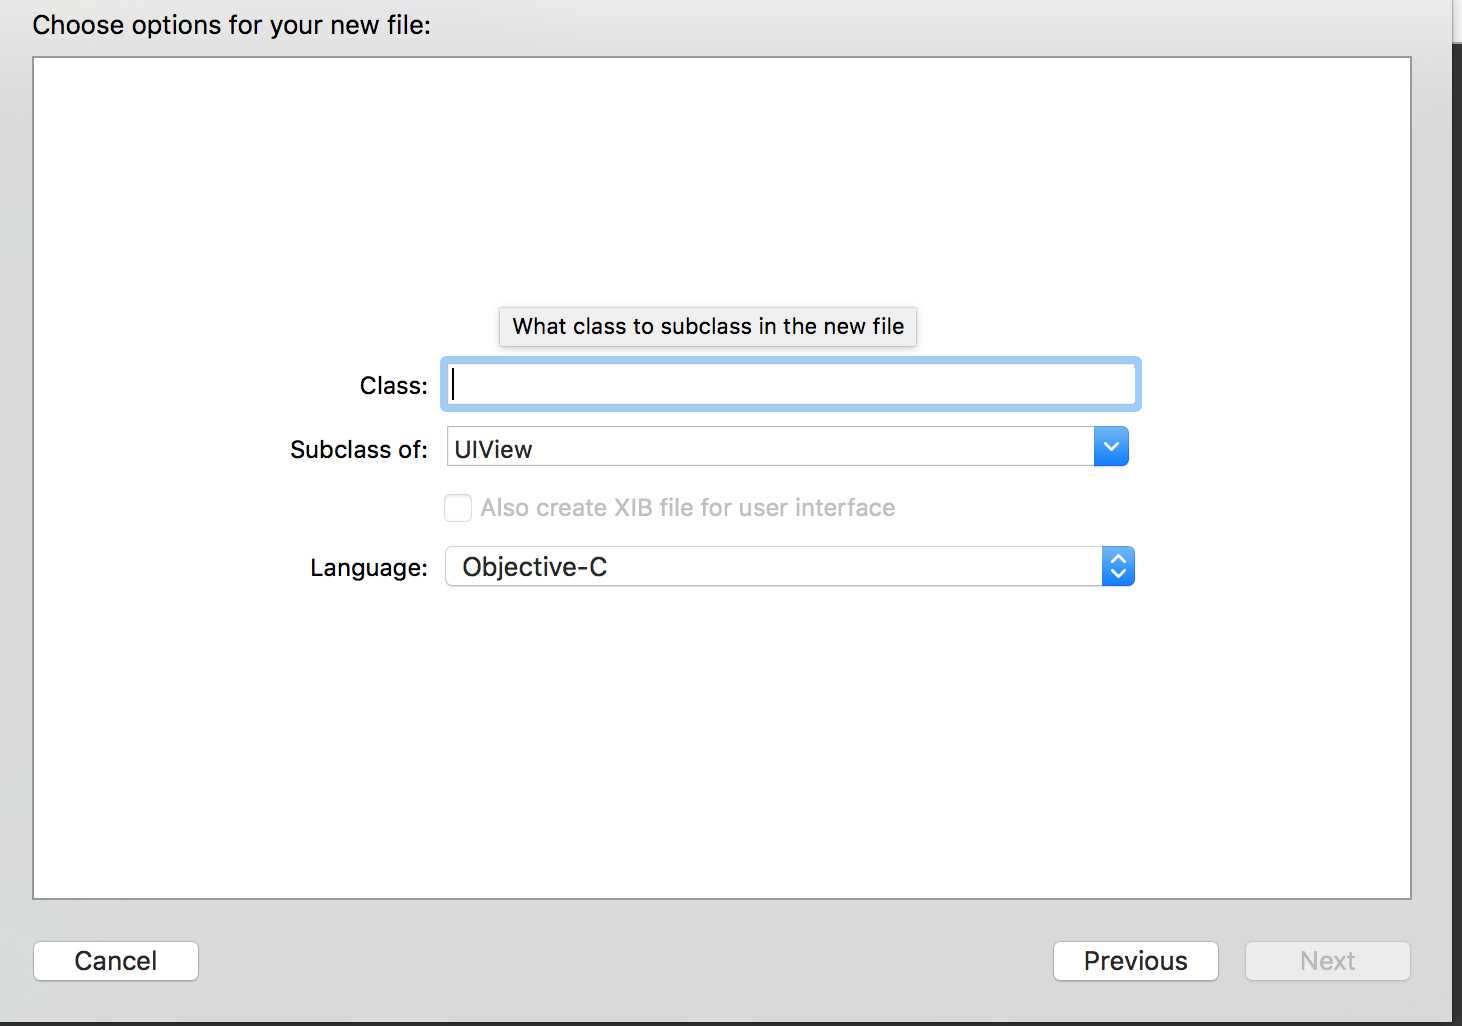
接着你就可以新建属于自己的View,注意父类

然后可以在Viewcontroller中添加函数
1 -(void)loadView
2 {
3     self.view = [[MainView alloc]initWithFrame:[UIScreen mainScreen].bounds];
4 }
这里loadView是已有的函数,只不过你不声明并且添加自己的内容的话,它会按默认的来,就像model中默认构造好的混合,getter和setter一样,它负责加载界面。(顺便view也是默认的
在这个子函数里调用方法,初始化了自己的View,接下来就可以为自己的View添加内容了。
以下代码为自己的View,MainView.m 和 .h 中的内容
首先,你可以重写
- (instancetype)initWithFrame:(CGRect)frame
这个构造函数默认是存在的,你可以在ViewController中调用它,即便你没有重写。
你可以把你想要构造的UI等等东西放在这个函数里
重写时如果直接写,xcode会警告,没有进行父类操作,建议你先进行父类的构造,因为现在你在写的是一个子类的构造函数,要调用的东西都是父类的,而父类并没有“实例”,所以直接调用、使用时不正确的,所以先
    if(self == [super initWithFrame:frame])
    {
        self.backgroundColor = [UIColor whiteColor];
     //其他代码
    }
接下来可以在其他代码处写自己的控件了
@property UILabel *LBnum;
例如在.h中定义了一个Label
接下来就可以构造它
1 _LBnum = [[UILabel alloc]initWithFrame:({
2         CGRectMake(0, 0, 20, 20);
3     })];
4     [_LBnum setBackgroundColor:[UIColor greenColor]];
5     [self addSubview:_LBnum];
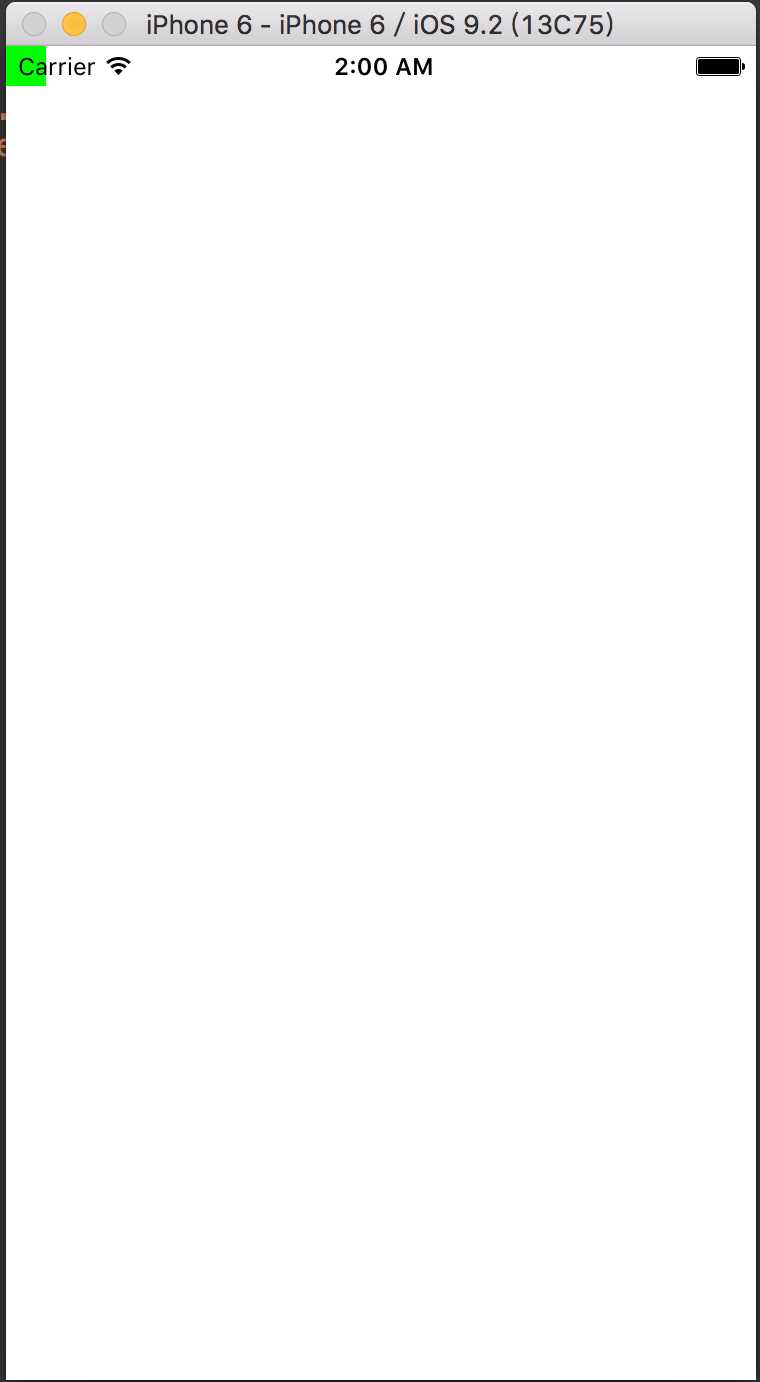
先随意设置参数构造一下,测试一下
先带参数构造,然后设置背景颜色以便我们能找到它,最后添加它

显然它是以左上角为(0,0)的
接下来就可以设置为自己想要的样式了
自己随便写的demo:
 1 - (instancetype)initWithFrame:(CGRect)frame
 2 {
 3     if(self == [super initWithFrame:frame])
 4     {
 5         self.backgroundColor = [UIColor whiteColor];
 6
 7     }
 8
 9
10
11 //UILabel *LBnum;
12     _LBnum = [[UILabel alloc]initWithFrame:({
13         CGRectMake(50, 50, MAINSCREENWIDTH - 100, MYHEIGHT);
14     })];
15     //[_LBnum setBackgroundColor:[UIColor greenColor]];
16     [_LBnum setText:@"还有3颗雷"];
17     [_LBnum setTextAlignment:NSTextAlignmentCenter];
18     [self addSubview:_LBnum];
19
20
21 //Button keys
22     _keys = [[NSMutableArray alloc]init];
23     int keycount = 0;
24     for(int i = 0; i < 3; i++)
25     {
26         for(int j  = 0; j < 3; j++)
27         {
28             keycount ++;
29             //UIButton *key = [[UIButton alloc]initWithFrame:CGRectMake((50 + MYWIDTH)*(j+1) - MYWIDTH, 100+MYHEIGHT + i*(50+MYWIDTH) , MYWIDTH, MYWIDTH)];
30             UIButton *key = [UIButton buttonWithType:UIButtonTypeSystem];
31             key.frame = CGRectMake((50 + MYWIDTH)*(j+1) - MYWIDTH, 100+MYHEIGHT + i*(50+MYWIDTH) , MYWIDTH, MYWIDTH);
32             //[key setTitle:[NSString stringWithFormat:@"%d(%d,%d)",keycount,i,j] forState:normal];
33             [key setTitle:[NSString stringWithFormat:@"?"] forState:normal];
34             [key setBackgroundColor:[UIColor blackColor]];
35             [_keys addObject:key];
36             [self addSubview:key];
37
38         }
39     }
40
41
42
43
44
45     return self;
46 }
接下来为我自己写的9个按键绑定方法,方法是controller的任务,所以现在转到viewcontroller中去
在自己写的loadview中去绑定,self.view时,view实际上并不是自己的Mainview类型,所以它不知道自己定义的子类中都有什么,所以最好把类型提前声明,可以不占用默认的view,自己定义
 1 @interface ViewController ()
 2
 3 @property MainView *mview;
 4
 5 @end
 6
 7 @implementation ViewController
 8
 9
10 -(void)loadView
11 {
12     _mview = [[MainView alloc]initWithFrame:[UIScreen mainScreen].bounds];
13     self.view = _mview;
14     for (UIButton *onekey in _mview.keys)
15     {
16         [onekey addTarget:self action:@selector(keysPressed:) forControlEvents:UIControlEventTouchUpInside];
17     }
18 }
19
20 -(IBAction)keysPressed:(id)sender
21 {
22     printf("1");
23 }
几个参数的类型及作用xcode的自动补全都有提醒,最好自己学习一下,起到绑定作用的语句是
[onekey addTarget:self action:@selector(keysPressed:) forControlEvents:UIControlEventTouchUpInside];
然后就可以自己写自己的响应函数,完成自己想完成的功能了
附上我自己的小demo地址
SSH git@github.com:kakinuma4ko/iOSCodeViewDemo.git
标签:
原文地址:http://www.cnblogs.com/kakinuma/p/5154500.html