标签:

导航栏最常见的例子就是返回按钮的所在
在AppDelegate.m中,代码布局最开始定义窗口的时候, _window.rootViewController就应该为一个UINavigationController
这里的UINavigationController,戳进定义发现它是UIViewcontroller的子类
而之前代码布局中这里用的rootController是UIViewcontroller
所以它之中也是像之前代码布局中的UIViewcontroller一样是包含多个controller的,所以作为rootController
//按我自己理解,UINavigationController就是一个带导航栏的特殊UIViewcontroller,我们用导航栏,就选择用它
- (BOOL)application:(UIApplication *)application didFinishLaunchingWithOptions:(NSDictionary *)launchOptions {
    // Override point for customization after application launch.

    UINavigationController *rootNav = [[UINavigationController alloc]
                                       initWithRootViewController:[[ViewController alloc]init]];

    _window = [[UIWindow alloc]initWithFrame:[UIScreen mainScreen].bounds];
    _window.rootViewController = rootNav;
    [_window makeKeyAndVisible];
    return YES;
}
导航栏暂时完成,下面去定义工具条
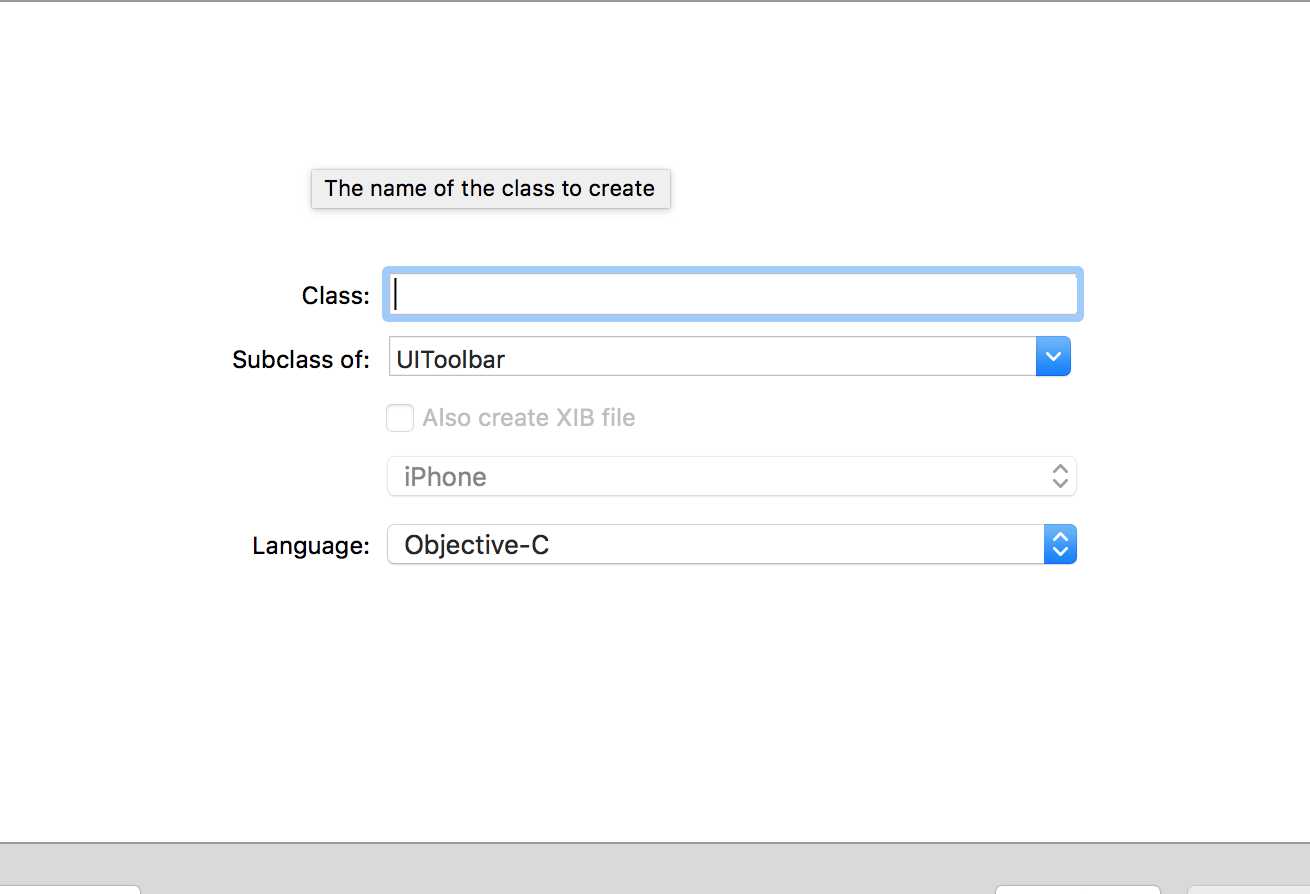
新建一个View,父类选择UIToolBar,这就是我们自己的工具条View

ToolBar作为一个独立的View,和之前的代码布局中我们自己的Mainview没什么区别,想添加控件的方法都是一样的
只不过这个ToolBar只是一个工具栏,所以定位只在工具栏的一块小区域中定位,这是差不多唯一的不同
现在,我们要加载的有我们本身想要的一个View,通过改变rootController类型添加了导航栏,现在我们又要添加导航条,要加载的就不止一个View
在上次单纯的代码布局中,在Viewcontroller.m中重写的loadView是这样的
-(void)loadView
 {
     self.view = [[MainView alloc]initWithFrame:[UIScreen mainScreen].bounds];
 }
直接把定义的根view赋值了我们自己的Mainview这一个,现在我们需要多个,就可以
-(void)loadView
{
    [self.navigationItem setTitle:@"备忘录"];
    [super loadView];
    [self.view addSubview:[[NoteListView alloc]
                           initWithFrame:[UIScreen mainScreen].bounds
                           style:UITableViewStylePlain]];
    [self.view addSubview:[[NoteListToolbar alloc]
                           initWithFrame:CGRectMake(0, [UIScreen mainScreen].bounds.size.height - 44, [UIScreen mainScreen].bounds.size.width, 44)]];
}
先调用父类的loadView , [super loadView],来保证我们有一个基本的View存在,虽然他是空的,表示为黑屏
接着可以向这个View中使用addSubview添加你想要的View
另外这里的self是最开始的rootController的类型UINavigationController,使用它的属性来定义了标题
iOS开发 OC 导航栏 UINavigationController 工具条 UIToolBar
标签:
原文地址:http://www.cnblogs.com/kakinuma/p/5167908.html