标签:
首先直入正题:@IBInspectable & @IBDesignable
对于 @IBInspectable 和 @IBDesignable 可详见官方文档 : Creating a Custom View That Renders in Interface Builder
当然也可以阅读下中文版的: http://nshipster.cn/ibinspectable-ibdesignable/
如果自定view是自己用纯代码写的,对于上面两种处理都比较简单,只需要指定类名即可。
但是如果这个自定义view是用写的,那么如果让xib的界面直接render到storyboard呢?
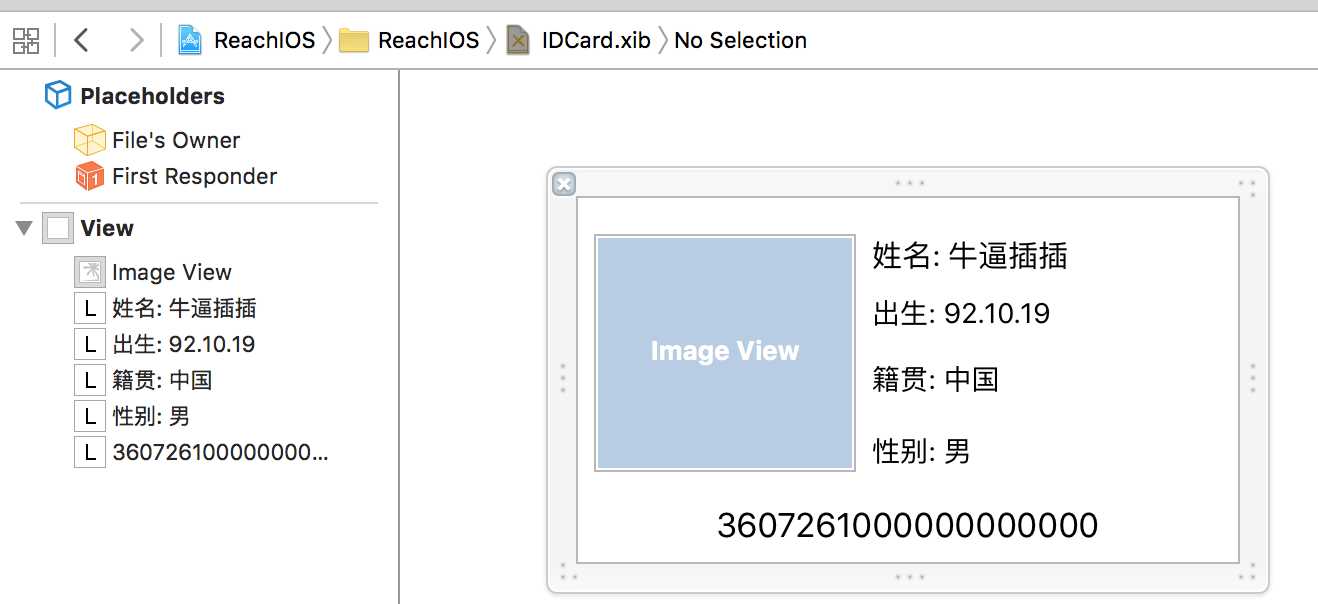
1. 创建一个IDView,添加一个IDView.Xib
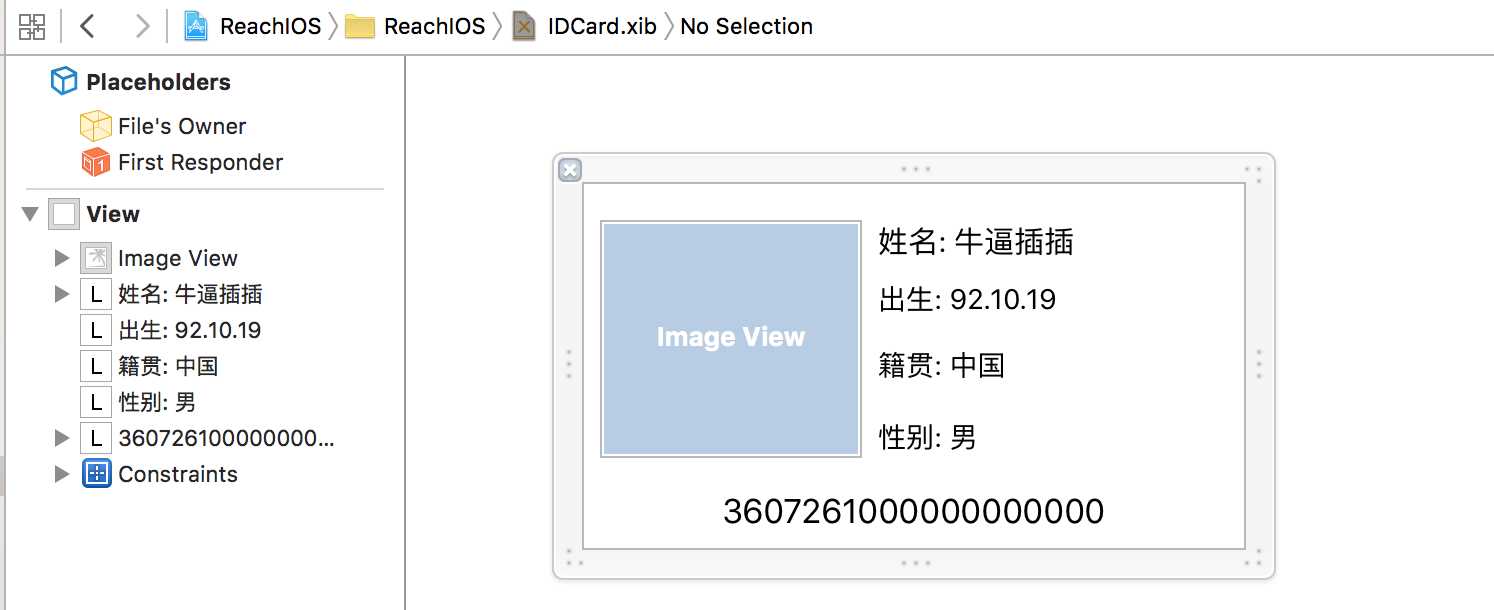
2. 对IDCard.xib添加约束
3. 在IDCard.xib的 File‘s Owner class 设置为IDCard:

4. 在IDCard.swift中添加如下代码,把xib的view连线到代码上的contentView:
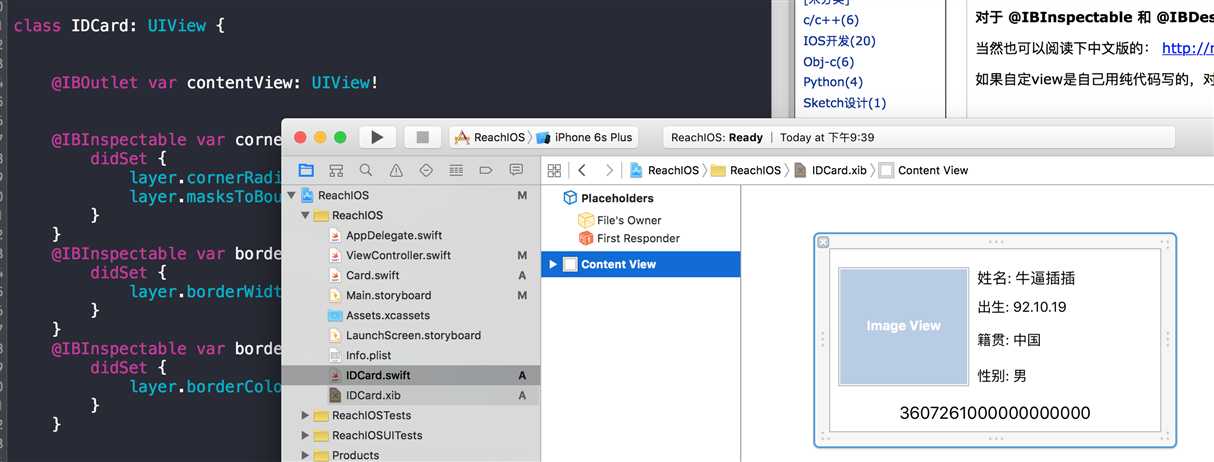
5. 绑定xib,实现 @IBInspectable, @IBDesignable这几部分代码
@IBDesignable
class IDCard: UIView {

    @IBOutlet var contentView: UIView!


    @IBInspectable
    var cornerRadius: CGFloat = 0 {
        didSet {
            layer.cornerRadius = cornerRadius
            layer.masksToBounds = cornerRadius > 0
        }
    }
    @IBInspectable
    var borderWidth: CGFloat = 0 {
        didSet {
            layer.borderWidth = borderWidth
        }
    }
    @IBInspectable
    var borderColor: UIColor? {
        didSet {
            layer.borderColor = borderColor?.CGColor
        }
    }

    override init(frame: CGRect) {
        super.init(frame: frame)
        initialFromXib()
    }

    required init?(coder aDecoder: NSCoder) {
        super.init(coder: aDecoder)
        initialFromXib()
    }

    func initialFromXib() {
        let bundle = NSBundle(forClass: self.dynamicType)
        let nib = UINib(nibName: "IDCard", bundle: bundle)
        contentView = nib.instantiateWithOwner(self, options: nil)[0] as! UIView
        contentView.frame = bounds
        addSubview(contentView)

    }

}
6. 在Main.storyboard实现拖入view,并指定其class为IDCard,并对其进行约束
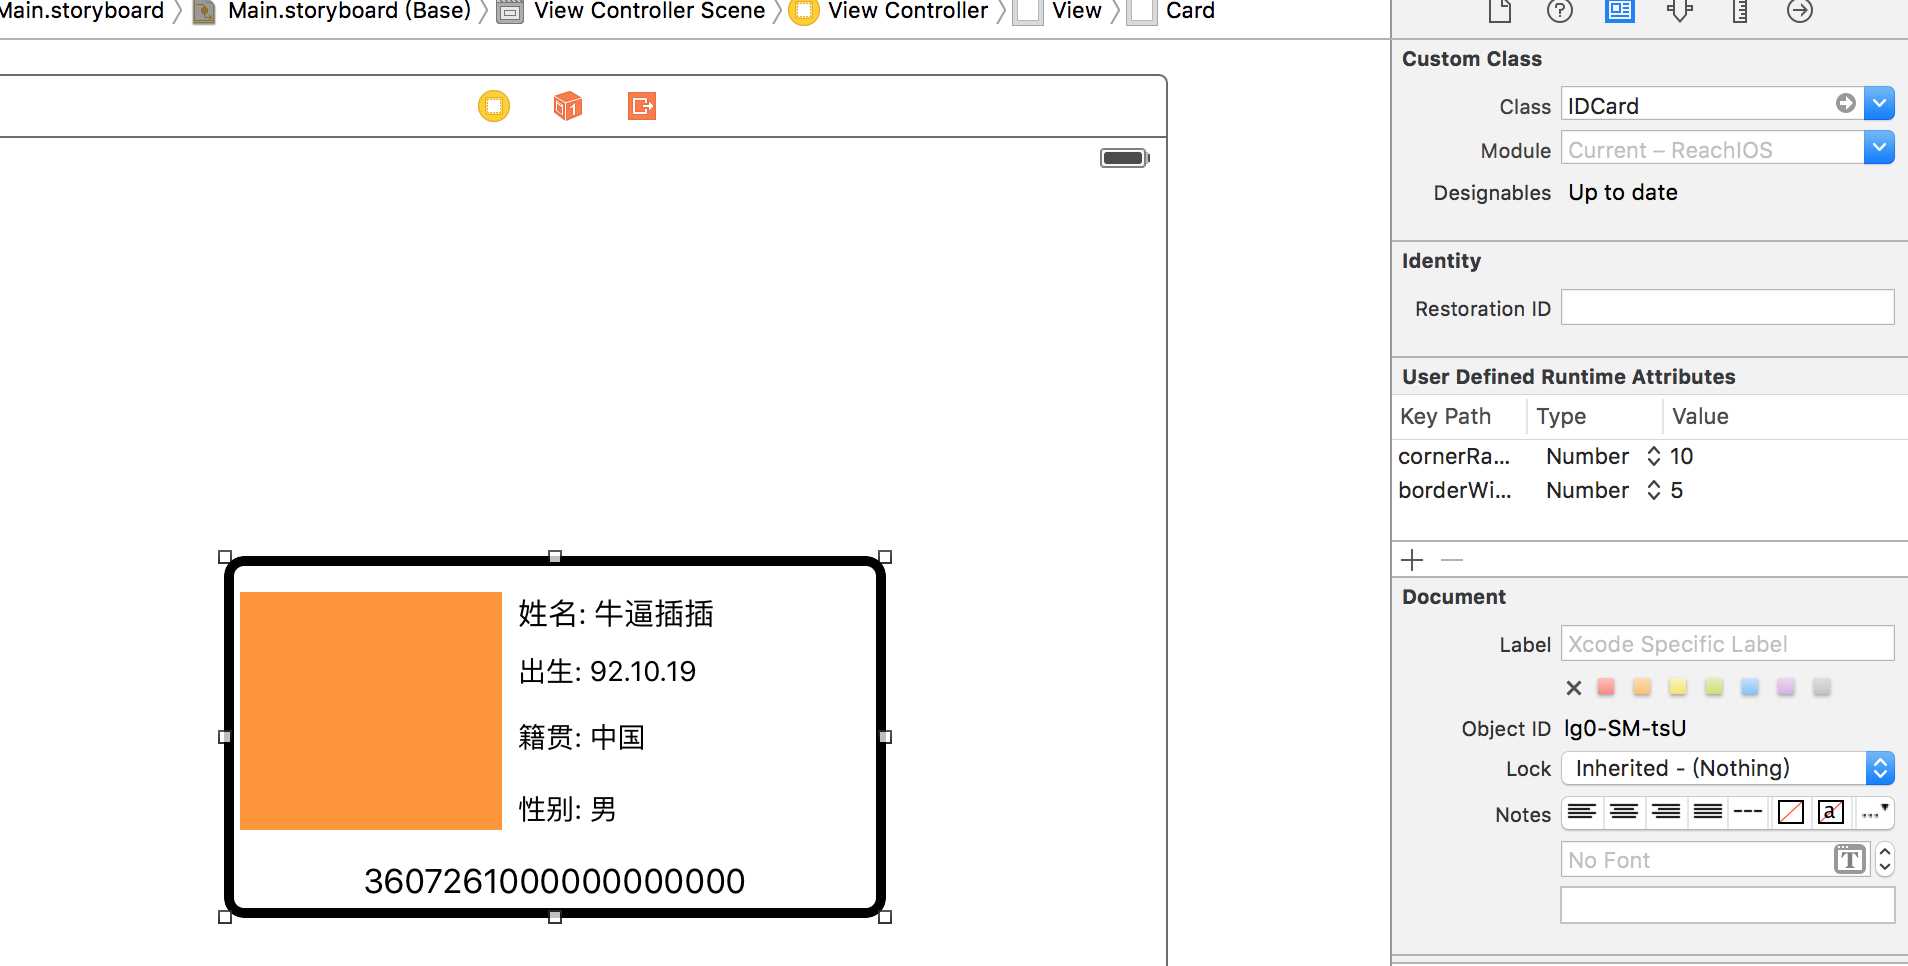
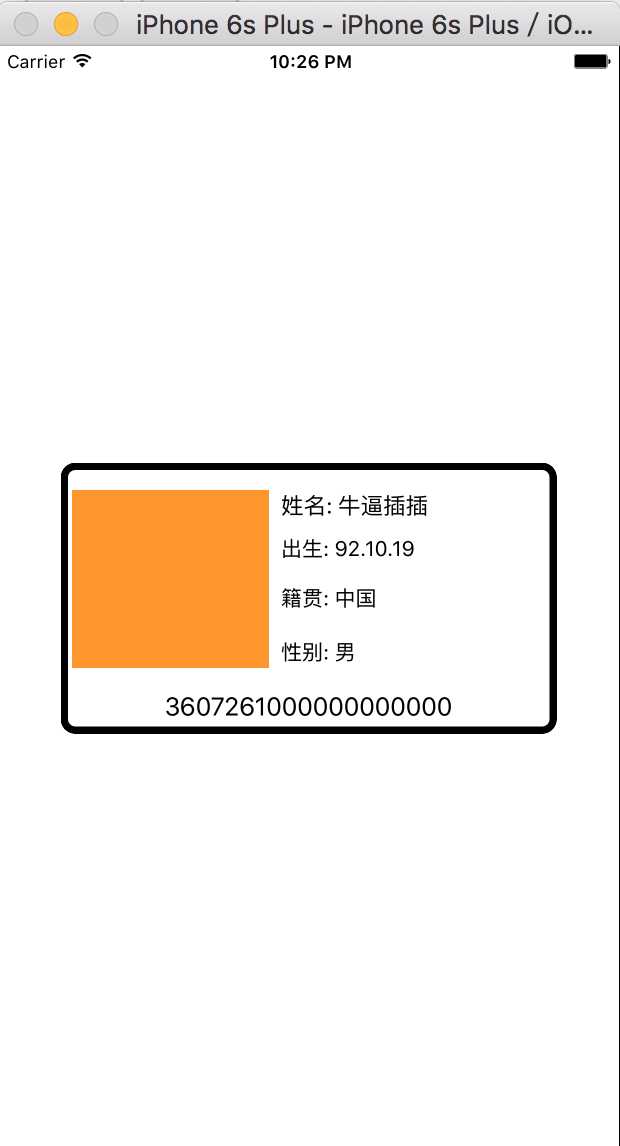
7. 运行代码,结果如下
总结遇到的一些坑:
swift 之xib自定义view可视化到storyboard
标签:
原文地址:http://www.cnblogs.com/Ohero/p/5273989.html