标签:
在 Xamarin.iOS 開發中,使用Google 帳號進行登入,十分簡單。
只要引入 Xamarin 為 Google Single-SignIn 開發的 Component 即可。
首先在專案的 Components 目錄下引入「Google Sign-In for iOS」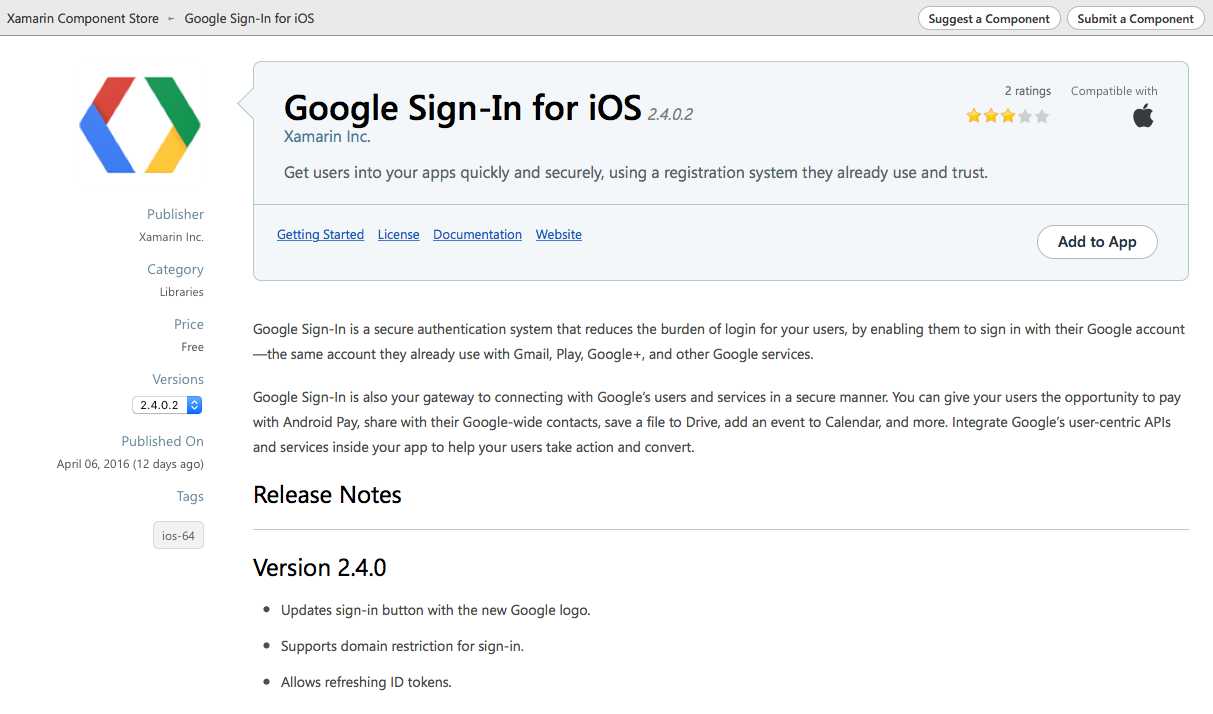
然後只要幾行code就可以完成Google Sin-In 的工作。
真正的問題在Server端的設置。
首先到 https://developers.google.com/mobile/add 這邊增加 iOS App
給出 App name 和 bundle id
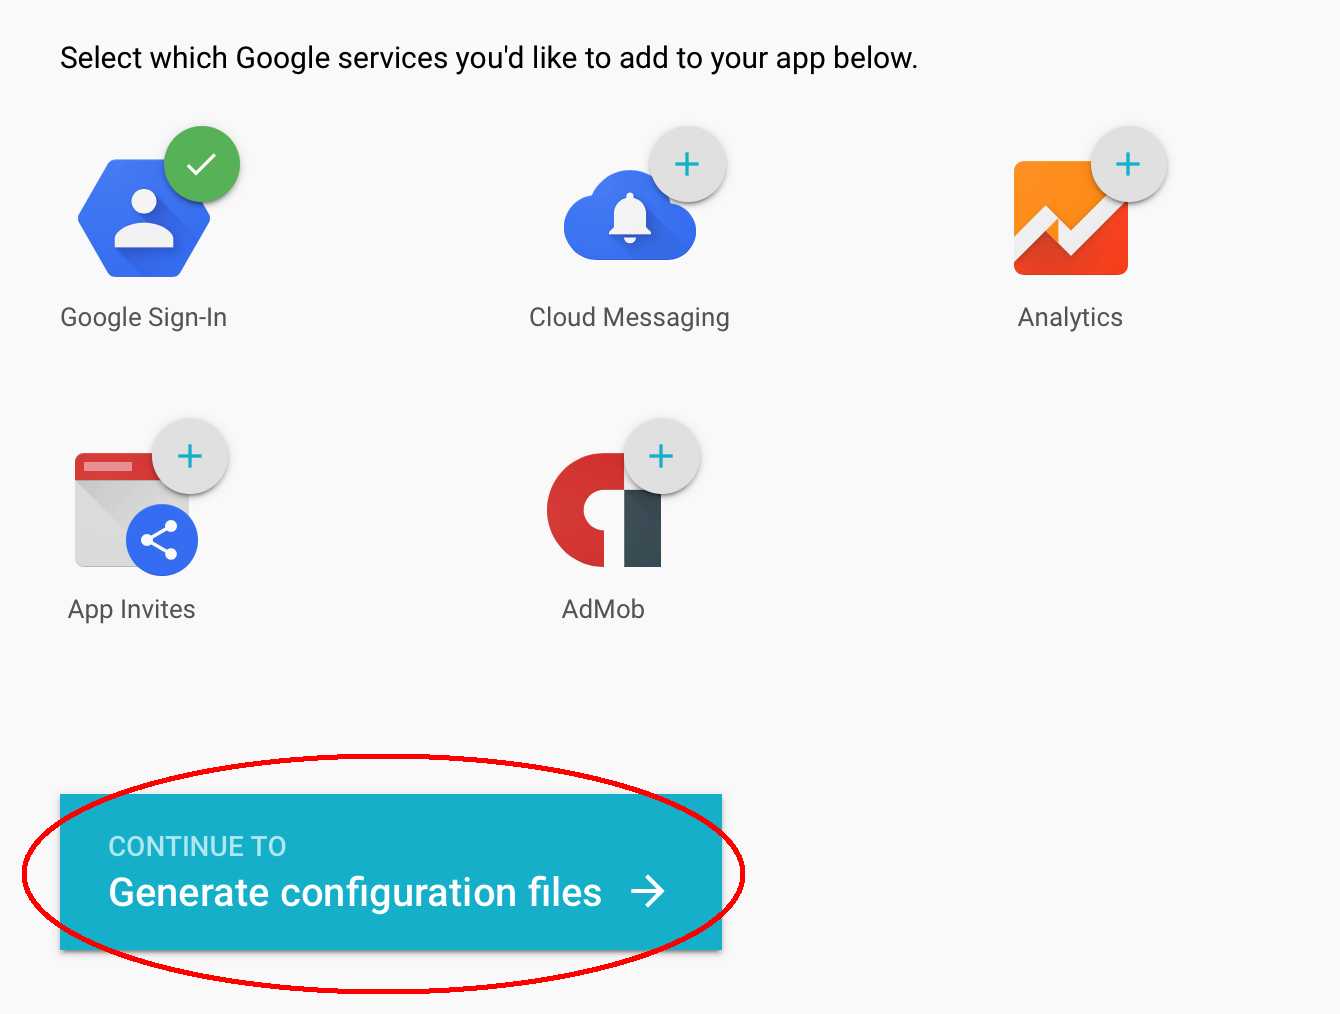
然後再下一個頁面增加 Google Sign-In 的功能。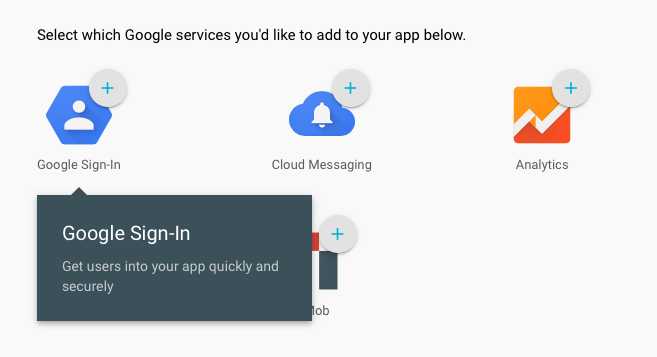
接下來是要記得產生設定檔案
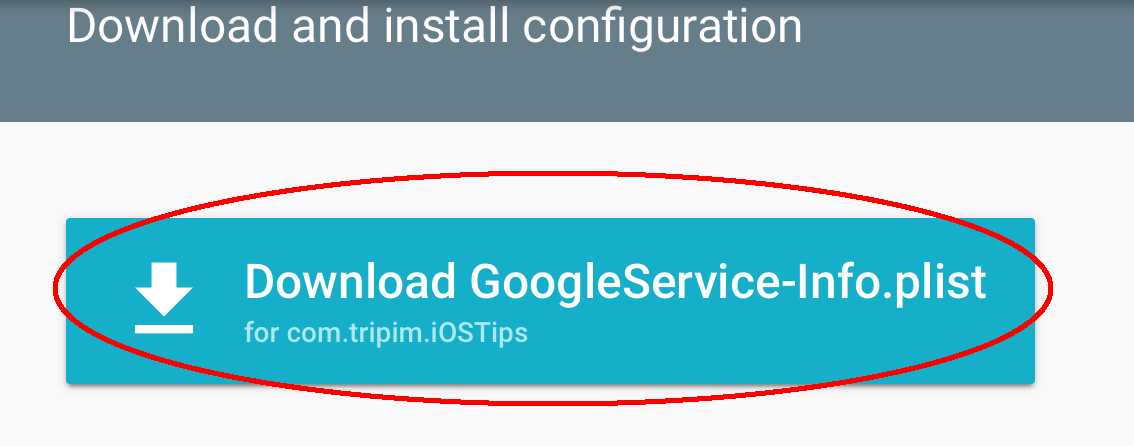
然後下載 GoogleService-Info.plst 檔案,加入至專案。
然後在專案總管這邊,Build Action 選成 BundleResource 。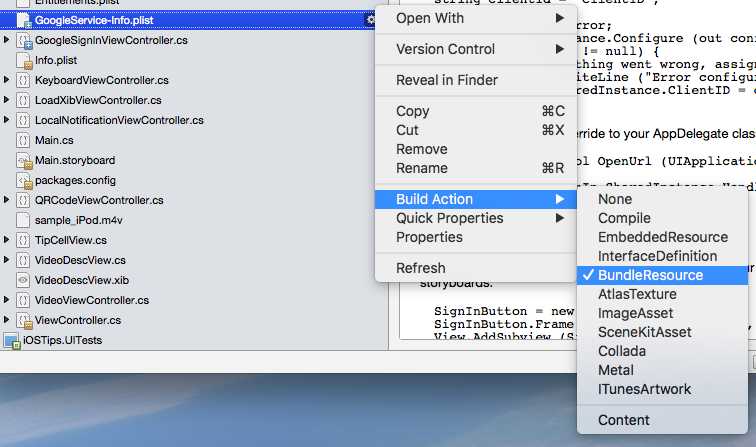
在 Info.plist 這邊要做兩件事情
新增 CFBundleURLTypes 讓 Google 可以辨識
<key>CFBundleURLTypes</key>
    <array>
        <dict>
            <key>CFBundleURLTypes</key>
            <string>Editor</string>
            <key>CFBundleURLSchemes</key>
            <array>
                <string>填入REVERSE_CLIENT_ID,去GoogleService-Info.plist 內找出來</string>
            </array>
        </dict>
        <dict>
            <key>CFBundleURLTypes</key>
            <string>Editor</string>
            <key>CFBundleURLSchemes</key>
            <array>
                <string>在Google 開發者網站填的Bundle Id</string>
            </array>
        </dict>
    </array>
做到這邊,關於設定的工作就做好了。
而程式碼分成兩部分。
皆需要引用以下的 namespace
using Google.Core;
using Google.SignIn;
在 AppDelegate.cs 內
public override bool FinishedLaunching (UIApplication application, NSDictionary launchOptions)
需要加上這段 Code 讀取 ClientID ,這邊需要去 GoogleService-Info.plist 複製 CLIENT_ID 出來。
NSError configureError;
Context.SharedInstance.Configure (out configureError);
if (configureError != null) {
  Console.WriteLine ("Error configuring the Google context: {0}", configureError);
  SignIn.SharedInstance.ClientID = "要去GoogleService-Info.plist 取得 CLIENT_ID";
}
加上 OpenURl 的處理
public override bool OpenUrl (UIApplication application, NSUrl url, string sourceApplication, NSObject annotation)
{
  return SignIn.SharedInstance.HandleUrl (url, sourceApplication, annotation);
}
另外的目標 ViewController 內加入以下的程式碼
public override void ViewDidLoad ()
{
    base.ViewDidLoad ();

    SignIn.SharedInstance.UIDelegate = this;

    SignIn.SharedInstance.SignedIn += (object sender, SignInDelegateEventArgs e) => {

        if (e.User != null && e.Error == null) {
            Debug.WriteLine(e.User.Profile.Name);
        }
    };

    SignIn.SharedInstance.Disconnected += (object sender, SignInDelegateEventArgs e) => {

        if (e.User != null && e.Error == null) {
            Debug.WriteLine(e.User.Profile.Name);
        }

    };

    SignIn.SharedInstance.SignInUserSilently ();

}
在這邊我們只要留意三個方法即可
SignIn.SharedInstance.SignInUser ();
SignIn.SharedInstance.SignOutUser ();
SignIn.SharedInstance.DisconnectUser ();
分別用於登入,登出和解除予應用程式的授權。
參考資料:Google Sign-In for iOS 的說明。
标签:
原文地址:http://www.cnblogs.com/Liddle/p/5408615.html