标签:
########################################################
Step One: Update the software package in your operation system.
THE COMMAND YOU CAN TYPE INTO YOUR CONSOLE
#apt-get update
#apt-get dist-upgrade -y --force-yes
########################################################
Step Two: Install Apache2 Web Server Environment.
THE COMMAND YOU CAN TYPE INTO YOUR CONSOLE
#apt-get install apache2 apache2-bin apache2-data apache2-doc apache2-mpm-prefork apache2-utils
And then you need to modify its default Home page. (/etc/apache2/mods-enabled/dir.conf)
<IfModule mod_dir.c>
    DirectoryIndex index.html index.cgi index.pl index.php index.xhtml index.htm
</IfModule>
Modify it, like this as following show.
<IfModule mod_dir.c>
    DirectoryIndex index.php index.html index.cgi index.pl index.xhtml index.htm
</IfModule>
After that, you still need to restart your apache server. so I think you have to execute the following command.
THE COMMAND YOU CAN TYPE INTO YOUR CONSOLE
#service apache2 restart
At last, you want to verify this step whether it works well. You only have to open your browser and type your machine‘s IP or localhost into the URL input-box.
I believe you‘ll see the Apache2 Ubuntu Default Page.
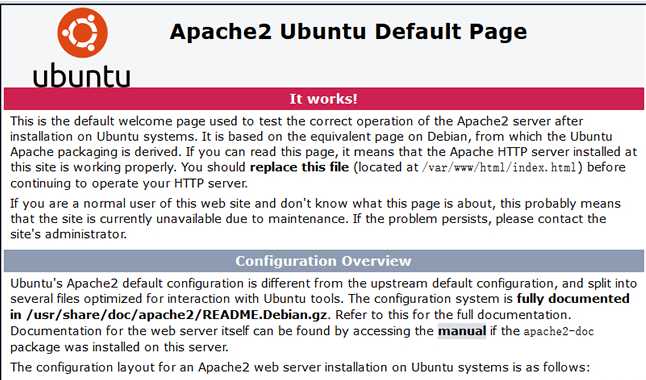
If you can see this page, you have enough reason to believe that you have succeed to install the apache web server on your system. It‘s great.
########################################################
Step Three: start up the pseudo-static componnet (which named mod_rewrite component).
THE COMMAND YOU CAN TYPE INTO YOUR CONSOLE
#a2enmod rewrite
#service apache2 restart
########################################################
Step Four: Create a user for management and setting up multi-site.
first thing you need to do, creating its home directory ‘/home/username‘
THE COMMAND YOU CAN TYPE INTO YOUR CONSOLE
#mkdir /home/username
#adduser username -d /home/username(#comment: what username, it‘s up to you)
#passwd username
Enter new UNIX password:
Retype new UNIX password:
Enter new UNIX password:
Retype new UNIX password:
passwd: password updated successfully
Changing the user information for laozuo
Enter the new value, or press ENTER for the default
Full Name []:
Room Number []:
Work Phone []:
Home Phone []:
Other []:
Is the information correct? [Y/n]
and then we need to create a directory to store our site files and log files.
THE COMMAND YOU CAN TYPE INTO YOUR CONSOLE
#cd /home/username
#mkdir public_html logs
you need to set its permission for this user after you create this directory. Or we can not upload our site file into this folder or edit these file had existted on the website.
THE COMMAND YOU CAN TYPE INTO YOUR CONSOLE
#chown username:www-data -R /home/username/public_html /home/username/logs
#chmod 755 -R /home/username
The important thing you need to note that going to configure your website.
At the begining, you just need to disable 000-default.conf configuration.
THE COMMAND YOU CAN TYPE INTO YOUR CONSOLE
#a2dissite 000-default.conf
#service apache2 reload
The other important thing is that you need to write your own site‘s configuration.
THE COMMAND YOU CAN TYPE INTO YOUR CONSOLE
#mv 000-default.conf XXXX.XXX.conf
Modify this configuration file.
<VirtualHost *:80>
    ServerName laozuo.org
    ServerAlias laozuo.org
    ServerAdmin webmaster@laozuo.org
    DocumentRoot /var/www/html
    ErrorLog ${APACHE_LOG_DIR}/error.log
    CustomLog ${APACHE_LOG_DIR}/access.log combined

    <Directory /var/www/html>
    Options Indexes ExecCGI Includes FollowSymLinks MultiViews
    AllowOverride All
    Order Deny,Allow #Here, you must note that Deny,Allow without any blank-space. If you leave the blank-space, you will encounter a error when you want to restart your apache server.
    Allow from all
    </Directory>

</VirtualHost>
Saved it later, you need to start up our website.
THE COMMAND YOU CAN TYPE INTO YOUR CONSOLE
#a2ensite XXXX.XXX.conf
If you fail to launch it, I only suggest you go to check its log out. the log will restore on the /var/log/apache2/error.log file.
########################################################
Step Five: Install and Configuration MySQL Database
THE COMMAND YOU CAN TYPE INTO YOUR CONSOLE
#apt-get install mysql-server mysql-client

During the installation epriod, you have to type the same password two times. And then you don‘t have to do anything except for waitting until it has been completedly installed.
########################################################
Step Six: Install and Configure the PHP Development Environment.
THE COMMAND YOU CAN TYPE INTO YOUR CONSOLE
#apt-get install php5 php-pear php5-mysql php5-dev libapache2-mod-php5 php5-dev php5-curl php5-gd php5-imagick php5-mcrypt
After finishing to install these software package, you can go to the "/var/www/html/" directory.
One Important thing you need to finish here is that create a PHP file to verify if it works normally.
THE COMMAND YOU CAN TYPE INTO YOUR CONSOLE
#cd /var/www/html
#vim info.php
<?php
    phpinfo();
?>
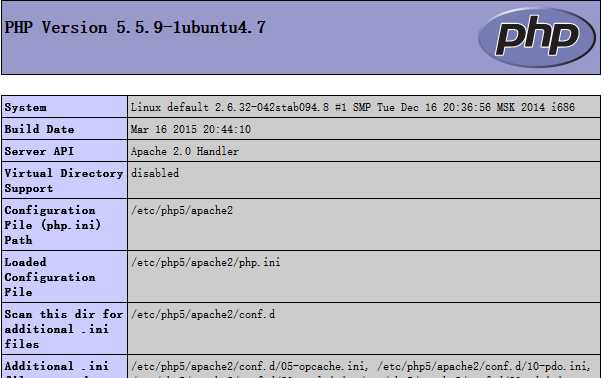
Saved it after you finish to write some code like this.
Please open your browser to verify this execitting moment and type your machine‘s IP/info.php or localhost/info.php.
You‘ll see some amazing thing. Showing as following screenshot:
########################################################
Step Seven: Install PHPMyAdmin
why do we need to install this software? maybe you want to know the answer.
I will tell you that it‘s useful to manage our SQL Database. So we need to install this guy to help us do something.
THE COMMAND YOU CAN TYPE INTO YOUR CONSOLE
#apt-get install phpmysqladmin
It requires us to select its supportive version.
I suggest you can choose the apache2.
Under this process, It also requires you to type your mysql‘s root password. maybe you need to type it two times.
That‘s all.
So our LAMP Development Environment has been established. It‘s an amazing thing.
Thank you for watching here. It‘s my pleasure to share something I know. Hope That It Can Help You.
I have to go asleep. Have a good time. Good Luck!
Establish the LAMP (Linux+Apache+MySQL+PHP) Development Environment on Ubuntu 14.04 Operating System
标签:
原文地址:http://www.cnblogs.com/stavenVanderbilt/p/5491772.html