标签:
知道这完儿,没用过。关于webpack有很多介绍了,就不多说了。放几个链接,方便新手理解。这是给纯没用过的人了解的。这里只是简单介绍一下webpack的基本用法。大多内容都是来自webpack/getting-started,外加一些自己的理解。
You need to have node.js installed.
$ npm install webpack -g
新建文件:
entry.js
document.write("It works.");
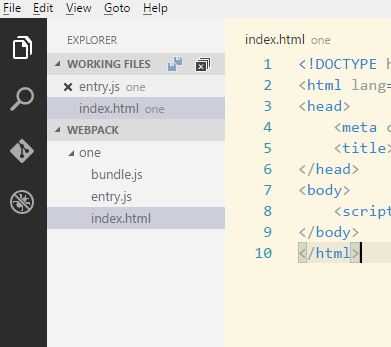
index.html
<!DOCTYPE html>
<html lang="en">
<head>
    <meta charset="UTF-8">
    <title>SETUP THE COMPILATION</title>
</head>
<body>
    <script type="text/javascript" src="bundle.js"></script>
</body>
</html>
运行:
$ webpack ./entry.js bundle.js
如果成功,会这样:
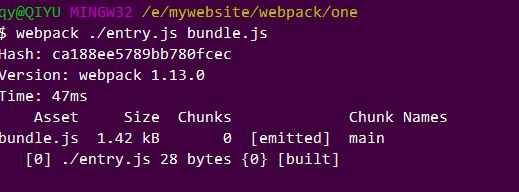
在编辑器里会自动生成一个bundle.js
在浏览器打开index.html,会显示 It works.
下一步,我们将代码依赖到另一个文件:
添加 content.js
module.exports = "It works from content.js.";
更新 entry.js
document.write(require("./content.js"));
运行 $ webpack ./entry.js bundle.js
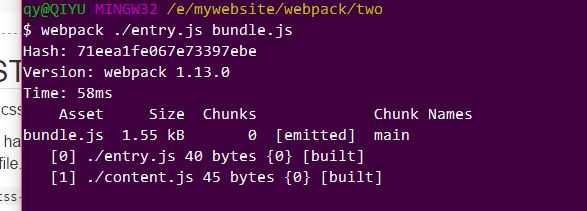
浏览器将输出:It works from content.js.
添加CSS样式到我们的应用中。打包CSS。
webpack只能处理JavaScript 本身,所以我们需要 css-loader 去处理css文件,我们还需要用style-loader 将转换后的css加载到dom中。
$npm install css-loader style-loader
Run npm install css-loader style-loader to install the loaders. (They need to be installed locally, without -g) This will create anode_modules folder for you, in which the loaders will live.
看这意思是,要把这个加载的node_modules加载到本地。
接着,创建个style.css文件
body{
    background-color: yellow;
    font-family: ‘Franklin Gothic Medium‘, ‘Arial Narrow‘;
}
更新我们的 entry.js文件
require("!style!css!./style.css");
document.write(require("./content.js"));
执行
$ webpack ./entry.js bundle.js
再次打开你的index.html:

如果我们不想写过长require,可以这样 在 entry.js里
require(“!style!css!./style.css”);,简化为require(“./style.css”)。
执行:
webpack ./entry.js bundle.js --module-bind ‘css=style!css‘
“Some environments may require double quotes: –module-bind “css=style!css” “
一些环境下可能需要双引号。
当然,在浏览器中你会看到相同的效果。
添加webpack.config.js.
module.exports = {
    entry : "./entry.js",
    output:{
        path:__dirname,
        filename:"bundle.js"
    },
    module:{
        loaders:[
            { test :/\.css$/,loader:"style!css"}
        ]
    }
};
现在,运行:
webpack
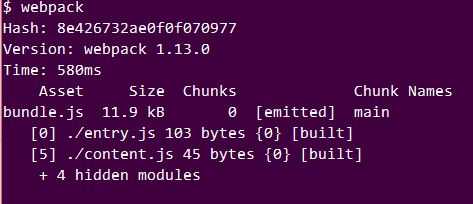
webpack 命令将尝试加载目录中的webpack.config.js文件。
肯定会有理解不到的地方。这只是webpack的基本用法。更多的需要各位道友一同探索了。~~
demo:https://github.com/miloers/webpack_demo
标签:
原文地址:http://www.cnblogs.com/moustache/p/5530635.html