标签:
知识点:
我们平时看到的spring项目请求都是*.do的,但是像下面这两个网址一样,我们可以去掉.do,这样看起来就比较清爽。第一个是比较明显的REST风格URL,显示的网址没有后缀,第二种其实也算是一种REST风格URL。


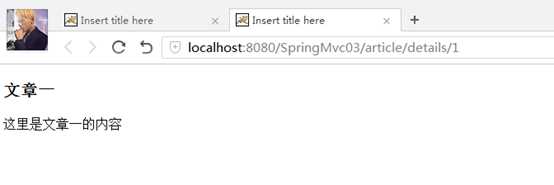
效果预览:可以看到地址栏上的url已经没有.do了。

再点击"文章一"可见:直接用文章的id显示文章的地址。

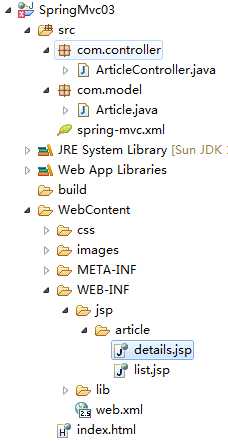
首先配置web.xml文件,为所有的地址请求spring拦截。
<servlet>
<servlet-name>springmvc</servlet-name>
<servlet-class>org.springframework.web.servlet.DispatcherServlet</servlet-class>
<init-param>
<param-name>contextConfigLocation</param-name>
<param-value>classpath:spring-mvc.xml</param-value>
</init-param>
</servlet>
<servlet-mapping>
<servlet-name>springmvc</servlet-name>
<url-pattern>/</url-pattern>
</servlet-mapping>
<?xml version="1.0" encoding="UTF-8"?>
<beans xmlns="http://www.springframework.org/schema/beans"
xmlns:xsi="http://www.w3.org/2001/XMLSchema-instance"
xmlns:p="http://www.springframework.org/schema/p"
xmlns:context="http://www.springframework.org/schema/context"
xmlns:mvc="http://www.springframework.org/schema/mvc"
xsi:schemaLocation="
http://www.springframework.org/schema/beans
http://www.springframework.org/schema/beans/spring-beans.xsd
http://www.springframework.org/schema/mvc
http://www.springframework.org/schema/mvc/spring-mvc.xsd
http://www.springframework.org/schema/context
http://www.springframework.org/schema/context/spring-context.xsd">
<!-- 使用注解的包,包括子集 -->
<context:component-scan base-package="com"/>
<!-- 视图解析器 -->
<bean id="viewResolver"
class="org.springframework.web.servlet.view.InternalResourceViewResolver">
<property name="prefix" value="/WEB-INF/jsp/" />
<property name="suffix" value=".jsp"></property>
</bean>
</beans>
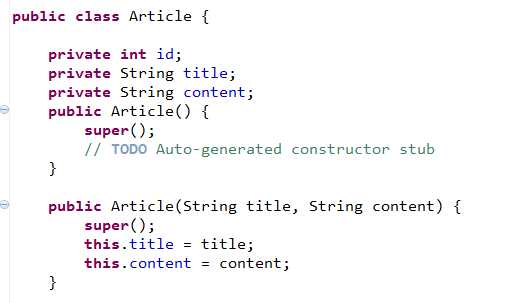
@Controller
@RequestMapping("/article")
public class ArticleController {
@RequestMapping("/list")
public String list(Model model){
return "article/list";
}
@RequestMapping("/details/{id}")
public ModelAndView details(@PathVariable("id") int id){
ModelAndView mav=new ModelAndView();
if(id==1){
mav.addObject("article", new Article("文章一","这里是文章一的内容"));
}else if(id==2){
mav.addObject("article", new Article("文章二","这里是文章二的内容"));
}
mav.setViewName("article/details");
return mav;
}
}
注解:@PathVariable和@RequestParam,从名字上就可以看出来,他们分别是从路径里面去获取变量,也就是把路径当做变量,后者是从请求里面获取参数。
<body>
<table>
<tr>
<th colspan="2">
文章列表
</th>
</tr>
<tr>
<td>1</td>
<td>
<a href="${pageContext.request.contextPath}/article/details/1" target="_blank">文章一</a>
</td>
</tr>
<tr>
<td>2</td>
<td>
<a href="${pageContext.request.contextPath}/article/details/2" target="_blank">文章二</a>
</td>
</tr>
</table>
</body>
注解:这里将文章一的路径写成/details/1,然后controller中就将1这个参数绑定到id上,再通过@PathVariable获取这个1。
<body>
<p>${article.title }</p>
<p>${article.content }</p>
</body>
上面的DEMO是在没有静态资源的情况下的rest风格,但是实际情况下是有的,一般js,css,img,都会有,在上面的demo中,如果添加图片或者其他东西是行不通的,因为在web.xml中将所有的请求都添加了过滤器。这个时候就需要我们对静态资源做一步处理了。
Spring对静态资源的处理是通过<mvc:resources …来处理,具体解释就自己百度。
在上述DEMO的基础上添加如下代码:
<mvc:resources mapping="/resources/**" location="/images/"/>
<mvc:resources mapping="/resources2/**" location="/css/"/>
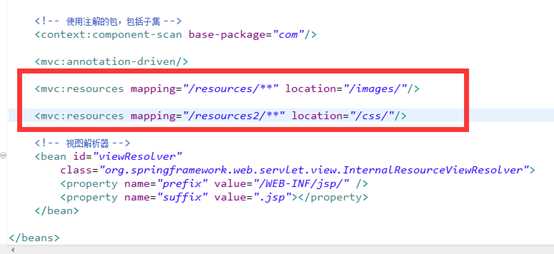
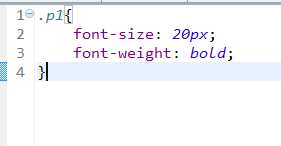
然后添加img和css, 这里我添加一个img图,和一个类css.具体css如下图代码:
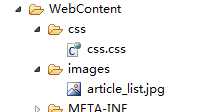
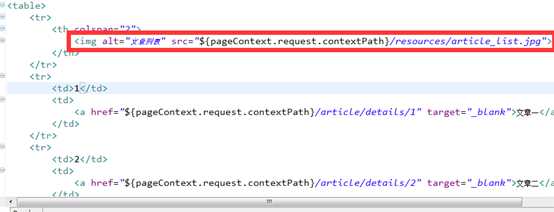
然后修改list.jsp。将图片引用过来。
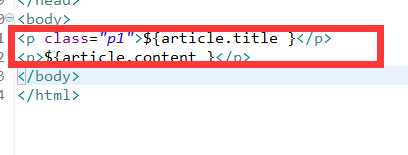
接着为details.jsp的文章内容,添加css.
测试:,
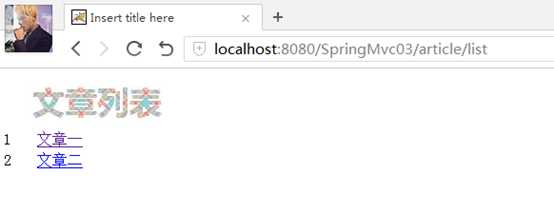
可以看到图片显示出来了,如果没有对静态资源进行处理的话,是不会显示的。然后再点击文章一,也可以看到文章一的标题是有变化了的。
好记性不如烂笔头,菜鸟边学边把学到的东西记录下来。
标签:
原文地址:http://www.cnblogs.com/bb1119/p/5559937.html