标签:
监控服务,首先当然是个服务了。至于什么是windows服务,这里就不多说了。正题
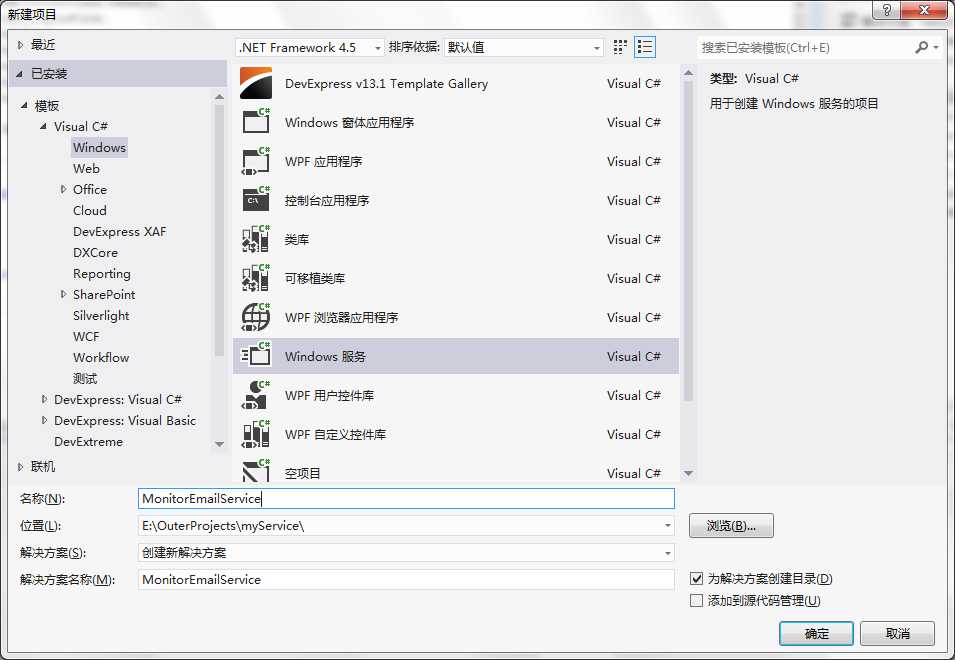
1. 创建服务项目
打开VS编程环境,在C#中创建windows服务项目
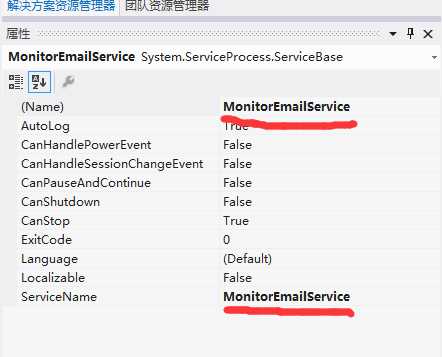
2.创建后属性中更改名称和服务名。
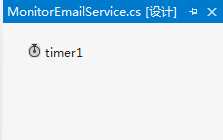
3.增加一个定时器 (这里的timer控件一定要是 System.Timers命名空间下的)
4. 增加安装
在设计页面点右键增加安装,之后你会看到以下的样子,并分别进行设定。
注意设定你的显示信息和服务名称,不是控件名。
同时也要设定StartType,我设为自动,这样一开机就会自动启用。
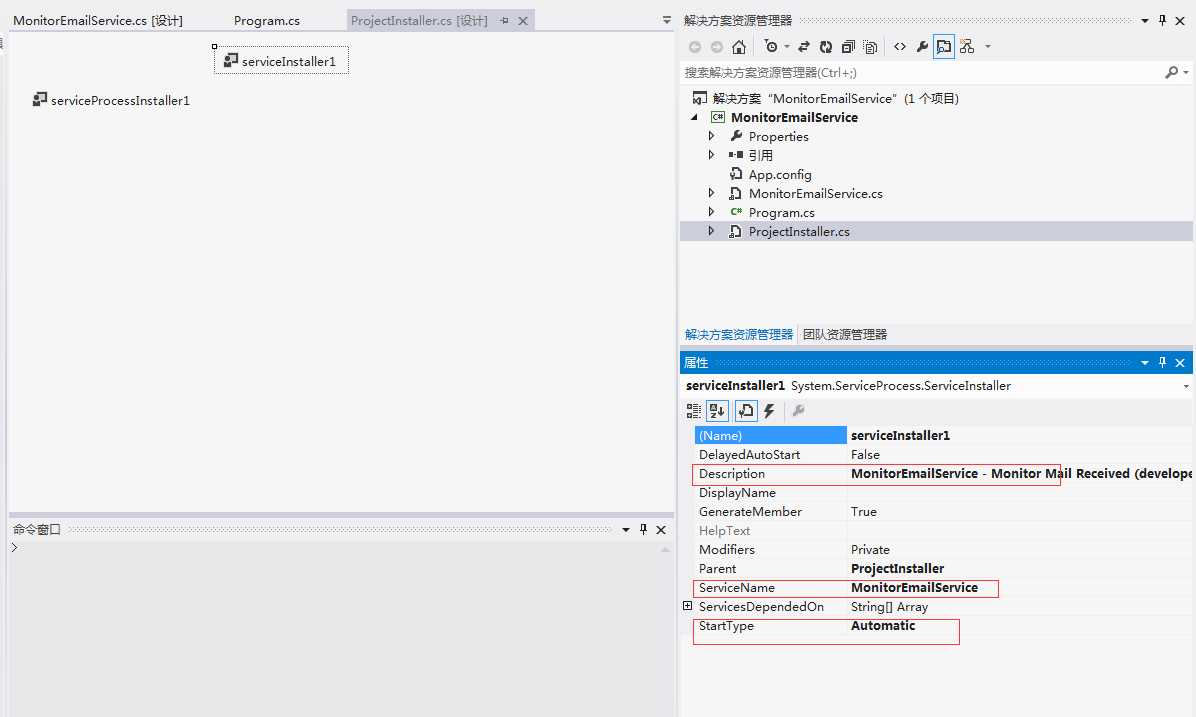
注意使用LocalSystem账号的设定
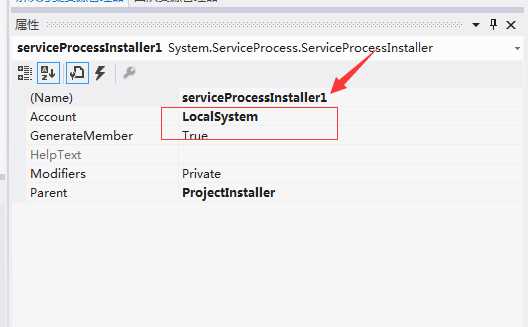
5.生成安装
选择Release的方式进行Build.
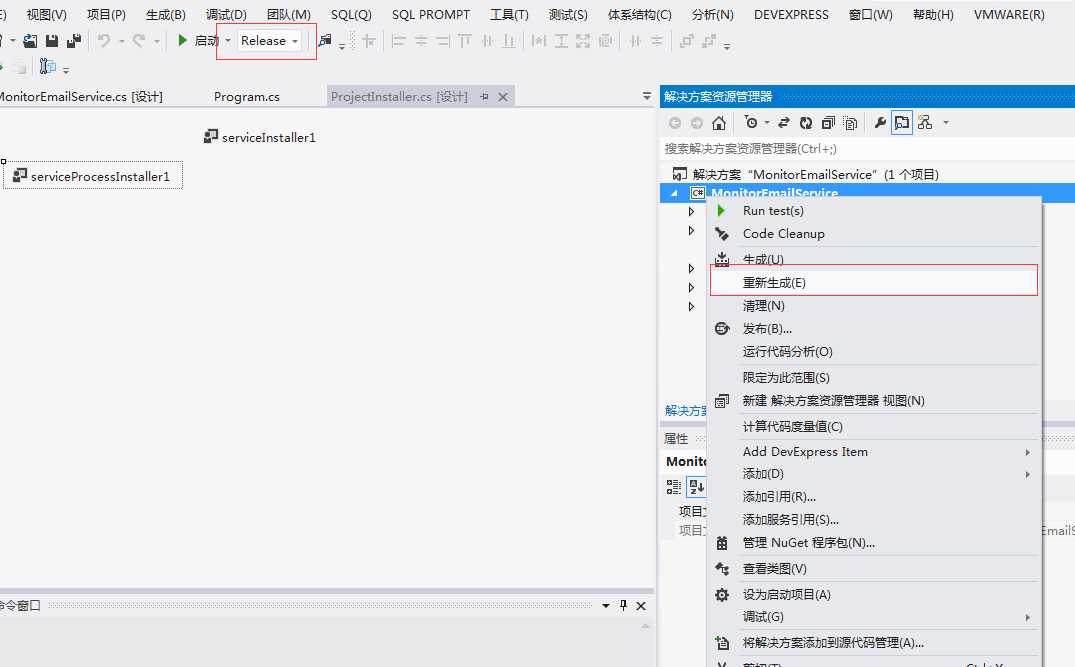
然后到BIN目录的Release文件夹copy相应的文件到一个文件夹。(如 : C:\myService\)
安装:
在此文件夹下编写install.bat
内容如下:
C:\Windows\Microsoft.NET\Framework\v4.0.30319\InstallUtil.exe C:\myService\MonitorEmailService.exe
net start MonitorEmailService
pause
再写一个Uninstall.bat用于卸载。
net stop MonitorEmailService
C:\Windows\Microsoft.NET\Framework\v4.0.30319\InstallUtil.exe /uninstall C:\myService\MonitorEmailService.exe
pause
然后以管理员的身份运行install.bat。就会在服务中找到该服务了。
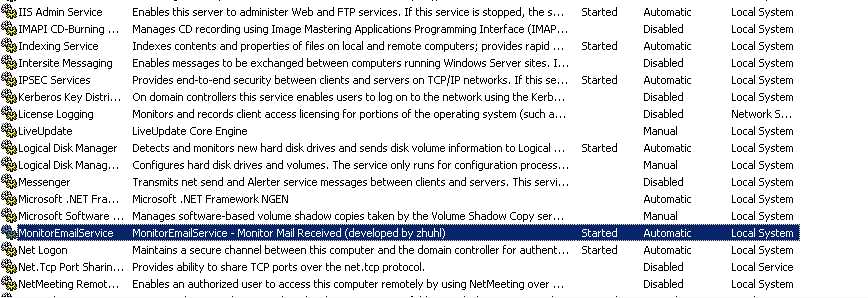
至此一个服务安装完成。
这里有几点需要注意的。
1. timer控件要是System.timers命名空间下的。
2. timer的事件不要直接在设计介面设定。 不然会出现读取的时间间隔配置会不起作用。最好写在OnStart()里
 protected override void OnStart(string[] args)
        {
            this.timer1 = new Timer();
            const string path = @"C:\myService\MonitorEmail.exe.config";
            string s = "";

            if (File.Exists(path))
            {
                s = this.GetSettings(path);
                if (s != "")
                {
                    int num = int.Parse(s) * 0x3e8;
                    this.timer1.Interval = (double)num;
                }
                else
                {
                    this.timer1.Interval = 600000.0;
                }
            }
            else
            {
                this.timer1.Interval = 600000.0;
            }
            // 不能直接在设计页面增加事件,否则按默认的时间间隔,如果没有显示设置间隔,则时间为100ms
            this.timer1.Elapsed += new System.Timers.ElapsedEventHandler(this.timer1_Elapsed);
            this.timer1.Enabled = true;


        }
3. 要添加安装程序产生ProjectInstaller类。
4. 安装服务时注意批处理中的framework版本要与生成的版本一致。
到这里为止,好像没有写任何关于监控邮件的意思。其实,最主要的代码是放在另一个exe程序,这里面只是起了调用的作用。
 public void timer1_Elapsed(object i, ElapsedEventArgs handler)
        {
            try
            {
                ProcessStartInfo startInfo = new ProcessStartInfo(@"C:\myService\MonitorEmail.exe") { WindowStyle = ProcessWindowStyle.Hidden };
                Process.Start(startInfo);
            }
            catch (Exception exception)
            {
                this.WriteLog(exception.ToString());
            }
        }
如想了解。MonitorEmail.exe的具体实现,请留意下一后续的文章,当然,也看有没有读者有这方面的需求了。
标签:
原文地址:http://www.cnblogs.com/Geton/p/5581144.html