标签:http 使用 os io strong 文件 数据 for
解压即用,Ubuntu上Nginx/Apache/PHP编译打包,布布扣,bubuko.com
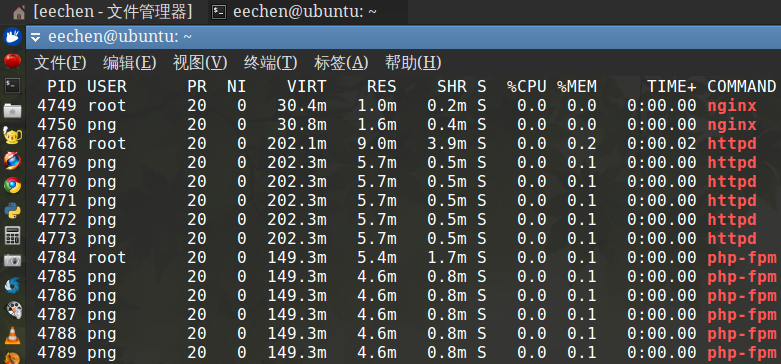
解压即用,Ubuntu上Nginx/Apache/PHP编译打包
原文地址:http://my.oschina.net/eechen/blog/298027