标签:
由于项目开发的原因,需要配置QT creator+OpenCV2.4.2+MinGW开发环境,现对配置方法做如下总结:
1. 下载必备软件
http://sourceforge.net/projects/opencvlibrary/files/opencv-win
Google一下即可查到下载链接。
2. 安装软件
安装QT SDK:
安装的时候会弹出一个错误的提示窗口,一直没弄明白,直接忽略过去了,好像也没有什么影响。需要注意的是:QT新建工程的时候选择桌面开发选项,而不是塞班开发选项。建完工程后,在【项目】那编译器选择:MinGW4.4。另外,重新编译OpenCV要使用MinGW4.4编译。 把 “<Qt_directory>\mingw\bin”添加到环境变量PATH中。
注意,<Qt_directory>为安装后的QT目录所在路径,环境变量名需设为path,如果变量值已有其他路径,可以在路径后面加上英文的分号(;),然后可以添加新的路径,如E:\software\QT\mingw\bin。
如果没有正确地将“<Qt_directory>\mingw\bin”添加到环境变量PATH中,则在下面用Cmake编译OpenCV源码时会出错。
3. 编译OpenCV
主要参考下面英文文章:
Steps to build OpenCV 2.3.1 with Qt and MinGW:
1. Install Qt SDK with the C++ compiler option (MinGW). You can download it here.
2. Add “D:\QtSDK\mingw\bin” to the system PATH.
3. Download and install CMake (2.8.5).
4. Download and install OpenCV2.3.1 (OpenCV-2.3.1-win-superpack.exe).
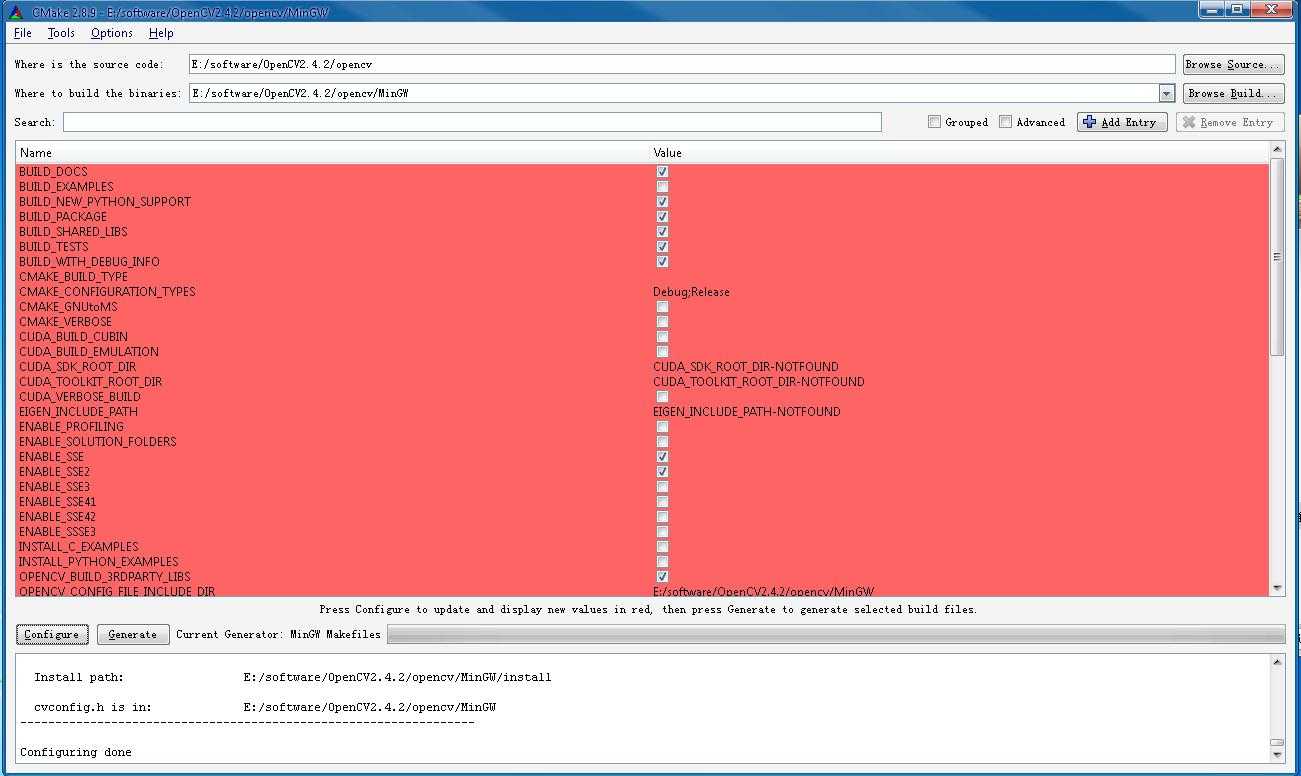
5. Run CMake GUI.
6. Set the source code: “D:\OpenCV2.3.1_src"
7. Set where to build binaries to: “D:\OpenCV2.3.1_out”.

8. Press Configure
9. Let CMake create the new folder.
10. Specify the generator: MinGW Makefiles.

11. Select “Specify Native Compilers” and click Next.

12. For C set: “D:\QtSDK\mingw\bin\gcc.exe”
13. For C++ set: “D:\QtSDK\mingw\bin\g++.exe”

14. Click Finish
15. In the configuration screen type in “DEBUG” (or “RELEASE” if you want to build a release version) for CMAKE_BUILD_TYPE. Check BUILD_EXAMPLES if you want. Check WITH_QT.
16. Click configure again.
17. The configure screen will make you specify the "CUDA_TOOLKIT_ROOT_DIR" path.
set CUDA_TOOLKIT_ROOT_DIR to : "D:/QtSDK/Desktop/Qt/4.7.3/mingw/bin"
18. Click configure again. Click generate. Close CMake.

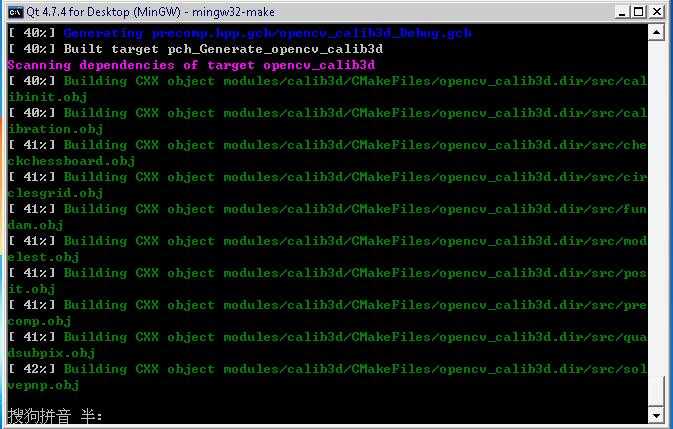
19. Go to "D:\OpenCV2.3.1_out" DIR and type “mingw32-make” and hit enter (this might take some time).

运行图
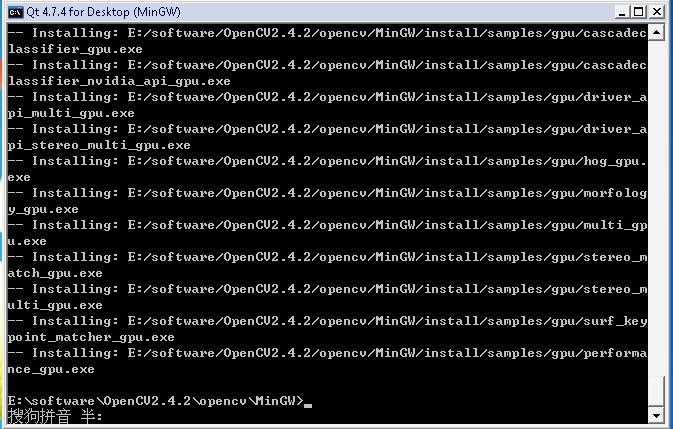
20. Then type “mingw32-make install” and hit enter again.

21. Work done
=====================================================
Use:
Add :
INCLUDEPATH+=D:/OpenCV2.3.1/include
LIBS+=D:/OpenCV2.3.1/bin/*.dll
Or
INCLUDEPATH+=E:\OpenCV-2.3.1\MinGW\install\include
LIBS+=D:\OpenCV2.3.1\lib\libopencv_core231d.dll.a\
D:\OpenCV2.3.1\lib\libopencv_highgui231d.dll.a\
D:\OpenCV2.3.1\lib\libopencv_imgproc231d.dll.a\
D:\OpenCV2.3.1\lib\libopencv_ml231.dll.a
to Qt‘s "pro" file, then you can work on.
等待编译,结束后需要的东西都在install文件夹里面了。把<build_directory>\install\bin添加到环境变量PATH里面,例如E:\software\OpenCV2.4.2\opencv\MinGW\install\bin;
只需要修改.pro文件,添加include和lib。例如:

这样就大功告成!
QT creator+OpenCV2.4.2+MinGW 在windows下开发环境配置
标签:
原文地址:http://www.cnblogs.com/findumars/p/5631726.html