标签:
1. 下面我们看看微信首页,也就是聊天界面,如下:

上面的listView里的item中联系人的头像是圆角的
2. 下面分析一个Github的经典:
(1)Github库地址:
https://github.com/siyamed/android-shape-imageview
(2)使用方法:
>1. 添加依赖:
在build.gradle(Module:app)下添加:
compile ‘com.github.siyamed:android-shape-imageview:0.9.+@aar‘
这里要注意使用的话最小版本要改成9 或者 以上
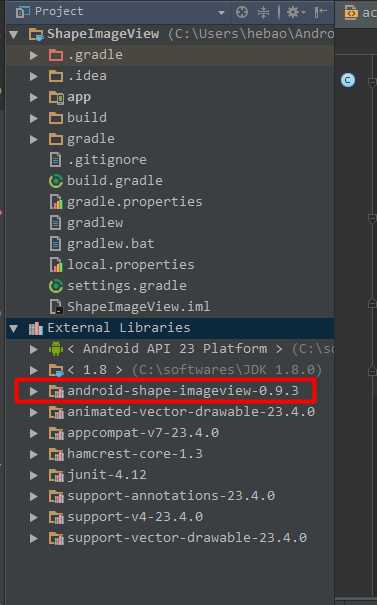
>2. 添加完毕之后,需要重新build一下,引用资源
效果,如下:

>3. 布局文件中直接使用
<com.github.siyamed.shapeimageview.RoundedImageView
    android:layout_width="300dp"
     android:layout_height="300dp"
      android:src="@drawable/super"
      app:siRadius="20dp"/>
这里的siRadius就相当于shape.xml里面的radius属性,即控制圆角弧度。这里使用的时候引用app的资源会爆红,解决方法是在最外层布局里面给他添加上引用:
xmlns:app="http://schemas.android.com/apk/res-auto"
总之,如下:
<?xml version="1.0" encoding="utf-8"?>
<LinearLayout xmlns:android="http://schemas.android.com/apk/res/android"
    xmlns:app="http://schemas.android.com/apk/res-auto"
    xmlns:tools="http://schemas.android.com/tools"
    android:layout_width="match_parent"
    android:layout_height="match_parent"
    android:orientation="vertical"
    android:gravity="center_horizontal"
    tools:context="xmpp.himi.com.shapeimageview.MainActivity">

    <com.github.siyamed.shapeimageview.RoundedImageView
        android:layout_width="250dp"
        android:layout_height="250dp"
        android:src="@drawable/super"
        app:siRadius="20dp"/>

    <ImageView
        android:layout_width="250dp"
        android:layout_height="250dp"
        android:src="@drawable/super"
        />


</LinearLayout>
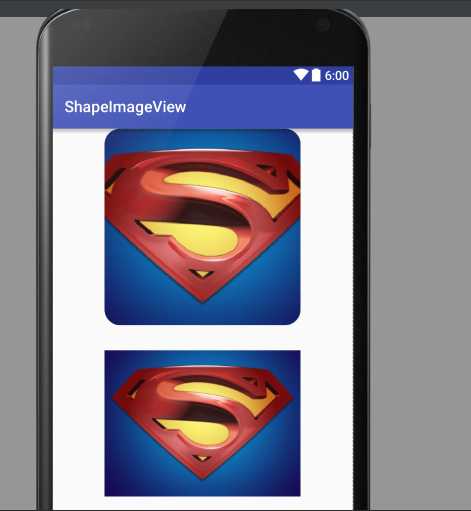
布局效果(和原来效果对比),如下:

这里我们只给大家演示了矩形圆角,那其他的效果大家可以直接去gitHub上面去调用具体实现。
标签:
原文地址:http://www.cnblogs.com/hebao0514/p/5634077.html