标签:
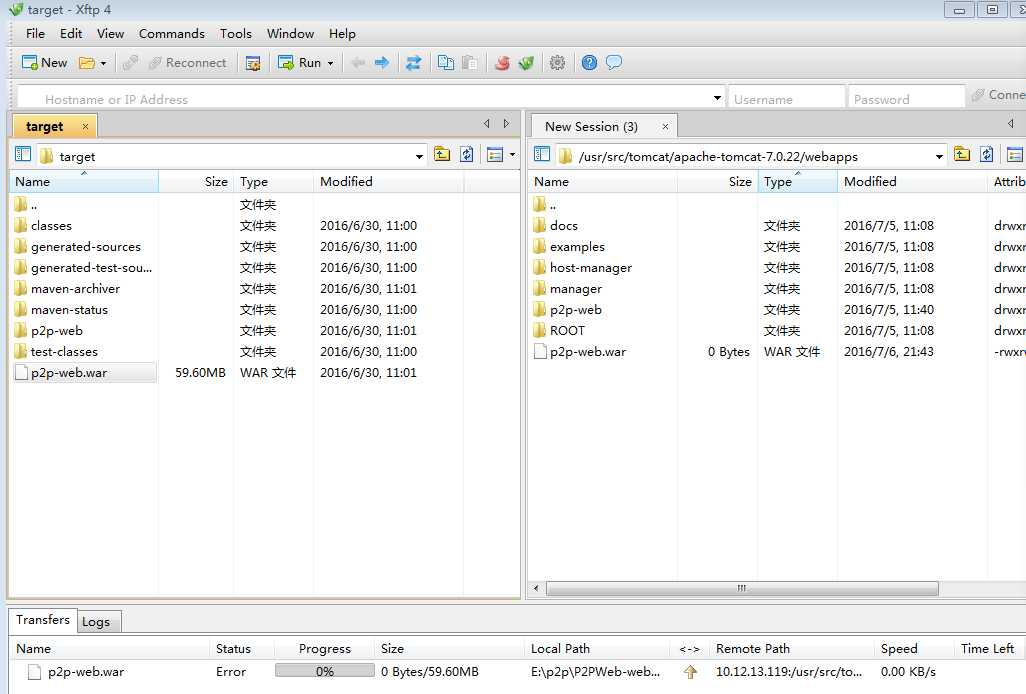
一:将war从本地通过Xftp 4 传到虚拟机tomcat目录下的webapps目录下

2:修改tomcat下的server.xml
<Host name="localhost" appBase="webapps" unpackWARs="true" autoDeploy="true"> <!-- SingleSignOn valve, share authentication between web applications Documentation at: /docs/config/valve.html --> <!-- <Valve className="org.apache.catalina.authenticator.SingleSignOn" /> --> <!-- Access log processes all example. Documentation at: /docs/config/valve.html Note: The pattern used is equivalent to using pattern="common" --> <Valve className="org.apache.catalina.valves.AccessLogValve" directory="logs" prefix="localhost_access_log." suffix=".txt" pattern="%h %l %u %t "%r" %s %b" /> <Context path="" docBase="/usr/src/tomcat/apache-tomcat-7.0.22/webapps/benben-web" debug="0" privileged="true"/> </Host> </Engine> </Service> </Server>
在server.xml里面添加红色代码部分,docBase为你的项目路径
3修改虚拟机hosts
打开终端: vi /etc/hosts
root@benben-virtual-machine:/# vi /etc/hosts

#127.0.0.1      localhost
127.0.0.1       benben-virtual-machine
127.0.0.1       benben.net

# The following lines are desirable for IPv6 capable hosts
::1     ip6-localhost ip6-loopback
fe00::0 ip6-localnet
ff00::0 ip6-mcastprefix
ff02::1 ip6-allnodes
ff02::2 ip6-allrouters
~
红色部分为自己添加 域名
4:修改本地hosts
#127.0.0.1      localhost
#127.0.0.1       benben-virtual-machine
 xxx.x.x.x(这个为虚拟机的ip地址)      benben.net   修改这里
4:测试
在终端开启apache2 :sudo /etc/init.d/apache2 start
开启tomcat : sudo ../startip.sh
最后在网页上打开链接 http://benben.net:8080 这个地址是单独tomcat部署项目
http://benben.net 这个地址是apache整合tomcat部署项目
windows系统中lubuntu虚拟机安装及web项目到服务上(三)
标签:
原文地址:http://www.cnblogs.com/isisbenben/p/5646701.html