标签:
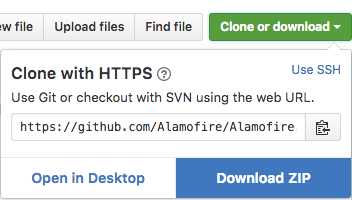
1, 官网下载 Alamofire
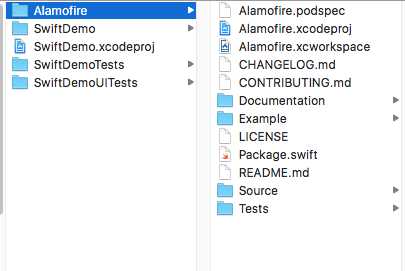
2, 解压下载的文件 放入工程的顶层目录下
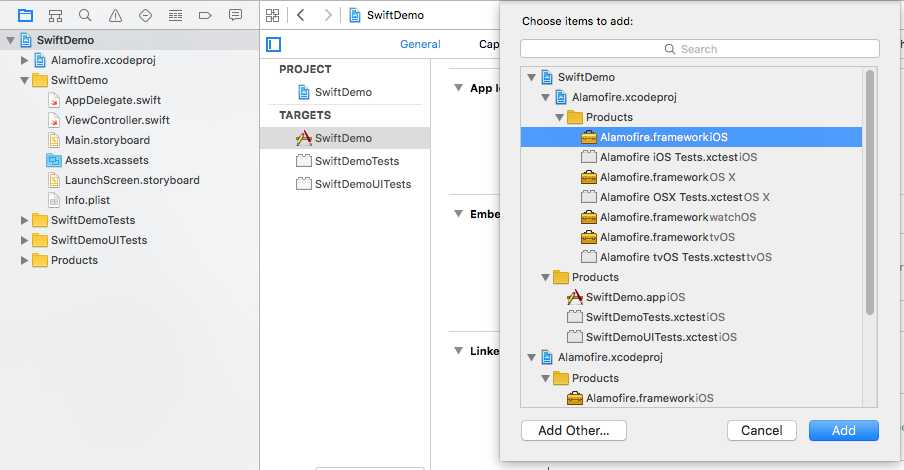
3, 打开工程 Add Files

4, 选中项目 TARGETS > General > Embedded Binaries > +(添加) 完成。 注意选择对应的framework,我们这里选择frameworkiOS
5, 检测是否添加成功,首先检测项目部署版本,使用Alamofire项目 Deployment Target最低为8.0,然后运行下面的代码,调试区输出内容。至此,添加成功
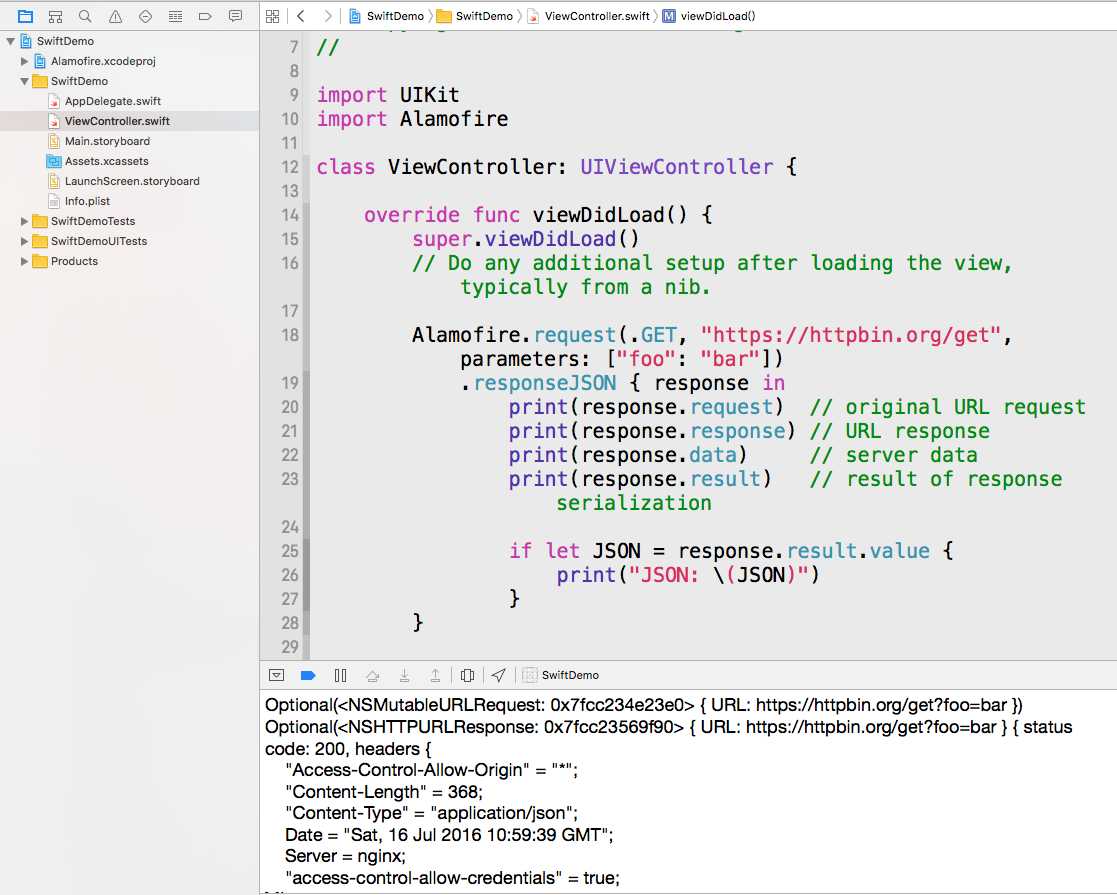
Alamofire.request(.GET, "https://httpbin.org/get", parameters: ["foo": "bar"])
    .responseJSON { response in
        print(response.request)  // original URL request
        print(response.response) // URL response
        print(response.data)     // server data
        print(response.result)   // result of response serialization

        if let JSON = response.result.value {
            print("JSON: \(JSON)")
        }
}
CocoasPods是 Cocoa 工程的依赖管理工具,安装Alamofire需要CocoasPods最低版本为0.39.0,用下面的命令查看pod版本,版本太低的同学需要先升级
pod --version
1, 进入工程目录,创建Podfile文件,文件内容如下
<Your Target Name> 替换成工程对应的名字
source ‘https://github.com/CocoaPods/Specs.git‘
platform :ios, ‘9.0‘
use_frameworks!

target ‘<Your Target Name>‘ do
    pod ‘Alamofire‘, ‘~> 3.4‘
end
2, 然后终端切换到Podfile所在目录 输入命令
pod install
上面两步已经完成导入工作了,在需要使用Alamofire的地方直接导入即可
参考资料(戳这里):
> https://github.com/Alamofire/Alamofire#installation
标签:
原文地址:http://www.cnblogs.com/markstray/p/5677020.html