标签:
一、绘图路径
1     // 1.获取图形上下文
2     CGContextRef ctx = UIGraphicsGetCurrentContext();
3     // 2.绘图(画线)
4     // 设置起点
5     CGContextMoveToPoint(ctx, 20, 20);
6     // 设置终点
7     CGContextAddLineToPoint(ctx, 200, 300);
8     // 渲染
9     CGContextStrokePath(ctx);
上面的代码和下面的代码是等价的。
 1     // 1.获取图形上下文
 2     CGContextRef ctx = UIGraphicsGetCurrentContext();
 3
 4     // 2.绘图
 5     // 2.1创建一条直线绘图的路径
 6     // 注意:但凡通过Quartz2D中带有creat/copy/retain方法创建出来的值都必须要释放
 7     CGMutablePathRef path = CGPathCreateMutable();
 8     // 2.2把绘图信息添加到路径里
 9     CGPathMoveToPoint(path, NULL, 20, 20);
10     CGPathAddLineToPoint(path, NULL, 200, 300);
11     // 2.3把路径添加到上下文中
12     // 把绘制直线的绘图信息保存到图形上下文中
13     CGContextAddPath(ctx, path);
14
15     // 3.渲染
16     CGContextStrokePath(ctx);
17
18     // 4.释放前面创建的两条路径
19     //第一种方法
20     CGPathRelease(path);
21     //第二种方法
22//    CFRelease(path);
23 }
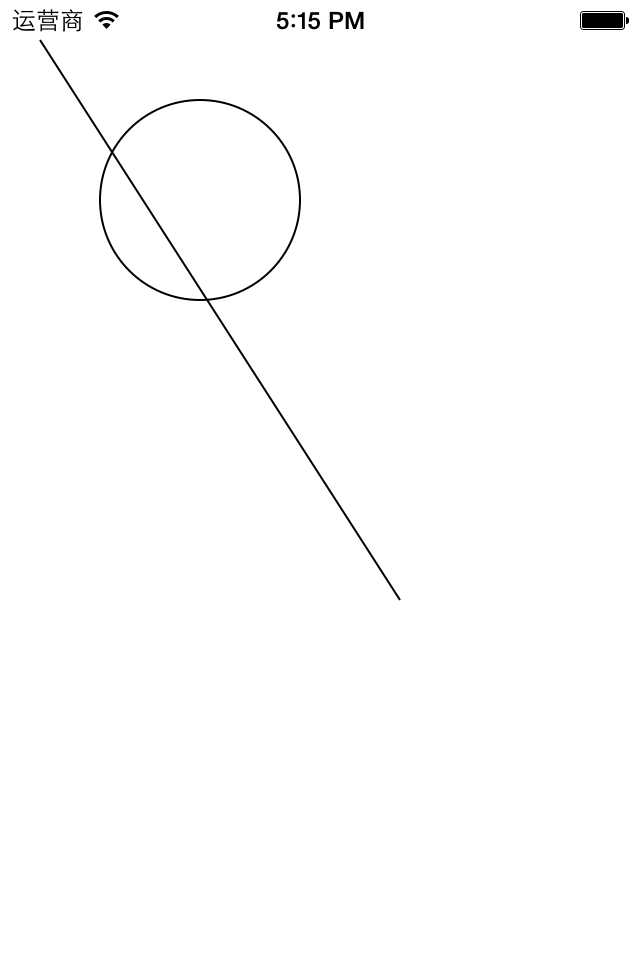
 1 - (void)drawRect:(CGRect)rect
 2 {
 3     // 1.获取图形上下文
 4     CGContextRef ctx = UIGraphicsGetCurrentContext();
 5
 6     // 2.绘图
 7     // 2.a 画一条直线
 8     // 2.a.1创建一条绘图的路径
 9     // 注意:但凡通过Quartz2D中带有creat/copy/retain方法创建出来的值都必须要释放
10     CGMutablePathRef path = CGPathCreateMutable();
11
12     // 2.a.2把绘图信息添加到路径里
13     CGPathMoveToPoint(path, NULL, 20, 20);
14     CGPathAddLineToPoint(path, NULL, 200, 300);
15
16     // 2.a.3把路径添加到上下文中
17     // 把绘制直线的绘图信息保存到图形上下文中
18     CGContextAddPath(ctx, path);
19
20
21     // 2.b画一个圆
22     // 2.b.1创建一条画圆的绘图路径(注意这里是可变的,不是CGPathRef)
23     CGMutablePathRef path1=CGPathCreateMutable();
24
25     //2.b.2把圆的绘图信息添加到路径里
26     CGPathAddEllipseInRect(path1, NULL, CGRectMake(50, 50, 100, 100));
27
28     //2.b.3把圆的路径添加到图形上下文中
29     CGContextAddPath(ctx, path1);
30
31
32     //3.渲染
33     CGContextStrokePath(ctx);
34
35     //4.释放前面创建的两条路径
36     //第一种方法
37     CGPathRelease(path);
38     CGPathRelease(path1);
39     //第二种方法
40 //    CFRelease(path);
41 //    CFRelease(path1);
42}

 1 //
 2 //  YYView.m
 3 //  06-四边形的五种画法
 4 //
 5 //  Created by apple on 14-6-11.
 6 //  Copyright (c) 2014年 itcase. All rights reserved.
 7 //
 8
 9 #import "YYView.h"
10
11 @implementation YYView
12
13
14 - (void)drawRect:(CGRect)rect
15 {
16     // 获取图形上下文
17     CGContextRef ctx = UIGraphicsGetCurrentContext();
18     // 第一种画法,通过连接固定的点绘制四边形
19 //    CGContextMoveToPoint(ctx, 0, 20);
20 //    CGContextAddLineToPoint(<#CGContextRef c#>, <#CGFloat x#>, <#CGFloat y#>);
21 //    CGContextAddLineToPoint(<#CGContextRef c#>, <#CGFloat x#>, <#CGFloat y#>);
22 //    CGContextAddLineToPoint(<#CGContextRef c#>, <#CGFloat x#>, <#CGFloat y#>);
23
24     // 第二种方式:指定起点和宽高绘制四边形
25 //    CGContextAddRect(ctx, CGRectMake(20, 20, 200, 100));
26 //    // 渲染
27 //    CGContextStrokePath(ctx);
28
29     // 第三种方式:二种的两步合并成一步。
30     // 画空心的四边形
31 //    CGContextStrokeRect(ctx, CGRectMake(20, 20, 200, 100));
32 //    // 画实心的四边形
33 //    CGContextFillRect(ctx, CGRectMake(20, 20, 200, 100));
34
35     // 第四种方式(oc的方法):绘制实心的四边形,注意没有空心的方法
36     UIRectFill(CGRectMake(20, 20, 200, 100));
37
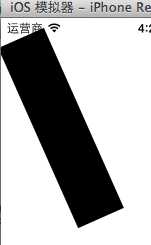
38     // 第五种方式:画根线,设置线条的宽度(通过这种方式可以画斜的四边形)
39 //    CGContextMoveToPoint(ctx, 20, 20);
40 //    CGContextAddLineToPoint(ctx, 100, 200);
41 //    CGContextSetLineWidth(ctx, 50);
42 //    //注意,线条只能画成是空心的
43 //    CGContextStrokePath(ctx);
44
45 }
46 @end
第五种方法可以画斜的四边形。

标签:
原文地址:http://www.cnblogs.com/zengshuilin/p/5756292.html