标签:
本节开始介绍javascript在html页面中的运用。
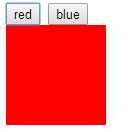
(1)link样式表的动态绑定:(http://files.cnblogs.com/files/MenAngel/text04.zip)
<!DOCTYPE html>
<html xmlns="http://www.w3.org/1999/xhtml">
<head>
<meta http-equiv="Content-Type" content="text/html; charset=utf-8"/>
    <title>示例9.1</title>
    <link id="olink" href="css/01.css" rel="stylesheet" />
    <script>
        function tored() {
            var alink = document.getElementById(‘olink‘);
            alink.href = ‘css/01.css‘;
        }
        function toblue() {
            var alink = document.getElementById(‘olink‘);
            alink.href = ‘css/02.css‘;
        }
    </script>
</head>
<body>
    <input type="button" value="red" onclick="tored()"/>
    <input type="button" value="blue" onclick="toblue()" />
    <div></div>
</body>
</html>
(2)js中参数的传递
<!DOCTYPE html>
<html xmlns="http://www.w3.org/1999/xhtml">
<head>
<meta http-equiv="Content-Type" content="text/html; charset=utf-8"/>
    <title>示例9.2</title>
    <style>
        #div1 {
           width:200px;
           height:200px;
           background-color:red;
        }
    </style>
    <script>
        function tobianshe(yanshe) {
            var odiv = document.getElementById(‘div1‘);
            odiv.style.backgroundColor = yanshe;
        }/*
        function toblue() {
          var odiv = document.getElementById(‘div1‘);
          odiv.style.backgroundColor = ‘blue‘;
        }
        function toyellow() {
            var odiv = document.getElementById(‘div1‘);
            odiv.style.backgroundColor = ‘yellow‘;
        }
        function togreen() {
            var odiv = document.getElementById(‘div1‘);
            odiv.style.backgroundColor = ‘green‘;
        }*/
    </script>
</head>
<body>
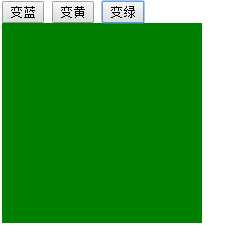
    <input type="button"  value="变蓝"  onclick="tobianshe(‘blue‘)"/>
    <input type="button"  value="变黄"  onclick="tobianshe(‘yellow‘)"/>
    <input type="button"  value="变绿"  onclick="tobianshe(‘green‘)"/>
    <div id="div1">
    </div>
</body>
</html>
(3)显示和隐藏元素:
<!DOCTYPE HTML>
<html>
<head>
<meta charset="utf-8">
<title>示例9.3</title>
<style>
   #div1{
     width:200px;
     height:200px;
     background:#CCC;
     display:none;
   }
</style>
<script>
function showHide()
{
    var oDiv = document.getElementById(‘div1‘);
    if (oDiv.style.display == ‘block‘) {
        oDiv.style.display = ‘none‘;
    }
    else{
        oDiv.style.display = ‘block‘;
    }
}
</script>
</head>

<body>
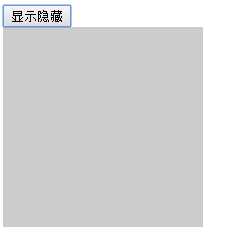
<input type="button" value="显示隐藏" onclick="showHide()" />
<div id="div1" >
</div>
</body>
</html>
(4)js中选取成组元素:
<!DOCTYPE html>
<html xmlns="http://www.w3.org/1999/xhtml">
<head>
<meta http-equiv="Content-Type" content="text/html; charset=utf-8"/>
    <title>示例9.4</title>
    <script>
    <!--在页面运行时自调用,如果设置事件,需要给函数加上函数名-->
        window.onload=function(){
        var aDiv = document.getElementsByTagName(‘div‘);
        var cDiv = document.getElementsByClassName(‘a‘);
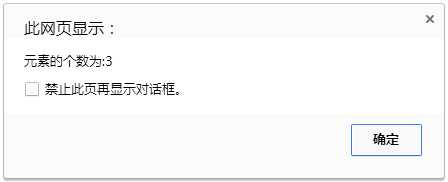
        alert("元素的个数为:"+cDiv.length);
        }
    </script>
</head>
<body>
    <div></div>
    <div class="a"></div>
    <div></div>
    <div></div>
    <div class="a"></div>
    <div></div>
    <div></div>
    <div></div>
    <div class="a"></div>
    <div></div>
    <div></div>
</body>
</html>
(5)js中的定时器:
<!DOCTYPE html>
<html xmlns="http://www.w3.org/1999/xhtml">
<head>
<meta http-equiv="Content-Type" content="text/html; charset=utf-8"/>
    <title>示例9.5</title>
    <script>
        window.onload = function (){
        var obtn1 = document.getElementById(‘btn1‘);
        var obtn2 = document.getElementById(‘btn2‘);
        var timer = null;
          obtn1.onclick = function () {
            <!--setInterval的返回值是一个timer类型-->
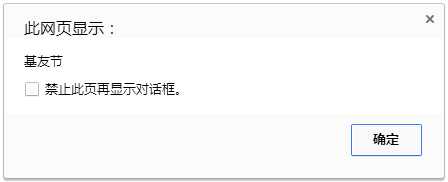
            timer= setInterval(function () { alert(‘基友节‘);},5000);//每5秒执行一次
          }
          obtn2.onclick = function () {
            clearInterval(timer);
          }
        }
    </script>
</head>
<body>
    <input type="button" value="开启" id="btn1"/>
    <input type="button" value="关闭" id="btn2"/>
</body>
</html>
标签:
原文地址:http://www.cnblogs.com/MenAngel/p/5770919.html