标签:
(mybatis+spring mvc运行包+两者整合包mybatis-spring.jar)
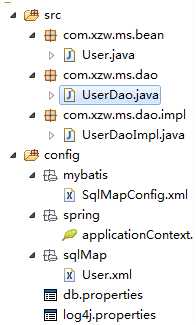
mybatis:SqlMapConfig.xml、mapper.xml等
spring mvc: applicationContext.xml
<beans xmlns="http://www.springframework.org/schema/beans"
xmlns:xsi="http://www.w3.org/2001/XMLSchema-instance" xmlns:mvc="http://www.springframework.org/schema/mvc"
xmlns:context="http://www.springframework.org/schema/context"
xmlns:aop="http://www.springframework.org/schema/aop" xmlns:tx="http://www.springframework.org/schema/tx"
xsi:schemaLocation="http://www.springframework.org/schema/beans
http://www.springframework.org/schema/beans/spring-beans-3.2.xsd
http://www.springframework.org/schema/mvc
http://www.springframework.org/schema/mvc/spring-mvc-3.2.xsd
http://www.springframework.org/schema/context
http://www.springframework.org/schema/context/spring-context-3.2.xsd
http://www.springframework.org/schema/aop
http://www.springframework.org/schema/aop/spring-aop-3.2.xsd
http://www.springframework.org/schema/tx
http://www.springframework.org/schema/tx/spring-tx-3.2.xsd ">
<!-- 加载配置文件 db.properties -->
<context:property-placeholder location="classpath:db.properties" />
<!-- 使用dbcp数据源 -->
<bean id="dataSource" class="org.apache.commons.dbcp.BasicDataSource"
destroy-method="close">
<property name="driverClassName" value="${jdbc.driver}" />
<property name="url" value="${jdbc.url}" />
<property name="username" value="${jdbc.username}" />
<property name="password" value="${jdbc.password}" />
<property name="maxActive" value="15" />
<property name="maxIdle" value="3" />
</bean>
<!-- sqlSessionFactory -->
<bean id="sqlSessionFactory" class="org.mybatis.spring.SqlSessionFactoryBean">
<!-- 加载mybatis的配置文件 -->
<property name="configLocation" value="mybatis/SqlMapConfig.xml" />
<!-- 数据源 -->
<property name="dataSource" ref="dataSource" />
</bean>
</beans>
理解
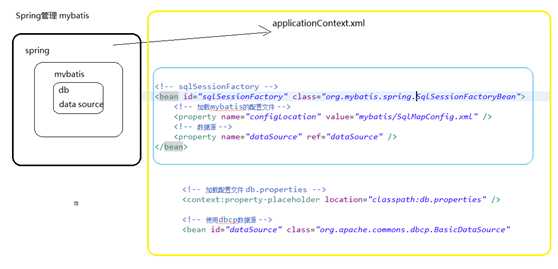
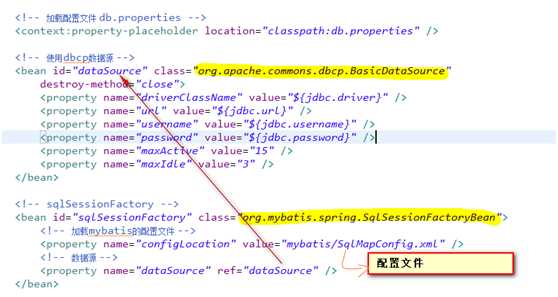


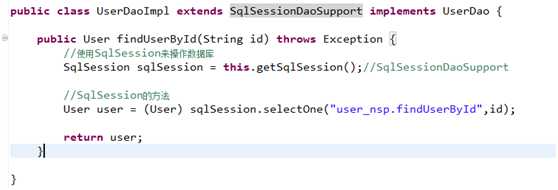
纯mybatis的话,这里是注入一个SqlSession来操作的。整合spring后通过SqlSessionDaoSupport的getSqlSession来操作。

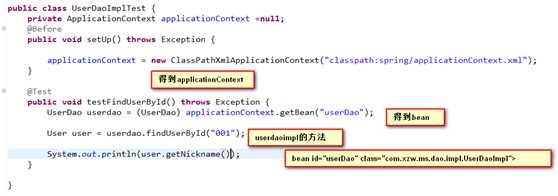


方法一,单个

方法二,批量


标签:
原文地址:http://www.cnblogs.com/jway1101/p/5773584.html