标签:
一、下载Anaconda,安装。
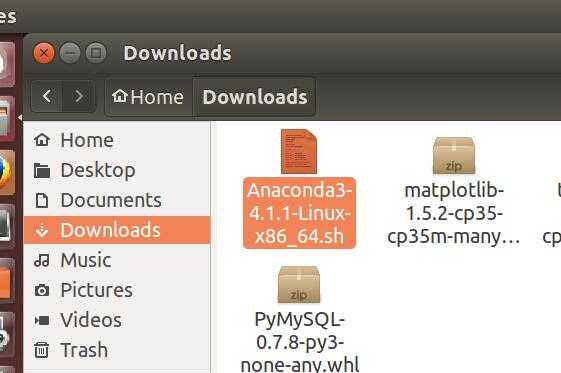
sudo bash Ana...........sh
二、配置环境变量

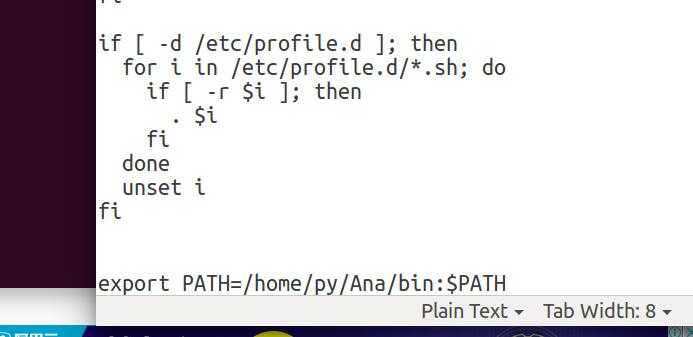
加最后一句:/home/py/Ana/bin 就是安装地址

安装完毕reboot。
输入python。看见Anaconda就对了
三、conda环境
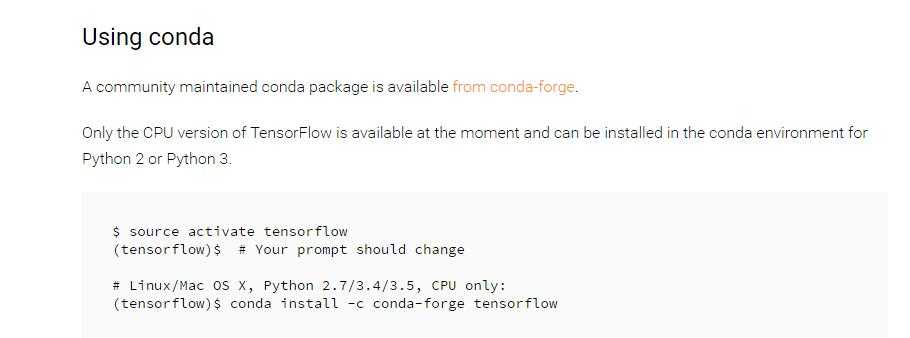
创建一个PY3.5版本的名为tensorflow的环境

这里官网说用默认的源。其使用我下面推荐的那个比较快一点。。

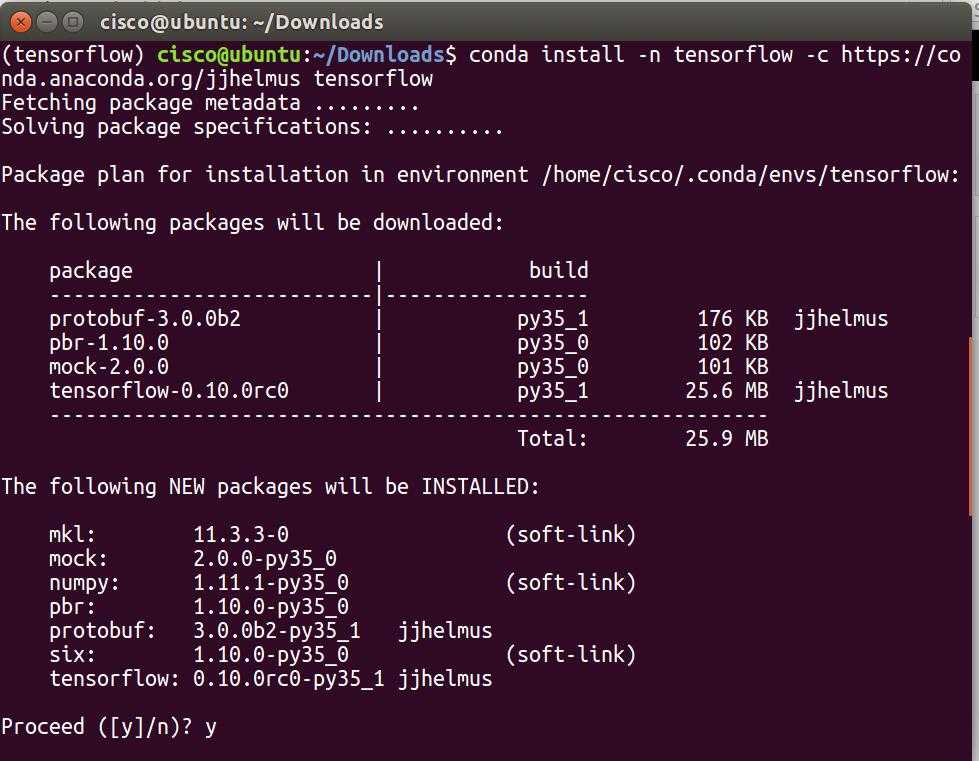
conda install -n tensortflow -c https://conda.anaconda.org/jjhelmus tensorflow
现已更名为Jupyter(http://jupyter.org/),支持通过notebook进行算法模型的共享。
Spark,高性能并行计算环境
从 https://conda.anaconda.org/anaconda-cluster 可以访问到集成的Spark版本。
安装:
conda install -n tensor -c https://conda.anaconda.org/anaconda-cluster spark
TensorFlow是由Google开源的基于神经网络的机器学习引擎,从 https://www.tensorflow.org/ 访问详细信息。
安装:
conda install -n tensor -c https://conda.anaconda.org/jjhelmus tensorflow
import tensorflow as tf
import numpy as np

# Create 100 phony x, y data points in NumPy, y = x * 0.1 + 0.3
x_data = np.random.rand(100).astype(np.float32)
y_data = x_data * 0.1 + 0.3

# Try to find values for W and b that compute y_data = W * x_data + b
# (We know that W should be 0.1 and b 0.3, but TensorFlow will
# figure that out for us.)
W = tf.Variable(tf.random_uniform([1], -1.0, 1.0))
b = tf.Variable(tf.zeros([1]))
y = W * x_data + b

# Minimize the mean squared errors.
loss = tf.reduce_mean(tf.square(y - y_data))
optimizer = tf.train.GradientDescentOptimizer(0.5)
train = optimizer.minimize(loss)

# Before starting, initialize the variables.  We will ‘run‘ this first.
init = tf.initialize_all_variables()

# Launch the graph.
sess = tf.Session()
sess.run(init)

# Fit the line.
for step in range(201):
    sess.run(train)
    if step % 20 == 0:
        print(step, sess.run(W), sess.run(b))

# Learns best fit is W: [0.1], b: [0.3]
这个就是是py3的直接可以跑
Ubuntu上推荐大家还是用sublime来写代码。
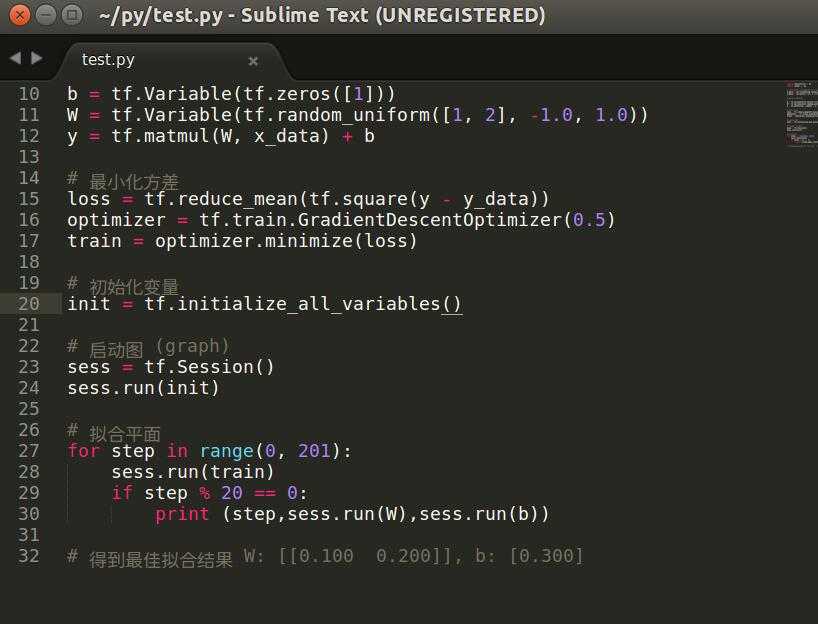
结果
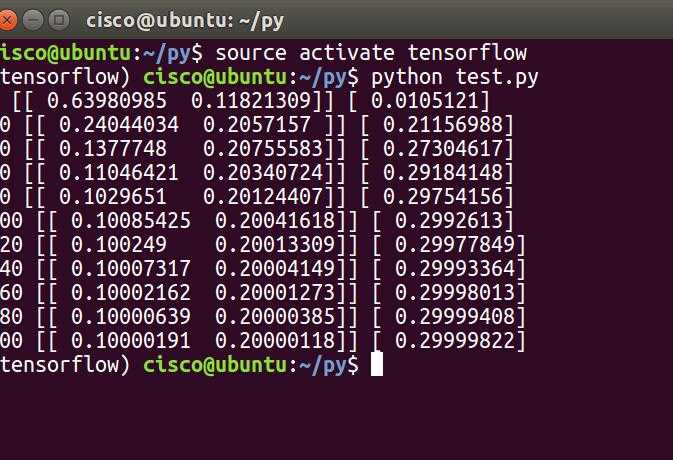
ubuntu16.01的Anaconda下的tensorflow安装
标签:
原文地址:http://www.cnblogs.com/MnsterLu/p/5846702.html