标签:安装 轮播 const upm button 开发项目 查看 命令行 nat
总结下这段时间学习reactive native的一些东西,我们来认识一下,被炒得这么火的rn,究竟是个什么东西,以及如何去搭建自己的demo。
reactive native是什么
由facebook开发的一种应用框架,可以用react开发原生应用的框架。简单来说就是可以通过js和react来开发的一种框架。
react是什么
一套js的框架,也是facebook开源。特点:jsx语法(类似XML),组件化模式,virtual DOM,单向数据流。
基本模式:每个react应用可视为组件的组合,而每个react组件由属性和状态来配置,当状态发生变化更新ui,组件的结构是由虚拟的dom来维护。
react native的应用实例
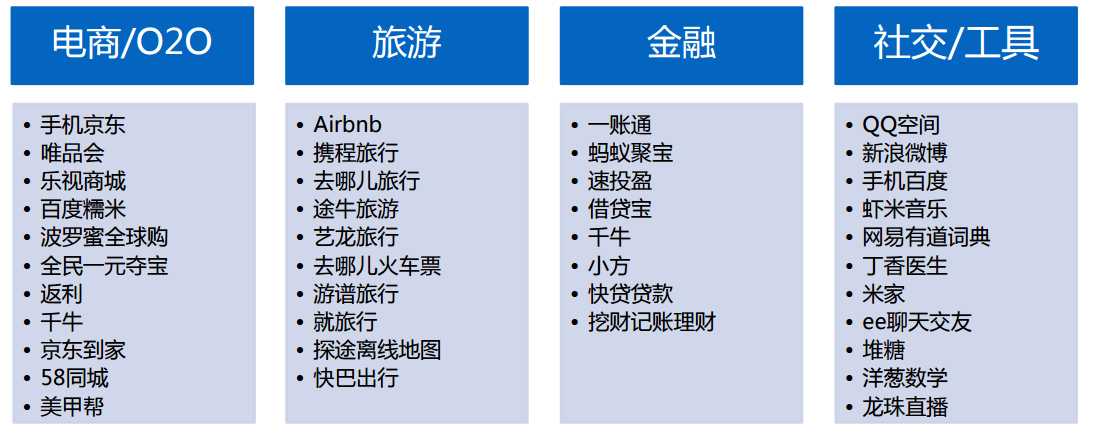
react native的模式
*跨端应用开发(ios,安卓,web) ,基于react的组件化,具备web的发布能力和原生应用的性能。
优点:开发效率高,迭代周期短 ; 复用性(对一些组件进行复用封装)热部署 ; 采用web的方式来开发native的应用
react native的环境搭建
这里,我还是遇到不少问题,大概写下安装过程,官网上大部分写的比较清楚。地址:http://reactnative.cn/docs/0.31/getting-started.html#content ,以下为安卓模拟器使用。
1:安装node
2:执行react native命令行
3:android studio安装(需要配置sdk)
4:安装bluestacks模拟器(首推) 下载地址:http://www.bluestacks.cn/
运行项目
当你所有的环境都搭建好后,在项目目录下,打开命令指示符,输入命令:
|
1
|
crn-cli run-android |
这时候,会自动启动模拟器,无需任何操作,但前提是确保你模拟器已经连接上,如何知道模拟器是否连接上呢?输入下面指令即可查看:
|
1
|
adb devices |
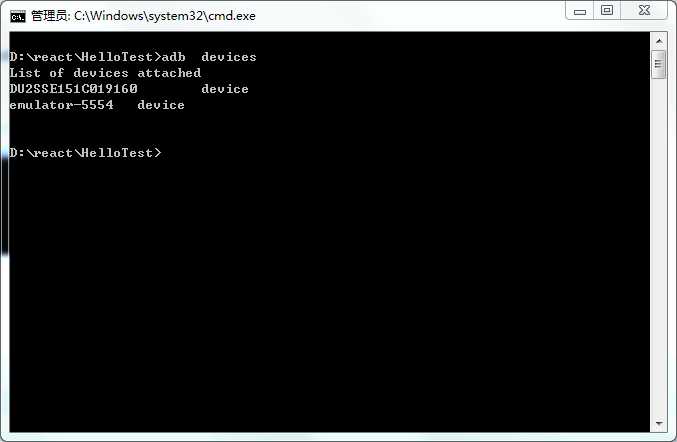
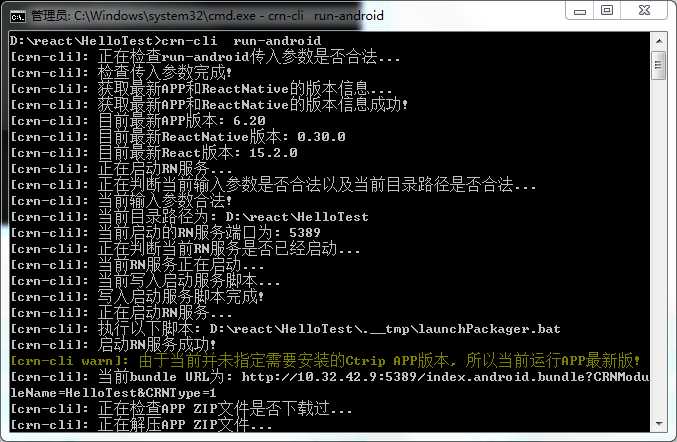
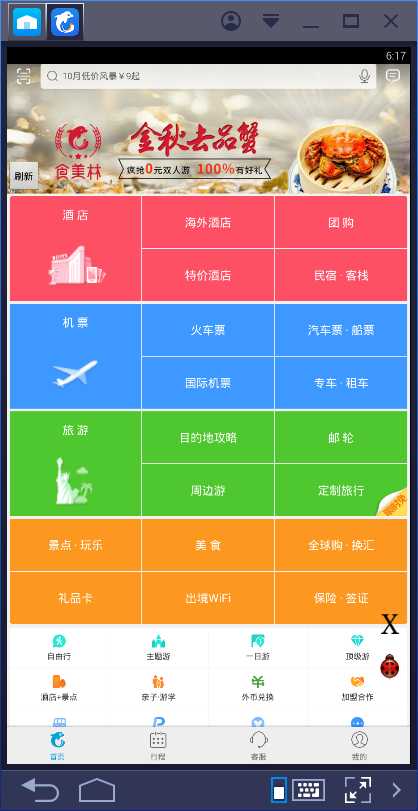
当项目的apk已经完全安装好后,会自动加载启动我们的项目:
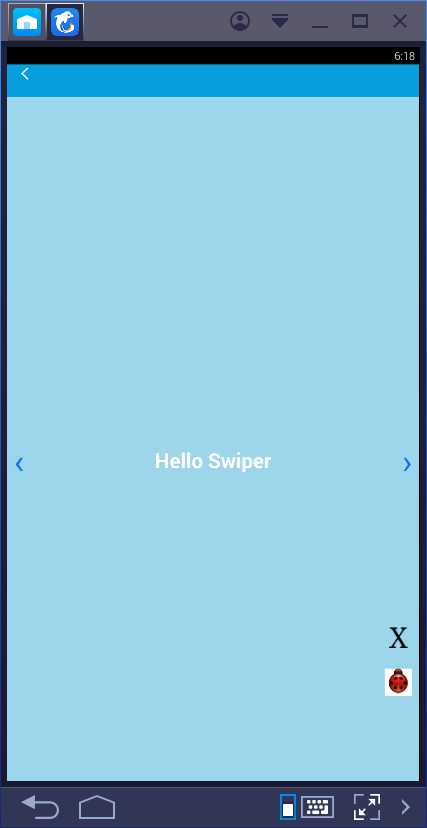
关于轮播组件的加载使用
首先在你的项目中安装该插件模块,然后在你项目代码中引入改模块,进行加载。需要注意的是,需要在某个页面使用该模块,就在该页面中引入该模块。
|
1
|
$ npm i react-native-swiper --save |
我们来看下轮播组件在自己框架项目中的某个页面该如何进行引入,这里贴下代码更直观。
我们只需要在头部插入引入的插件,如下:
|
1
|
import Swiper from ‘react-native-swiper‘; |
在进行render的时候,进行调用,就可以轻松的使用该插件,应用到我们的开发项目中。
|
1
2
3
4
5
6
7
8
9
10
11
|
<Swiper style={styles.wrapper} showsButtons={true}> <View style={styles.slide1}> <Text style={styles.text}>Hello Swiper</Text> </View> <View style={styles.slide2}> <Text style={styles.text}>Beautiful</Text> </View> <View style={styles.slide3}> <Text style={styles.text}>And simple</Text> </View></Swiper> |
这里贴下该页面的完整代码,关于rn的样式问题,其实对比css差距还是比较大的,这里给个样式对比地址:https://github.com/foreverjiangting/react-native-stylesheet-guide
|
1
2
3
4
5
6
7
8
9
10
11
12
13
14
15
16
17
18
19
20
21
22
23
24
25
26
27
28
29
30
31
32
33
34
35
36
37
38
39
40
41
42
43
44
45
46
47
48
49
50
51
52
53
54
55
|
‘use strict‘;import React, { Component } from ‘react‘;import Swiper from ‘react-native-swiper‘;import { StyleSheet, Text, View,} from ‘react-native‘;export default class Page1 extends Page { render() { return ( <ViewPort> <Swiper style={styles.wrapper} showsButtons={true}> <View style={styles.slide1}> <Text style={styles.text}>Hello Swiper</Text> </View> <View style={styles.slide2}> <Text style={styles.text}>Beautiful</Text> </View> <View style={styles.slide3}> <Text style={styles.text}>And simple</Text> </View> </Swiper> </ViewPort> ); }}const styles = StyleSheet.create({ wrapper: { }, slide1: { flex: 0.5, justifyContent: ‘center‘, alignItems: ‘center‘, backgroundColor: ‘#9DD6EB‘, }, slide2: { flex: 1, justifyContent: ‘center‘, alignItems: ‘center‘, backgroundColor: ‘#97CAE5‘, }, slide3: { flex: 1, justifyContent: ‘center‘, alignItems: ‘center‘, backgroundColor: ‘#92BBD9‘, }, text: { color: ‘#fff‘, fontSize: 30, fontWeight: ‘bold‘, }}); |
关于各个模块之间的结构可看下下面代码,我们在index.android.js中添加如下代码:
|
1
2
3
4
5
6
7
8
9
|
‘use strict‘;import { AppRegistry //注册app} from ‘react-native‘;const theCompnent = require(‘./main‘); AppRegistry.registerComponent(‘HelloTest‘, () => theCompnent);//Attention: 此处module.exports必须保留module.exports = theCompnent; |
如何在pc端进行调试呢?
作为开发人员,没有调试工具,真的是很难过啊,还好模拟器提供了调试工具,我们来看下演示demo操作。打开js devmodel即可。调试很方便啦!对于我们在pc上修改的任何东西都会立即显示出来。
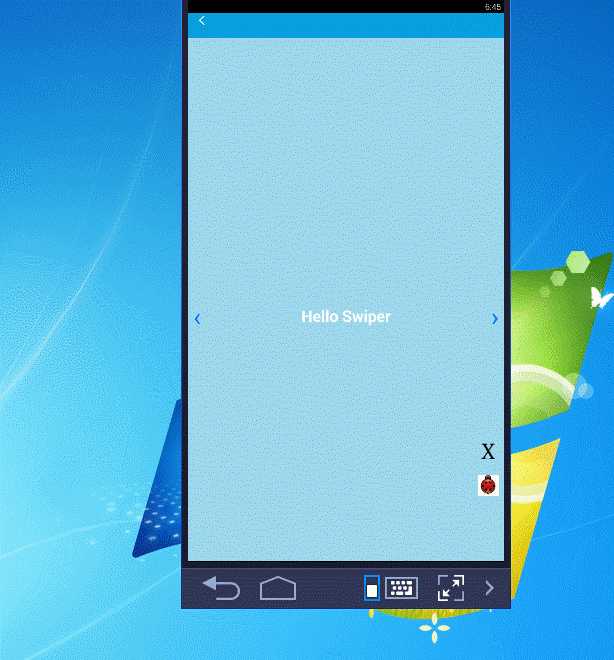
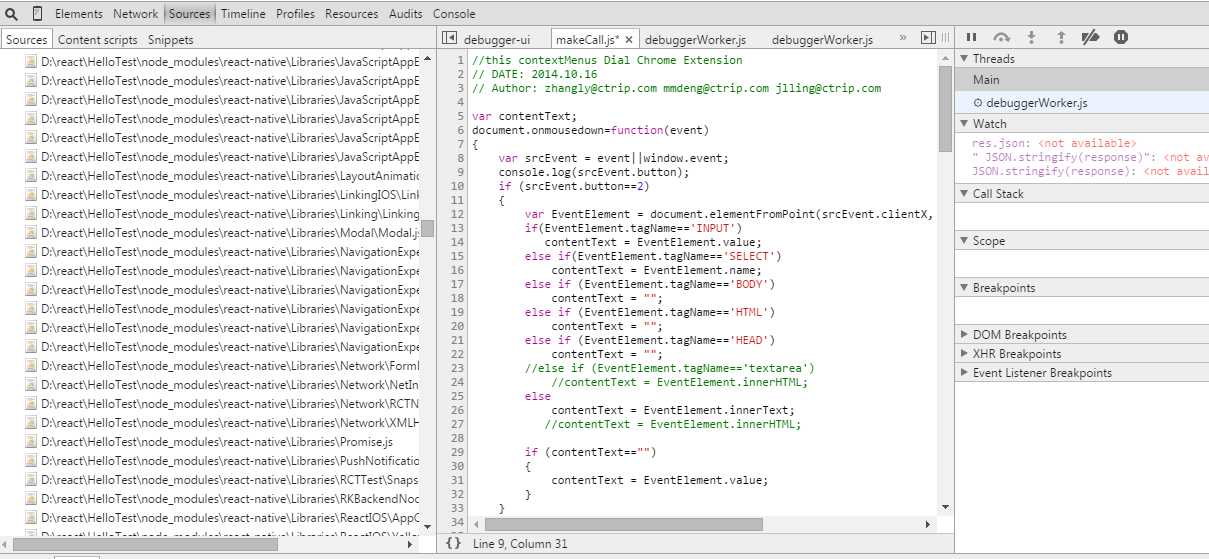
OK,打开浏览器,我们就可以很方便的看到我们自己的文件目录啦。这样我们就可以很方便的在chrome上进行开发啦。
最后
最后呢,给大家分享一下这两天听QCON的开发大会的资料,收获还是蛮大的,关键是尤雨溪男神,讲解vue.js,简直棒棒哒,贴上所有的ppt演讲资料,有兴趣的可以看下:
ppt链接网址:http://ppt.geekbang.org/qconsh2016?from=groupmessage&isappinstalled=0
作者:婷风
出处:http://www.cnblogs.com/jtjds/p/5990367.html
标签:安装 轮播 const upm button 开发项目 查看 命令行 nat
原文地址:http://www.cnblogs.com/Leo_wl/p/5998769.html