标签:exec eid while 链接 uil tco asto server field
写在前面的话
可详细参考,一定得去看
我这里,相信,能看此博客的朋友,想必是有一定基础的了。我前期写了大量的基础性博文。可以去补下基础。
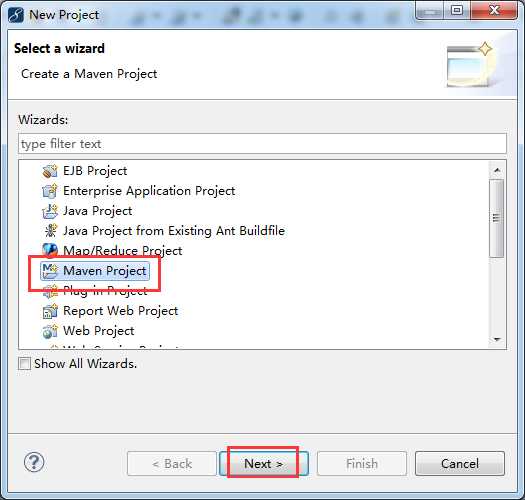
步骤一:File -> New -> Project -> Maven Project
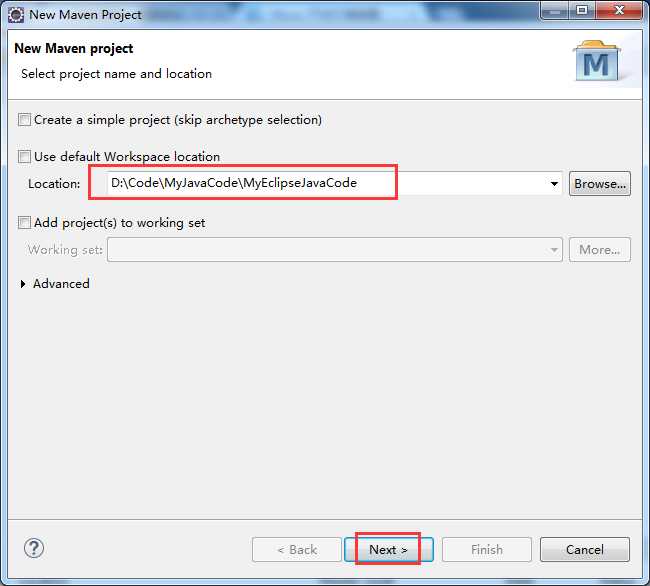
步骤二:自行设置,待会创建的myHBase工程,放在哪个目录下。
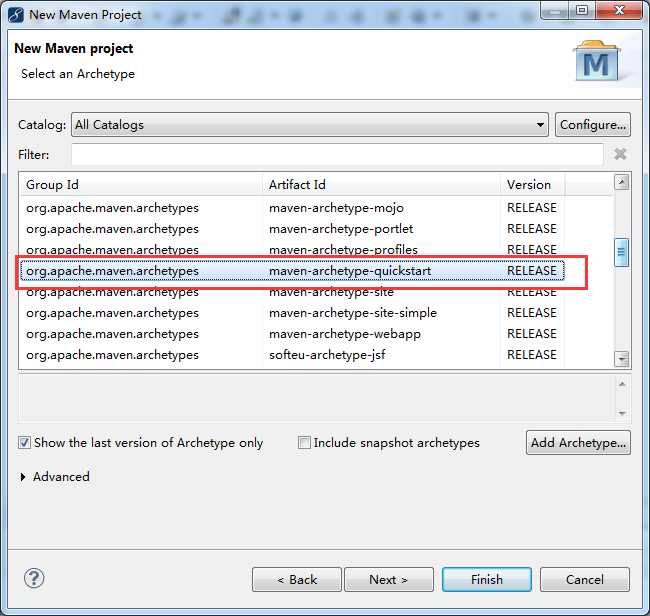
步骤三:
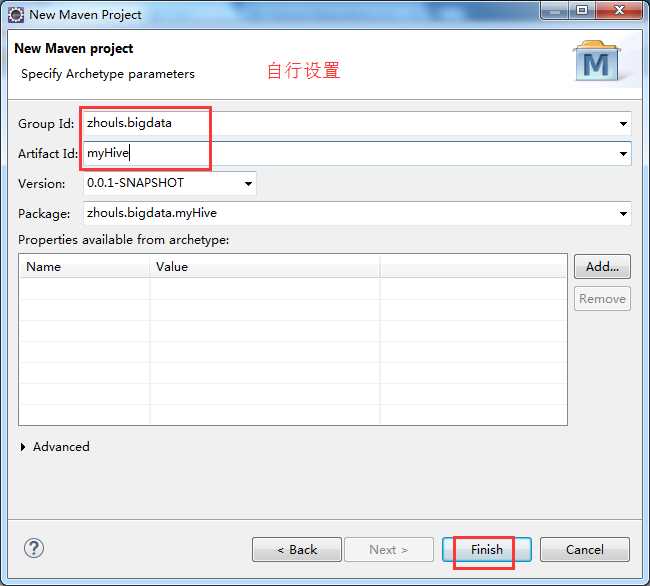
步骤四:自行设置
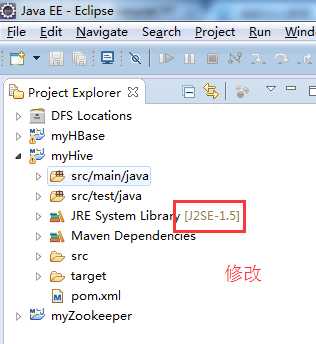
步骤五:修改jdk
省略,很简单!
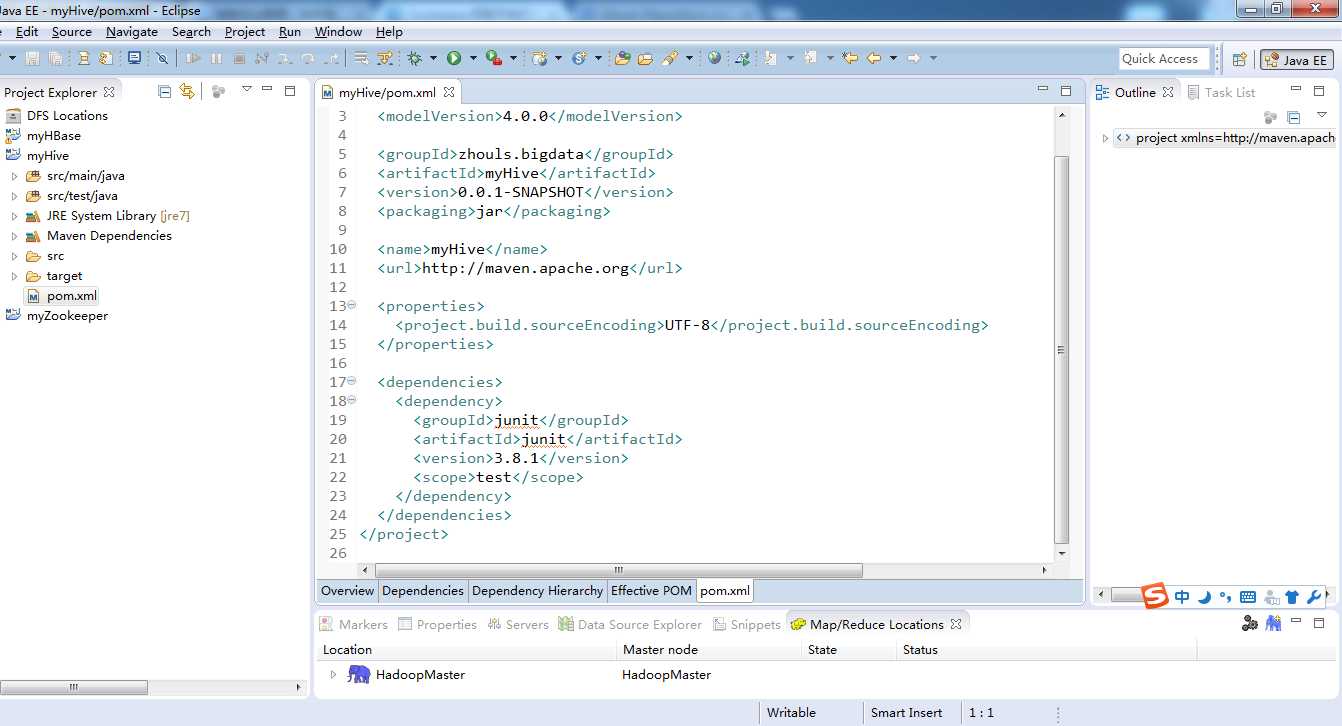
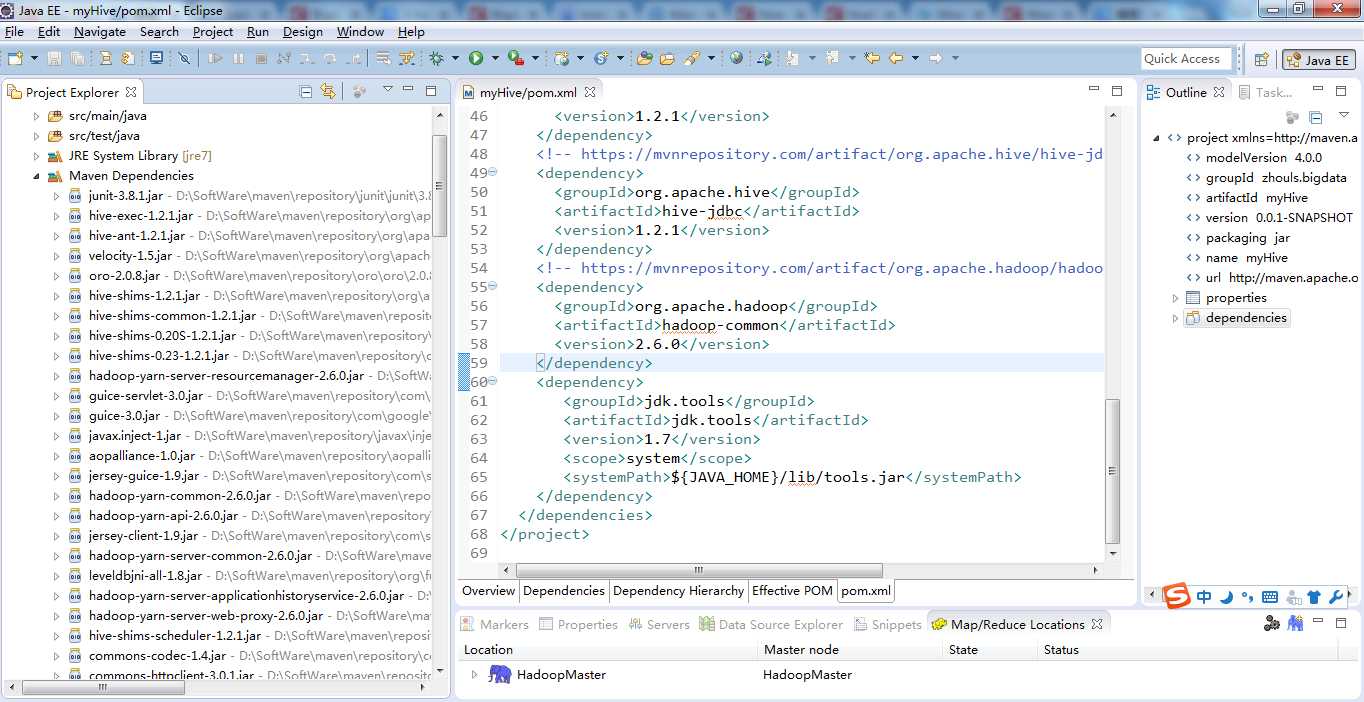
步骤六:修改pom.xml配置文件
官网Maven的zookeeper配置文件内容:
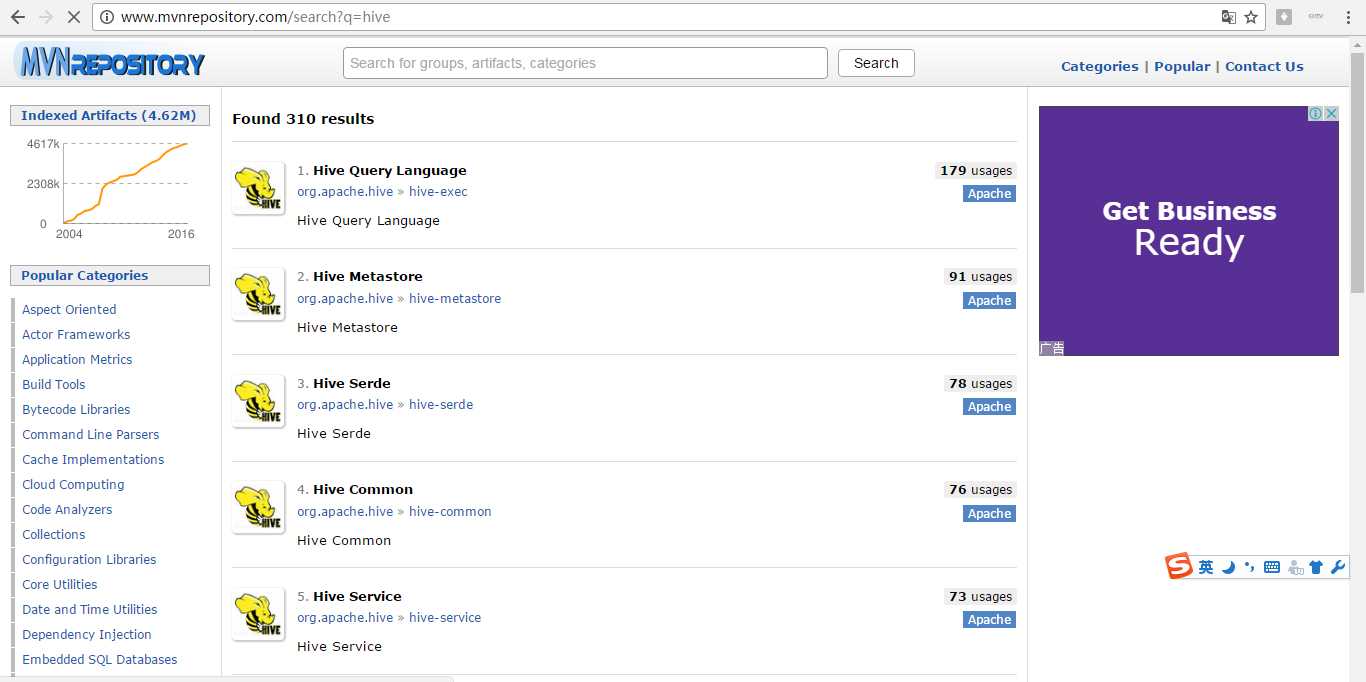
地址:http://www.mvnrepository.com/search?q=hive
1、
2、
3、

4、
5、
6、
暂时这些吧,以后需要,可以自行再加呢!
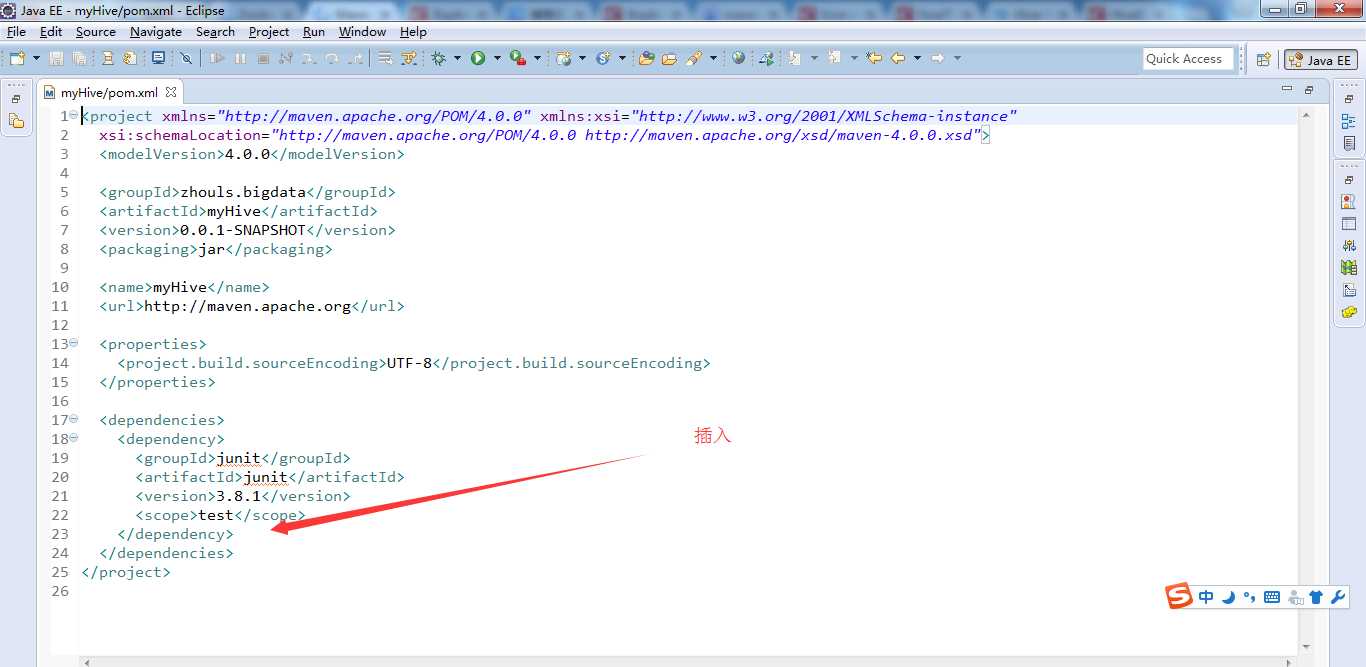
最后的pom.xml配置文件为
<project xmlns="http://maven.apache.org/POM/4.0.0" xmlns:xsi="http://www.w3.org/2001/XMLSchema-instance"
xsi:schemaLocation="http://maven.apache.org/POM/4.0.0 http://maven.apache.org/xsd/maven-4.0.0.xsd">
<modelVersion>4.0.0</modelVersion>
<groupId>zhouls.bigdata</groupId>
<artifactId>myHive</artifactId>
<version>0.0.1-SNAPSHOT</version>
<packaging>jar</packaging>
<name>myHive</name>
<url>http://maven.apache.org</url>
<properties>
<project.build.sourceEncoding>UTF-8</project.build.sourceEncoding>
</properties>
<dependencies>
<dependency>
<groupId>junit</groupId>
<artifactId>junit</artifactId>
<version>3.8.1</version>
<scope>test</scope>
</dependency>
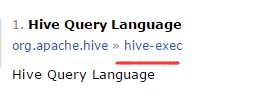
<!-- https://mvnrepository.com/artifact/org.apache.hive/hive-exec -->
<dependency>
<groupId>org.apache.hive</groupId>
<artifactId>hive-exec</artifactId>
<version>1.2.1</version>
</dependency>
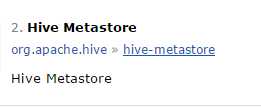
<!-- https://mvnrepository.com/artifact/org.apache.hive/hive-metastore -->
<dependency>
<groupId>org.apache.hive</groupId>
<artifactId>hive-metastore</artifactId>
<version>1.2.1</version>
</dependency>
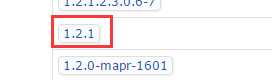
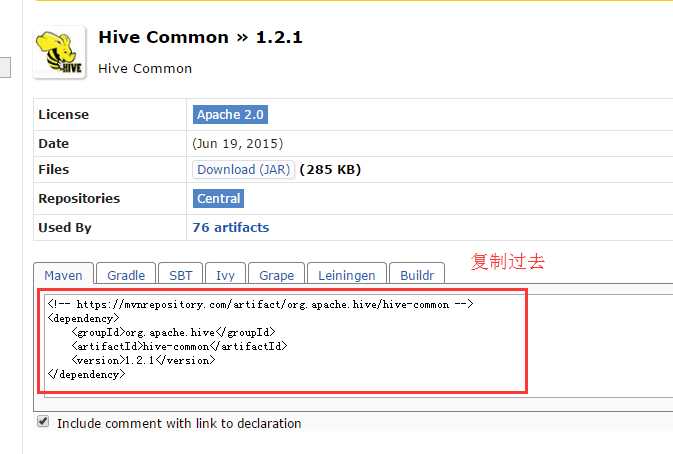
<!-- https://mvnrepository.com/artifact/org.apache.hive/hive-common -->
<dependency>
<groupId>org.apache.hive</groupId>
<artifactId>hive-common</artifactId>
<version>1.2.1</version>
</dependency>
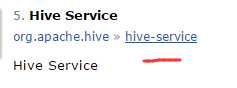
<!-- https://mvnrepository.com/artifact/org.apache.hive/hive-service -->
<dependency>
<groupId>org.apache.hive</groupId>
<artifactId>hive-service</artifactId>
<version>1.2.1</version>
</dependency>
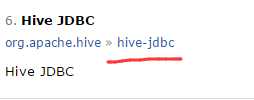
<!-- https://mvnrepository.com/artifact/org.apache.hive/hive-jdbc -->
<dependency>
<groupId>org.apache.hive</groupId>
<artifactId>hive-jdbc</artifactId>
<version>1.2.1</version>
</dependency>
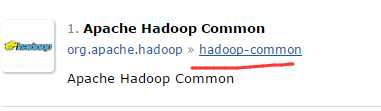
<!-- https://mvnrepository.com/artifact/org.apache.hadoop/hadoop-common -->
<dependency>
<groupId>org.apache.hadoop</groupId>
<artifactId>hadoop-common</artifactId>
<version>2.6.0</version>
</dependency>
<dependency>
<groupId>jdk.tools</groupId>
<artifactId>jdk.tools</artifactId>
<version>1.7</version>
<scope>system</scope>
<systemPath>${JAVA_HOME}/lib/tools.jar</systemPath>
</dependency>
</dependencies>
</project>
当然,这只是初步而已,最简单的,以后可以自行增删。
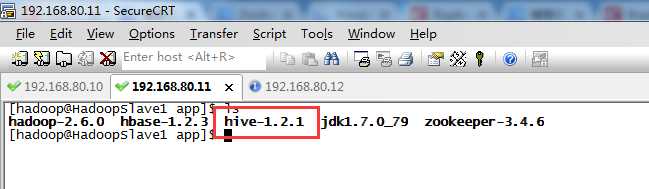
在使用JDBC链接Hive之前,首先要开启Hive监听用户的连接。即在运行代码前,得
开启Hive服务的方法如下:
hive --service hiveserver >/dev/null 2>/dev/null&
步骤七:这里,给大家,通过一组简单的Hive应用程序实例来向大家展示Hive的某些功能。
类名为HiveTestCase.java
package zhouls.bigdata.myHive;
import java.sql.Connection;
import java.sql.DriverManager;
import java.sql.ResultSet;
import java.sql.SQLException;
import java.sql.Statement;
import org.apache.log4j.Logger;
/**
* Handle data through hive on eclipse
* @author zhouls
* @time 2016\11\12 22:14
*/
public class HiveTestCase {
private static String driverName = "org.apache.hadoop.hive.jdbc.HiveDriver";
private static String url = "jdbc:hive://192.168.80.11:10000/default";
private static String user = "";
private static String password = "";
private static String sql = "";
private static ResultSet res;
private static final Logger log = Logger.getLogger(HiveTestCase.class);
public static void main(String[] args) {
try {
Class.forName(driverName); // 注册JDBC驱动
//Connection conn = DriverManager.getConnection(url, user, password);
//默认使用端口10000, 使用默认数据库,用户名密码默认
Connection conn = DriverManager.getConnection("jdbc:hive://192.168.181.128:10000/default", "", "");
//Connection conn = DriverManager.getConnection("jdbc:hive://HadoopMaster:10000/default", "", "");
//当然,若是3节点集群,则HadoopMaster或HadoopSlave1或HadoopSlave2都可以呢。前提是每个都安装了Hive,当然只安装一台就足够了。
//Statement用来执行SQL语句
Statement stmt = conn.createStatement();
// 创建的表名
String tableName = "testHiveDriverTable";
/** 第一步:存在就先删除 **/
sql = "drop table " + tableName;
stmt.executeQuery(sql);
/** 第二步:不存在就创建 **/
sql = "create table " + tableName +
"(userid int , " +
"movieid int," +
"rating int," +
"city string," +
"viewTime string)" +
"row format delimited " +
"fields terminated by ‘\t‘ " +
"stored as textfile";
// sql = "create table " + tableName + " (key int, value string) row format delimited fields terminated by ‘\t‘";
stmt.executeQuery(sql);
// 执行“show tables”操作
sql = "show tables ‘" + tableName + "‘";
System.out.println("Running:" + sql);
res = stmt.executeQuery(sql);
System.out.println("执行“show tables”运行结果:");
if (res.next()) {
System.out.println(res.getString(1));
}
// 执行“describe table”操作
sql = "describe " + tableName;
System.out.println("Running:" + sql);
res = stmt.executeQuery(sql);
System.out.println("执行“describe table”运行结果:");
while (res.next()) {
System.out.println(res.getString(1) + "\t" + res.getString(2));
}
// 执行“load data into table”操作
String filepath = "/home/hadoop/file/test2_hive.txt";
sql = "load data local inpath ‘" + filepath + "‘ into table " + tableName;
System.out.println("Running:" + sql);
res = stmt.executeQuery(sql);
// 执行“select * query”操作
sql = "select * from " + tableName;
System.out.println("Running:" + sql);
res = stmt.executeQuery(sql);
System.out.println("执行“select * query”运行结果:");
while (res.next()) {
System.out.println(res.getInt(1) + "\t" + res.getString(2));
}
// 执行“regular hive query”操作
sql = "select count(1) from " + tableName;
System.out.println("Running:" + sql);
res = stmt.executeQuery(sql);
System.out.println("执行“regular hive query”运行结果:");
while (res.next()) {
System.out.println(res.getString(1));
}
conn.close();
conn = null;
} catch (ClassNotFoundException e) {
e.printStackTrace();
log.error(driverName + " not found!", e);
System.exit(1);
} catch (SQLException e) {
e.printStackTrace();
log.error("Connection error!", e);
System.exit(1);
}
}
}
Hive项目开发环境搭建(Eclipse\MyEclipse + Maven)
标签:exec eid while 链接 uil tco asto server field
原文地址:http://www.cnblogs.com/zlslch/p/6024551.html