标签:选择 charset images html prot 命名空间 web .com 方法
由vs2013新建“web窗体应用程序”的网站,URL不显示扩展名。那今天就实现该功能
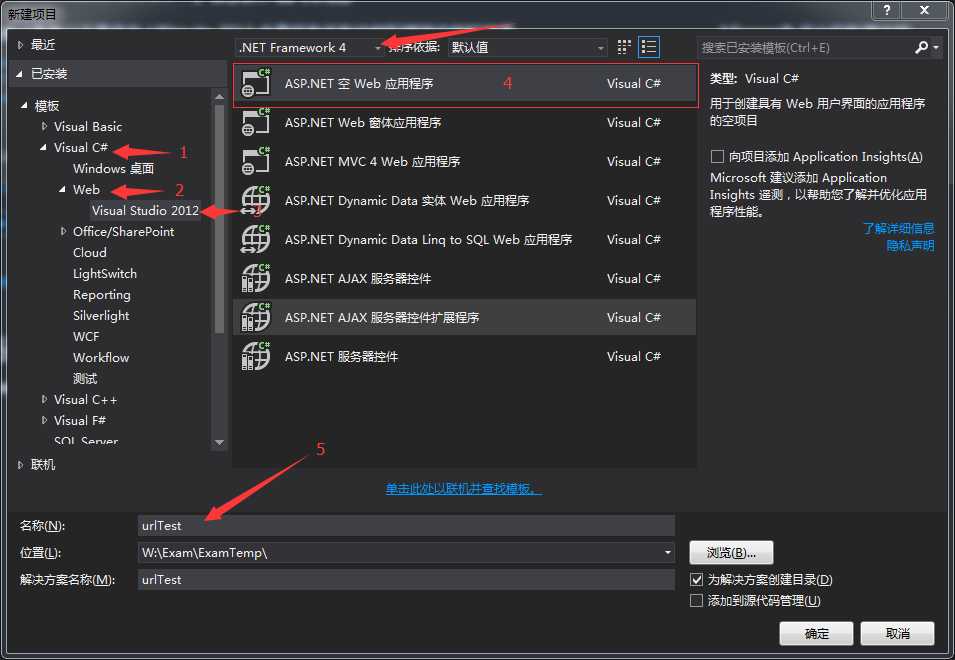
1、首先打开vs2013>新建项目>如下图选择
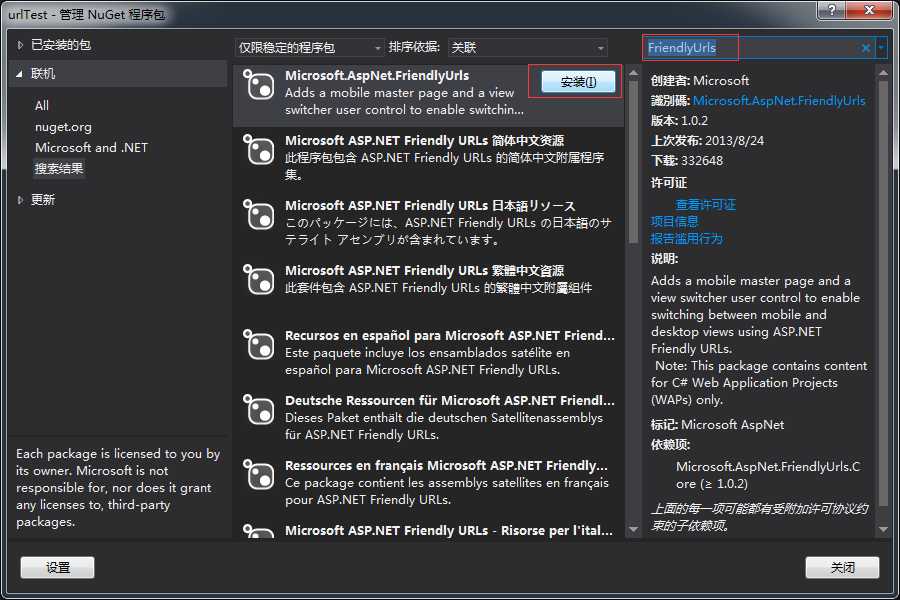
2、选择项目右击>管理NuGet程序包>在搜索框输入(FriendlyUrls),搜到后点安装(接受协议后安装完成):
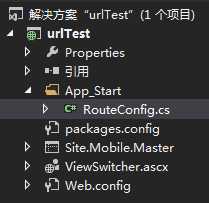
3、注意阅读readme.txt,在解决方案如图:
4、打开RouteConfig(路由配置)和MVC里的路由一样,把原来的代码修改了,如图:
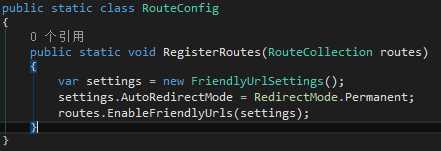
修改后:

5、选择项目右击>添加>新建项>全局应用程序类(Global.asax)设置如下:
添加如下代码是程序在启动时执行该方法(需引用的自己引用)
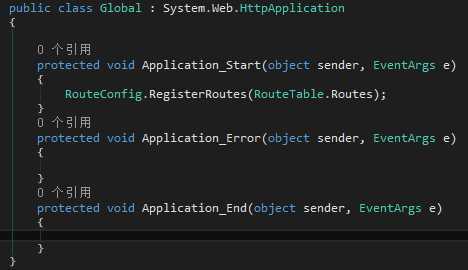

protected void Application_Start(object sender, EventArgs e)
        {
            RouteConfig.RegisterRoutes(RouteTable.Routes);
        }
        protected void Application_Error(object sender, EventArgs e)
        {

        }
        protected void Application_End(object sender, EventArgs e)
        {

        }
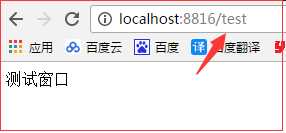
6、新建一个测试web窗体(test.aspx)可以什么都不用写,效果如下:
7、获得url值:
注意!引用命名空间:
<%@ Import NameSpace="Microsoft.AspNet.FriendlyUrls" %>

<%@ Page Language="C#" AutoEventWireup="true" CodeBehind="test.aspx.cs" Inherits="urlTest.test" %>
<%@ Import NameSpace="Microsoft.AspNet.FriendlyUrls" %>
<!DOCTYPE html>

<html xmlns="http://www.w3.org/1999/xhtml">
<head runat="server">
<meta http-equiv="Content-Type" content="text/html; charset=utf-8"/>
    <title></title>
</head>
<body>
    <form id="form1" runat="server">
        测试窗口
        <% foreach (var segment in Request.GetFriendlyUrlSegments()) { %>
            <p><%: segment %></p>
        <% } %>
    </form>
</body>
</html>
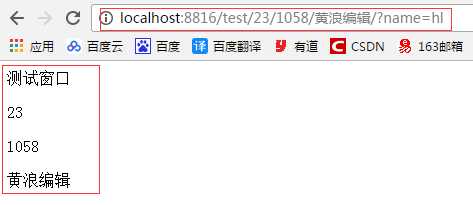
这些可以做在后台,效果如下:
标签:选择 charset images html prot 命名空间 web .com 方法
原文地址:http://www.cnblogs.com/hllive/p/6029763.html