标签:系统 交互 平台 修改 mon 字体 gif 写入 free
web font是应用在web中的一种字体技术,在CSS中使用font-face定义新的字体。先了解操作系统中的字体:
a)、安装好操作系统后,会默认安装一些字体,这些字体文件描述了每一个文字的形态,一般中文文件大,英文文件小,因为中文字符数多;在控制面板中可以找到文字文件夹,在C:\Windows\Fonts下也可以直接找到。另外如果想让自己的电脑上有更加丰富的字体,可以下载新的字体文件后复制到改位置。
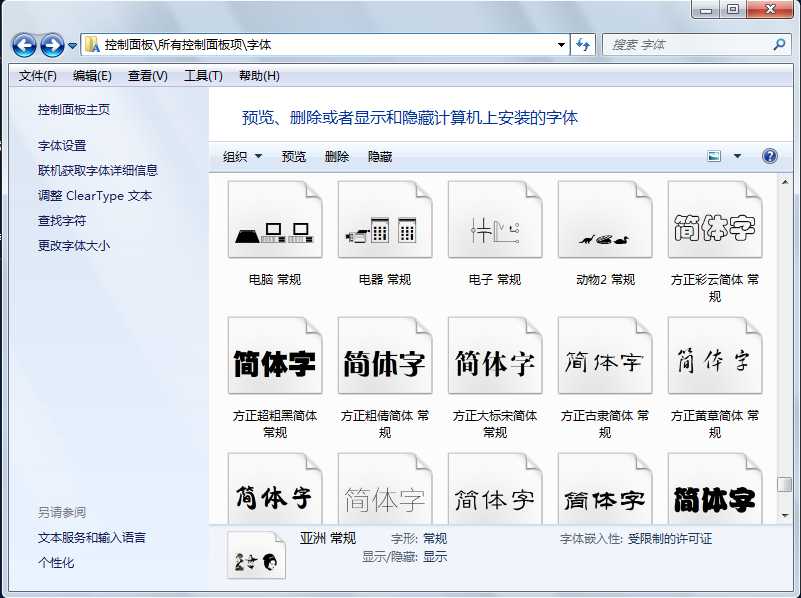
b)、我们在文档中显示的字体应该在系统中能找到才会正常显示,比如你在word中使用了黑体字,但是将word文件发给另外一个人,他的电脑上并没有黑体字,此时就不能按黑体正常显示,网页也一样。为了让网页上能显示本地没有的字体我们可以使用font-face, 这并不是CSS3创始的一种技术,早在IE5中就实现了。
@font-face 能够加载服务器端的字体文件,让客户端显示客户端所没有安装的字体,可以实现矢量图标。如下所示:
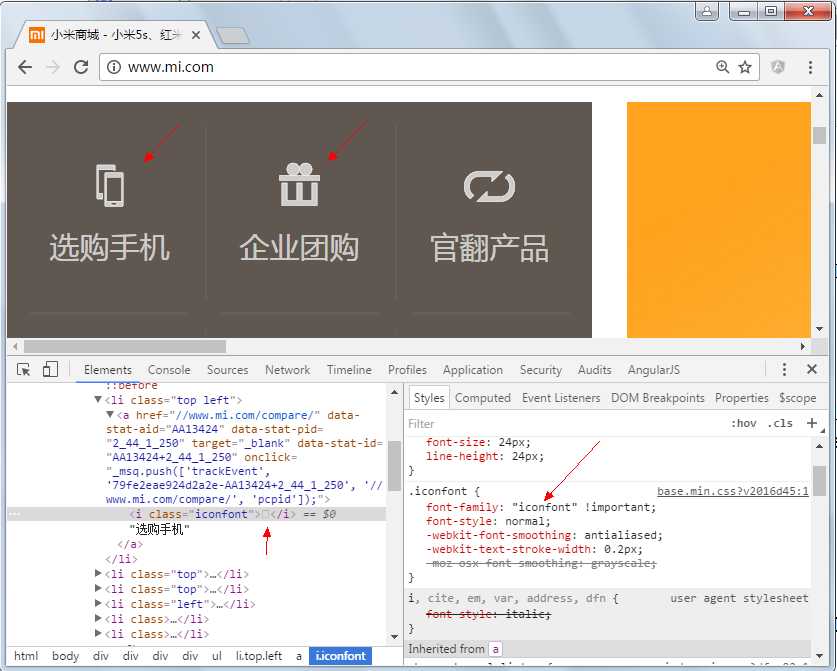
微软的IE4已经是开始支持这个属性,但是只支持微软自有的.eot (Embedded Open Type) 格式,而其他浏览器直到现在都没有支持这一字体格式。然而,从Safari 3.1开始,网页重构工程师已经可以设置.ttf(TrueType)和.otf(OpenType)两种字体做为自定义字体了。
可缩放性(Scalability):
基于字体的icon是与分辨率无关并能缩放到任何想要程度的技术。你的图标看起来毫不关心retina,HDPI,XHDPI等等屏幕,但渲染时会根据目标设备自动调整,你将有能力应对任何当下,未来,或大多数任意规格的设备
尺寸(Size):
裁剪到正确的比例,icon font的文件的大小要比起位图小到难以置信的程度,使用icon font时,你不需要根据不同设备准备不同的图片,你的APP只需要在启动时加载一次icon font文件即可。
可维护性(Maintainability):
自你的icon打包进一个字体文件,在项目自始至终你仅需要维护这个单一的字体文件。
通过管理字体文件你可以很自然的组织你的icon集合,任意的进行修改或扩展
可推广性(Adoption):
然而,应用这样的icon fonts可能会影响你和你同事之间的工作流程,但说服让他们采用这样的技术也非常简单,有数款免费或收费的工具帮你轻松达到目的并能看到很好的应用结果,在几乎任意(手机)移动平台、浏览器或操作系统
灵活性(Flexibility):
应用icon fonts技术中最有意义的一项能力是可以操纵icon fonts, 改变颜色,大小,仅仅几行代码就可以在瞬间改变外观
可交互性(Interactivity):
由于灵活性以及能够通过代码方便的操纵,icon fonts 是独一无二的在运行时被操纵,通过应用icon fonts技术, 你能轻松的在不同状态显示对应的不同效果,创建动画。
1.3.1、TureType(.ttf)格式:
.ttf字体是Windows和Mac的最常见的字体,是一种RAW格式,因此他不为网站优化,支持这种字体的浏览器有【IE9+,Firefox3.5+,Chrome4+,Safari3+,Opera10+,iOS Mobile Safari4.2+】;
1.3.2、OpenType(.otf)格式:
.otf字体被认为是一种原始的字体格式,其内置在TureType的基础上,所以也提供了更多的功能,支持这种字体的浏览器有【Firefox3.5+,Chrome4.0+,Safari3.1+,Opera10.0+,iOS Mobile Safari4.2+】;
1.3.3、Web Open Font Format(.woff)格式:
.woff字体是Web字体中最佳格式,他是一个开放的TrueType/OpenType的压缩版本,同时也支持元数据包的分离,支持这种字体的浏览器有【IE9+,Firefox3.5+,Chrome6+,Safari3.6+,Opera11.1+】;
1.3.4、Embedded Open Type(.eot)格式:
.eot字体是IE专用字体,可以从TrueType创建此格式字体,支持这种字体的浏览器有【IE4+】;
1.3.5、SVG(.svg)格式:
.svg字体是基于SVG字体渲染的一种格式,支持这种字体的浏览器有【Chrome4+,Safari3.1+,Opera10.0+,iOS Mobile Safari3.2+】。
这就意味着在@font-face中我们至少需要.woff,.eot两种格式字体,甚至还需要.svg等字体达到更多种浏览版本的支持
@font-face {
font-family: <YourWebFontName>; src: <source> [<format>][,<source> [<format>]]*; [font-weight: <weight>]; [font-style: <style>];
}
1、YourWebFontName:此值指的就是你自定义的字体名称,最好是使用你下载的默认字体,他将被引用到你的Web元素中的font-family。如“font-family:"YourWebFontName";”
2、source:此值指的是你自定义的字体的存放路径,可以是相对路径也可以是绝路径;
3、format:此值指的是你自定义的字体的格式,主要用来帮助浏览器识别,其值主要有以下几种类型:truetype,opentype,truetype-aat,embedded-opentype,avg等;
4、weight和style:weight定义字体是否为粗体,style主要定义字体样式,如斜体。
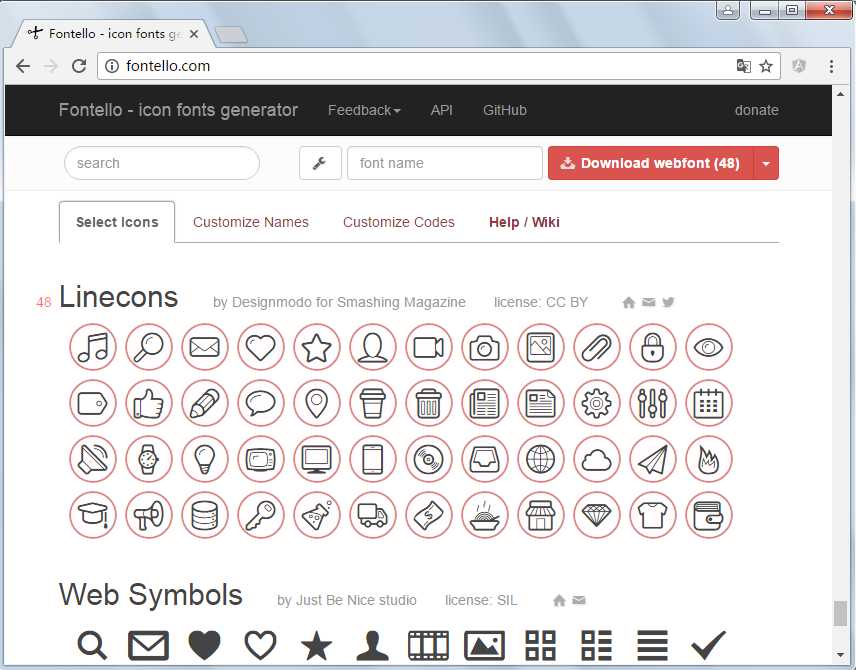
网上有许多免费的图标字体,可以下载到本地,这里到:http://fontello.com/下载字体,如下图所示:
解压后的字体如相关文件:
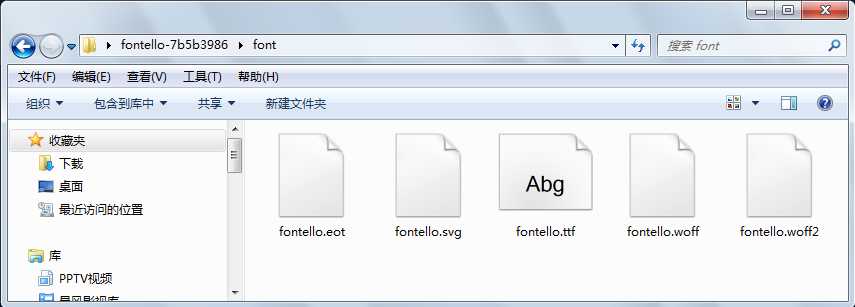
先将字体文件复制到项目的font文件夹中,CSS样式如下:
            @font-face {
              font-family: ‘iconfont‘;  /*字体名称*/
              src: url(‘font/fontello.eot?53711433‘);  /*字体文件路径*/
              src: url(‘font/fontello.eot?53711433#iefix‘) format(‘embedded-opentype‘),
                   url(‘font/fontello.woff2?53711433‘) format(‘woff2‘),
                   url(‘font/fontello.woff?53711433‘) format(‘woff‘),
                   url(‘font/fontello.ttf?53711433‘) format(‘truetype‘),
                   url(‘font/fontello.svg?53711433#fontello‘) format(‘svg‘);
              font-weight: normal;  /*加粗*/
              font-style: normal;  /*字形,如斜体*/
        }
找到对应的字体编码:
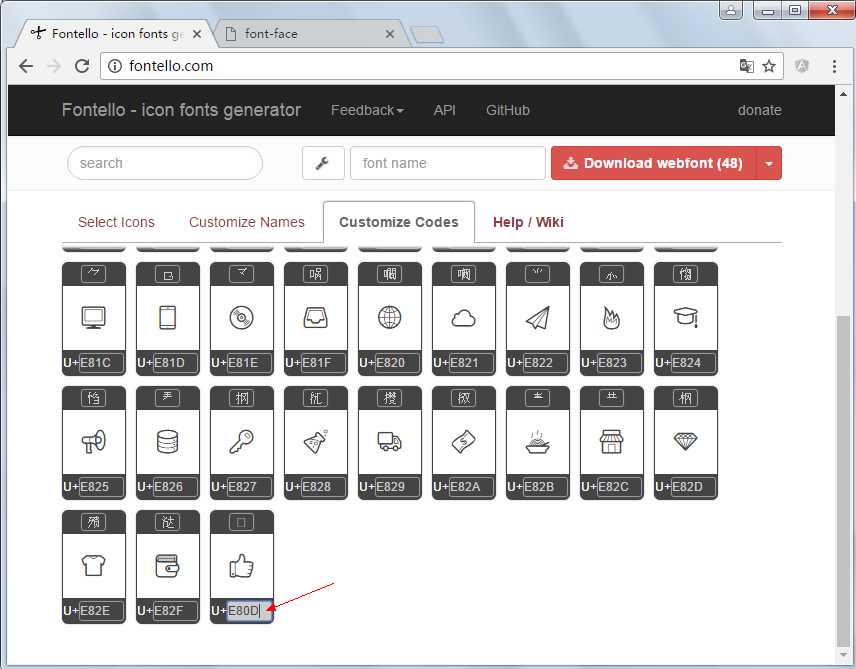
这里可以将16进制的字符编码换算成10进制,也可以使用16进制的unicode编码不过需要x开头,代码如下:
<!DOCTYPE html> <html> <head> <meta charset="UTF-8"> <title>font-face</title> <style type="text/css"> @font-face { font-family: ‘iconfont‘; /*字体名称*/ src: url(‘font/fontello.eot?53711433‘); /*字体文件路径*/ src: url(‘font/fontello.eot?53711433#iefix‘) format(‘embedded-opentype‘), url(‘font/fontello.woff2?53711433‘) format(‘woff2‘), url(‘font/fontello.woff?53711433‘) format(‘woff‘), url(‘font/fontello.ttf?53711433‘) format(‘truetype‘), url(‘font/fontello.svg?53711433#fontello‘) format(‘svg‘); font-weight: normal; /*加粗*/ font-style: normal; /*字形,如斜体*/ } .ok{ font-family: iconfont; font-size: 16px; color: blue; } </style> </head> <body> <i class="ok"></i>赞 <i class="ok"></i>赞 </body> </html>
运行结果:

上面的示例有一些不足,因为每一次都需要去查询编码,很麻烦,可以使用伪元素将内容直接写在css中,一直写入反复使用。简单改进后的代码如下:
<!DOCTYPE html>
<html>

    <head>
        <meta charset="UTF-8">
        <title>font-face</title>
        <style type="text/css">
            @font-face {
                font-family: ‘iconfont‘;
                /*字体名称*/
                src: url(‘font/fontello.eot?53711433‘);
                /*字体文件路径*/
                src: url(‘font/fontello.eot?53711433#iefix‘) format(‘embedded-opentype‘), url(‘font/fontello.woff2?53711433‘) format(‘woff2‘), url(‘font/fontello.woff?53711433‘) format(‘woff‘), url(‘font/fontello.ttf?53711433‘) format(‘truetype‘), url(‘font/fontello.svg?53711433#fontello‘) format(‘svg‘);
                font-weight: normal;
                /*加粗*/
                font-style: normal;
                /*字形,如斜体*/
            }

            .icon {
                font-family: iconfont;
                font-style: normal;
            }

            .ok:after {
                content: ‘\e80d‘;
            }

            .star:after {
                content: ‘\e804‘;
            }
        </style>
    </head>

    <body>
        <p>
            <i class="icon ok"></i>赞
            <i class="icon star"></i>5分
        </p>
        <p>
            <i class="icon star"></i><i class="icon star"></i><i class="icon star"></i>
        </p>
    </body>

</html>
运行结果:
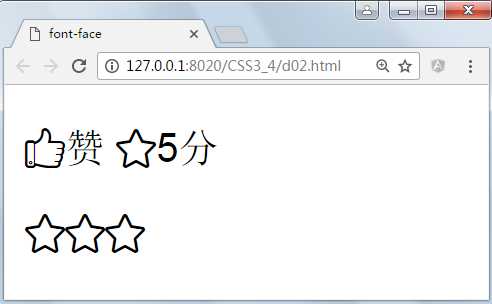
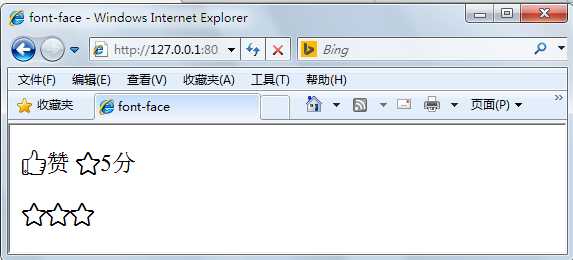
IE8下依然正常:
图标网站的CSS其实已经够用了:

@font-face {
font-family: ‘fontello‘;
src: url(‘../font/fontello.eot?53711433‘);
src: url(‘../font/fontello.eot?53711433#iefix‘) format(‘embedded-opentype‘),
url(‘../font/fontello.woff2?53711433‘) format(‘woff2‘),
url(‘../font/fontello.woff?53711433‘) format(‘woff‘),
url(‘../font/fontello.ttf?53711433‘) format(‘truetype‘),
url(‘../font/fontello.svg?53711433#fontello‘) format(‘svg‘);
font-weight: normal;
font-style: normal;
}
/* Chrome hack: SVG is rendered more smooth in Windozze. 100% magic, uncomment if you need it. */
/* Note, that will break hinting! In other OS-es font will be not as sharp as it could be */
/*
@media screen and (-webkit-min-device-pixel-ratio:0) {
@font-face {
font-family: ‘fontello‘;
src: url(‘../font/fontello.svg?53711433#fontello‘) format(‘svg‘);
}
}
*/
[class^="icon-"]:before, [class*=" icon-"]:before {
font-family: "fontello";
font-style: normal;
font-weight: normal;
speak: none;
display: inline-block;
text-decoration: inherit;
width: 1em;
margin-right: .2em;
text-align: center;
/* opacity: .8; */
/* For safety - reset parent styles, that can break glyph codes*/
font-variant: normal;
text-transform: none;
/* fix buttons height, for twitter bootstrap */
line-height: 1em;
/* Animation center compensation - margins should be symmetric */
/* remove if not needed */
margin-left: .2em;
/* you can be more comfortable with increased icons size */
/* font-size: 120%; */
/* Font smoothing. That was taken from TWBS */
-webkit-font-smoothing: antialiased;
-moz-osx-font-smoothing: grayscale;
/* Uncomment for 3D effect */
/* text-shadow: 1px 1px 1px rgba(127, 127, 127, 0.3); */
}
.icon-music:before { content: ‘\e800‘; } /* ‘‘ */
.icon-search:before { content: ‘\e801‘; } /* ‘‘ */
.icon-mail:before { content: ‘\e802‘; } /* ‘‘ */
.icon-heart:before { content: ‘\e803‘; } /* ‘‘ */
.icon-star:before { content: ‘\e804‘; } /* ‘‘ */
.icon-user:before { content: ‘\e805‘; } /* ‘‘ */
.icon-videocam:before { content: ‘\e806‘; } /* ‘‘ */
.icon-camera:before { content: ‘\e807‘; } /* ‘‘ */
.icon-photo:before { content: ‘\e808‘; } /* ‘‘ */
.icon-attach:before { content: ‘\e809‘; } /* ‘‘ */
.icon-lock:before { content: ‘\e80a‘; } /* ‘‘ */
.icon-eye:before { content: ‘\e80b‘; } /* ‘‘ */
.icon-tag:before { content: ‘\e80c‘; } /* ‘‘ */
.icon-thumbs-up:before { content: ‘\e80d‘; } /* ‘‘ */
.icon-pencil:before { content: ‘\e80e‘; } /* ‘‘ */
.icon-comment:before { content: ‘\e80f‘; } /* ‘‘ */
.icon-location:before { content: ‘\e810‘; } /* ‘‘ */
.icon-cup:before { content: ‘\e811‘; } /* ‘‘ */
.icon-trash:before { content: ‘\e812‘; } /* ‘‘ */
.icon-doc:before { content: ‘\e813‘; } /* ‘‘ */
.icon-note:before { content: ‘\e814‘; } /* ‘‘ */
.icon-cog:before { content: ‘\e815‘; } /* ‘‘ */
.icon-params:before { content: ‘\e816‘; } /* ‘‘ */
.icon-calendar:before { content: ‘\e817‘; } /* ‘‘ */
.icon-sound:before { content: ‘\e818‘; } /* ‘‘ */
.icon-clock:before { content: ‘\e819‘; } /* ‘‘ */
.icon-lightbulb:before { content: ‘\e81a‘; } /* ‘‘ */
.icon-tv:before { content: ‘\e81b‘; } /* ‘‘ */
.icon-desktop:before { content: ‘\e81c‘; } /* ‘‘ */
.icon-mobile:before { content: ‘\e81d‘; } /* ‘‘ */
.icon-cd:before { content: ‘\e81e‘; } /* ‘‘ */
.icon-inbox:before { content: ‘\e81f‘; } /* ‘‘ */
.icon-globe:before { content: ‘\e820‘; } /* ‘‘ */
.icon-cloud:before { content: ‘\e821‘; } /* ‘‘ */
.icon-paper-plane:before { content: ‘\e822‘; } /* ‘‘ */
.icon-fire:before { content: ‘\e823‘; } /* ‘‘ */
.icon-graduation-cap:before { content: ‘\e824‘; } /* ‘‘ */
.icon-megaphone:before { content: ‘\e825‘; } /* ‘‘ */
.icon-database:before { content: ‘\e826‘; } /* ‘‘ */
.icon-key:before { content: ‘\e827‘; } /* ‘‘ */
.icon-beaker:before { content: ‘\e828‘; } /* ‘‘ */
.icon-truck:before { content: ‘\e829‘; } /* ‘‘ */
.icon-money:before { content: ‘\e82a‘; } /* ‘‘ */
.icon-food:before { content: ‘\e82b‘; } /* ‘‘ */
.icon-shop:before { content: ‘\e82c‘; } /* ‘‘ */
.icon-diamond:before { content: ‘\e82d‘; } /* ‘‘ */
.icon-t-shirt:before { content: ‘\e82e‘; } /* ‘‘ */
.icon-wallet:before { content: ‘\e82f‘; } /* ‘‘ */
有时候我们手上只有一个字体文件,但是web font为了兼容经常需要多个种格式支持,一般至少2种,一种要考虑IE浏览器,一种要考虑现代浏览器。可以使用如下的工具实现在线字体的转换,基本方法是将字体上传,在线服务的网站将一个字体文件变换成多个字体文件后下载。
常用的字体转换在线工具如下:
https://www.fontsquirrel.com/tools/webfont-generator
http://www.freefontconverter.com/
这里以webfont-generator为例,测试结果如下:
先下载字体,英文字体可以去"http://www.dafont.com/"下载,字体非常多,可以按需求搜索,这里下载了一款卡通3D字体。
将下载到的字体上传:
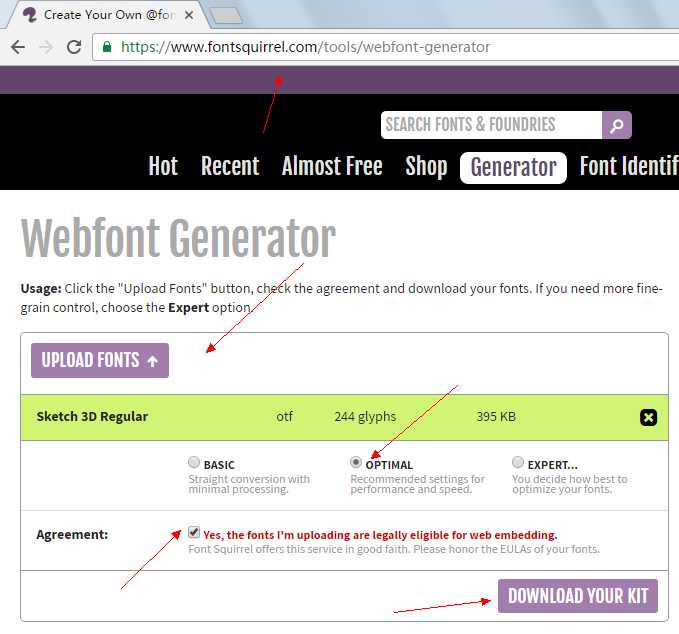
下载网站生成的内容解压,发现使用了google的jQuery,需要替换,显示结果如下:

将字体引入到web项目中,先复制字体文件,再添加css样式,应用样式即可,示例代码如下:

<!DOCTYPE html>
<html>
    <head>
        <meta charset="UTF-8">
        <title>新字体</title>
        <style>
            @font-face {
                font-family: ‘sketch3d‘;
                src: url(‘font2/sketch_3d-webfont.eot‘);
                src:
                url(‘font2/sketch_3d-webfont.eot?#iefix‘) format(‘embedded-opentype‘),
                url(‘font2/sketch_3d-webfont.woff2‘) format(‘woff2‘),
                url(‘font2/sketch_3d-webfont.woff‘) format(‘woff‘);
                font-weight: normal;
                font-style: normal;
            }
            span{
                font:72px/100px  sketch3d;
                color: lightcoral;
            }
        </style>
    </head>
    <body>
        <span>
            Hello Sketch 3D
        </span>
    </body>
</html>
运行结果:

常用在线工具:http://tool.lu/
有时候我们手上有一个图标字体文件,但是不知道他的对应编码,在线工具可以检测到一些,但有时发现在线工具并不是能检测到所有的编码,使用工具:FontCreator,不仅可以创建自己的字体还可以查看字体的详细内容。
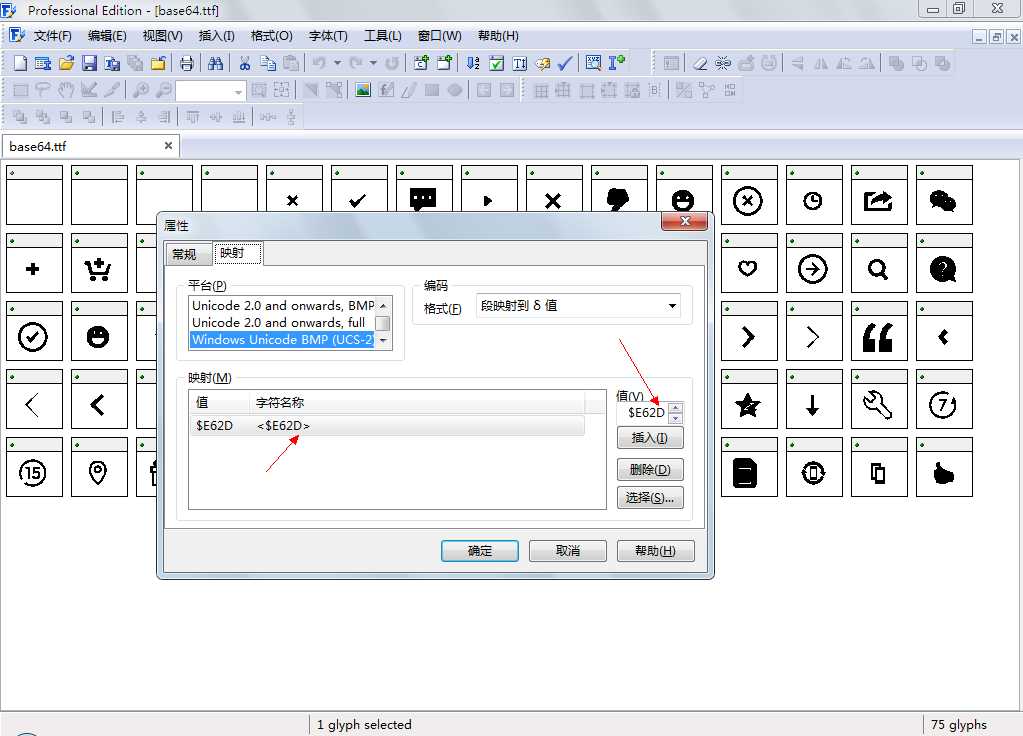
有些小的字体文件可以直接编码成base64将字符放在css文件中,让css直接解析,这种办法可以减少一些客户端的请求,图片与字体文件都可以这样做,如下所示:

第一步先将字体文件转换成base64的编码,当然也可以将base64的编码反向转换成字体文件,可以使用在线工具:
http://www.motobit.com/util/base64-decoder-encoder.asp
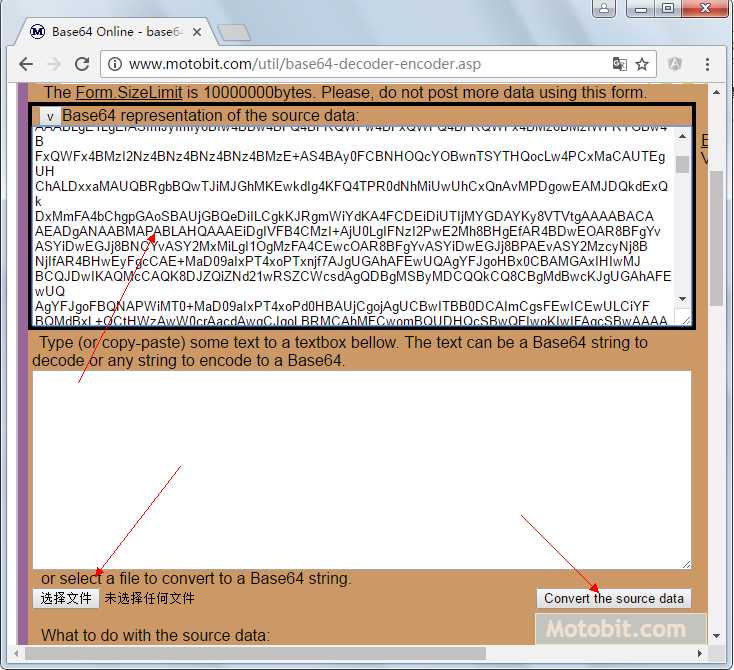
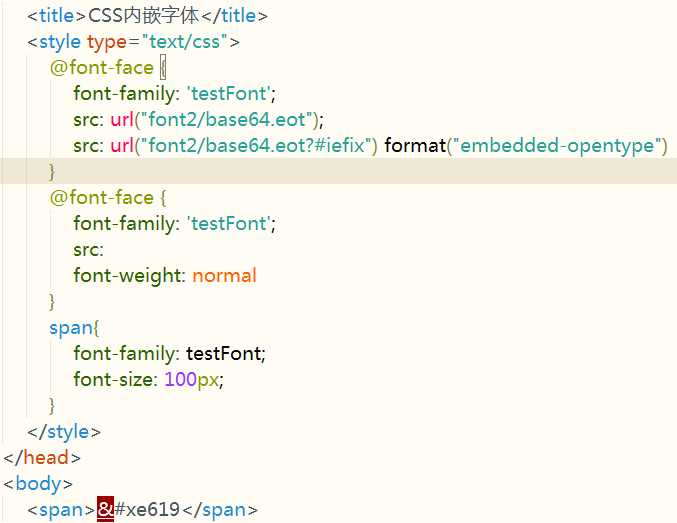
第二将编码复制到css文件中,剩下的步骤与前面使用web font就是一样的了,示例如下:
运行结果:

https://www.web-font-generator.com/
CSS Sprites也就是通常说的CSS精灵,也有人称为雪碧图,是对网页中加载的图片的处理技术。在一个网页中可能有多张小的图片,如图标等,会向服务器发送多个请请求,请求数越多,服务器的压力就越大,精灵技术就是先将多张小的图片合并成一张图片,然后在CSS中分开为多张小图片的一种技术。如下图所示:
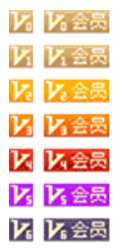
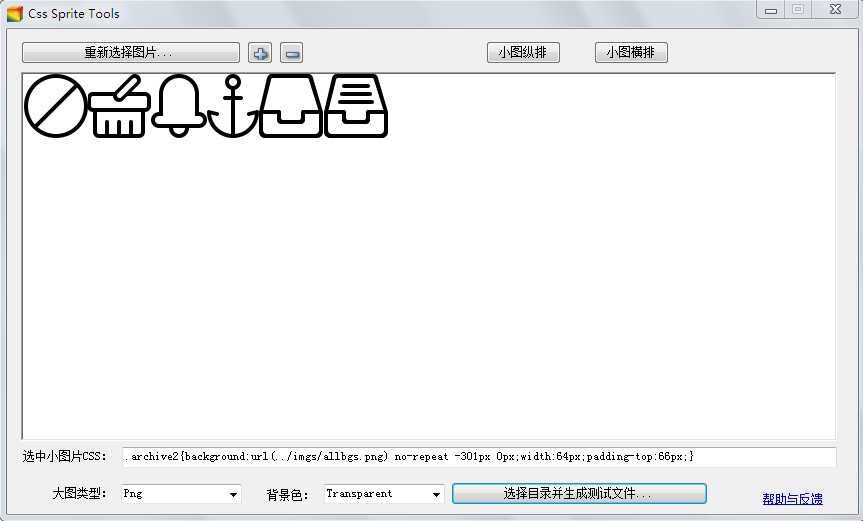
可以使用在线合并,也可以使用photoshop合并,更加省事的办法是使用一些小工具,如“Css Sprite Tools”、“CSS Satyr ”,“iwangx”
为了分离图片,需要先了解background-position属性:
作用:设置或检索对象的背景图像位置,必须先指定 <‘ background-image ‘> 属性
background-position:<position> [ , <position> ]*
<position> = [ left | center | right | top | bottom | <percentage> | <length> ] | [ left | center | right | <percentage> | <length> ] [ top | center | bottom | <percentage> | <length> ] | [ center | [ left | right ] [ <percentage> | <length> ]? ] && [ center | [ top | bottom ] [ <percentage> | <length> ]? ]
默认值:0% 0%,效果等同于left top
适用于:所有元素
<percentage>: 用百分比指定背景图像填充的位置。可以为负值。其参考的尺寸为容器大小减去背景图片大小
<length>: 用长度值指定背景图像填充的位置。可以为负值。
center: 背景图像横向和纵向居中。
left: 背景图像在横向上填充从左边开始。
right: 背景图像在横向上填充从右边开始。
top: 背景图像在纵向上填充从顶部开始。
bottom: 背景图像在纵向上填充从底部开始。
示例代码:
<!DOCTYPE html>
<html>
    <head>
        <meta charset="UTF-8">
        <title>CSS Sprite</title>
        <style type="text/css">
            #icon{
                border: 1px solid blue;
                height: 500px;
                width: 1000px;
                background: url(img/x.png) no-repeat #fff;
                background-position: -150px -150px;
            }
        </style>
    </head>
    <body>
        <h2>CSS Sprite</h2>
        <div id="icon"></div>
    </body>
</html>
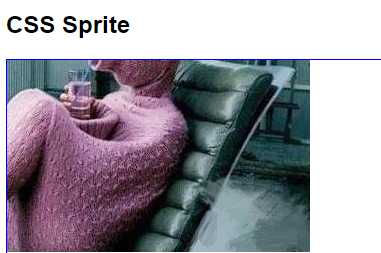
没有偏移时的效果:

负向偏移时的效果:
根据上面的办法可以定位到图片的任何位置开始选择背景,可以通过div的大小控制将选择的图片高宽,示例如下:
<!DOCTYPE html>
<html>
    <head>
        <meta charset="UTF-8">
        <title>CSS Sprite</title>
        <style type="text/css">
            #icon{
                height: 64px;
                width: 56px;
                background: url(img/allbgs.png) no-repeat #fff;
                background-position: -128px 0;
            }
        </style>
    </head>
    <body>
        <h2>CSS Sprite</h2>
        <div id="icon"></div>
    </body>
</html>
运行结果:
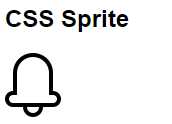
因为第一张图片与第二张小图片的宽度都是64px,所以让大图向左边先移动128像素,Y轴不需要动,其实生成合并图片的工具已经把CSS准备好了,脚本如下:
.ban{background:url(../imgs/allbgs.png) no-repeat -1px 0px;width:64px;padding-top:66px;}
.basket{background:url(../imgs/allbgs.png) no-repeat -64px 0px;width:64px;padding-top:66px;}
.bell{background:url(../imgs/allbgs.png) no-repeat -128px 0px;width:56px;padding-top:66px;}
.anchor{background:url(../imgs/allbgs.png) no-repeat -184px 0px;width:52px;padding-top:66px;}
.archive{background:url(../imgs/allbgs.png) no-repeat -236px 0px;width:64px;padding-top:66px;}
.archive2{background:url(../imgs/allbgs.png) no-repeat -301px 0px;width:64px;padding-top:66px;}
不过,上面的CSS是可以优化的,可以将每个图标拆分成两个类样式。
CSS Sprites非常值得学习和应用,特别是页面有很多很小的icon(图标),但如果需要选择使用CSS精灵技术,你需要了解它的优缺点。
优点:
a)、利用CSS Sprites能很好地减少网页的http请求,从而大大的提高页面的性能,这也是CSS Sprites最大的优点,也是其被广泛传播和应用的主要原因;
b)、CSS Sprites能减少图片的字节,曾经比较过多次3张图片合并成1张图片的字节总是小于这3张图片的字节总和。
c)、解决了网页设计师在图片命名上的困扰,只需对一张集合的图片上命名就可以了,不需要对每一个小元素进行命名,从而提高了网页的制作效率。
d)、更换风格方便,只需要在一张或少张图片上修改图片的颜色或样式,整个网页的风格就可以改变。维护起来更加方便。
缺点:
1.在图片合并的时候,你要把多张图片有序的合理的合并成一张图片,还要留好足够的空间,防止板块内出现不必要的背景;这些还好,最痛苦的是在宽屏,高分辨率的屏幕下的自适应页面,你的图片如果不够宽,很容易出现背景断裂;
2.CSS Sprites在开发的时候比较麻烦,你要通过photoshop或其他工具测量计算每一个背景单元的精确位置。
3.CSS Sprites在维护的时候比较麻烦,如果页面背景有少许改动,一般就要改这张合并的图片,无需改的地方最好不要动,这样避免改动更多的CSS,如果在原来的地方放不下,又只能(最好)往下加图片,这样图片的字节就增加了,还要改动CSS。
https://github.com/zhangguo5/CSS3_5
提示:使用字体文件时请尊重创作者的版权,商业应用应该更加慎重,不过还是有不少的开源字体库的。
CSS3与页面布局学习总结(五)——Web Font与Sprite
标签:系统 交互 平台 修改 mon 字体 gif 写入 free
原文地址:http://www.cnblogs.com/best/p/6132612.html