标签:rod move scene 注意 family hierarchy 允许 ack project
1. 新建一个3D工程,在菜单 "File" - "Save Scenes" ,保存场景为 "Main"。注意,保存的文件放在Assets目录下。
2.菜单"GameObject" -- "Create Empty",新建一个GameObject,右键重命名为 "NetworkManager"。
3.在Hierarchy面板,选择NetworkManager。然后,在Inspector面板,点击 "Add Component" 按钮,搜索添加两个组件:NetworkManager 和 NetworkManagerHUD。
NetworkManager组件管理游戏的网络状态。
NetworkManagerHUD组件与NetworkManager一起工作,并提供了一个简单的用户界面来控制游戏运行时游戏的网络状态。
4.菜单 "GameObject" - "3D Object" ,新建两个物体: "Cube" 和 "Capsule" 。在 "Hierarchy" 面板,拖拽 "Cube" 到 "Capsule" ,Capsule 为Cube的父组件。分别重命名Capsule 和 Cube为 "Player" 和 "Visor"。此物体,作为一个游戏角色的代替品。
5.在Hierarchy面板,选择Visor。然后,在Inspector面板的Transform选项卡,更改两个属性:Position和Scale。
6. 为了让Player更生动的模仿一个游戏角色,需要改变Visor的颜色。在Project面板,右键 "Create" -- "Material",新建一个Material对象,并命名为"Black"。选中"Black"对象,在Inspector面板的Main Maps里面,更改Albedo的颜色为黑色。 拖拽Material到Hierarchy面板的Visor对象上面。
7.给网络中的游戏角色一张身份证。选择Hierarchy面板的Player,然后,选择菜单 "Component" -- "NetworkManager" -- "NetworkIdentity"。接着,在Inspector面板,选择Network Identity中的 "Local Player Authority"。这样可以允许客户端控制Player的行为。
8.拉拽Hierarchy面板中的Player对象到Project面板中,此时,生成一个Player的预制对象,暂且叫Player预制件。然后,可以删除Hierarchy面板中的Player对象了。
9.保存一下。
10.选中Hierarchy面板的NetworkManager对象,展开Inspector面板的Spawn Info选项,有一个Platyer Prefab。拖拽Assets的Player预制件到Player Prefab中。(官网的意思:应该是很多的游戏都是只有的一个游戏主角由玩家控制,所以,在客户端连接到服务器的时候,这里会生成一个对应的游戏对象,方便管理。
11.Assets面板,新建一个player目录,右键该目录 "Create" -- "C# Script" ,命名新文件为 "PlayerController",打开,复制下面的代码到该文件。用此脚本控制游戏角色的行为。

 1 using UnityEngine;
 2
 3 public class PlayerController : MonoBehaviour
 4 {
 5     void Update()
 6     {
 7         var x = Input.GetAxis("Horizontal") * Time.deltaTime * 150.0f;
 8         var z = Input.GetAxis("Vertical") * Time.deltaTime * 3.0f;
 9
10         transform.Rotate(0, x, 0);
11         transform.Translate(0, 0, z);
12     }
13 }
By default, Input.GetAxis(“Horizontal”) and Input.GetAxis(“Vertical”) allow the player to use the WASD and arrow keys, a controller pad or other device to move the player. For more information, please see the page on the Input Manager。
12.选中Hierarchy面板的NetworkManager对象,拖拽新建的脚本到Inspector的底下的 "Add Component" 按钮上。
13.返回Unity,保存Scene。
14.点击上方三角形运行按钮。运行后,点击 "LAN Host(H)" ,之后可以按 "AWSD" ,或者箭头按键,控制物体移动。
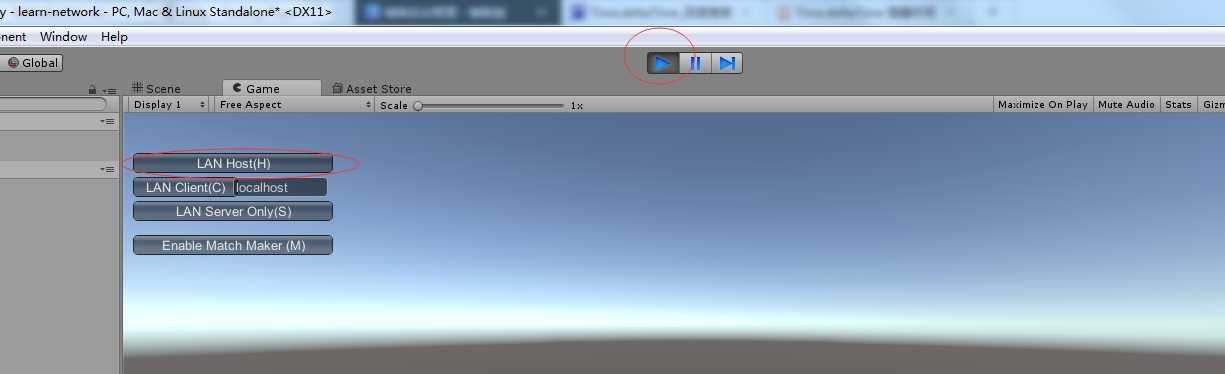
15. LAN Host(H) : Client和Server一起运行
LAN Client(C) :只有Client的模式
LAN Server : 只有Server模式。
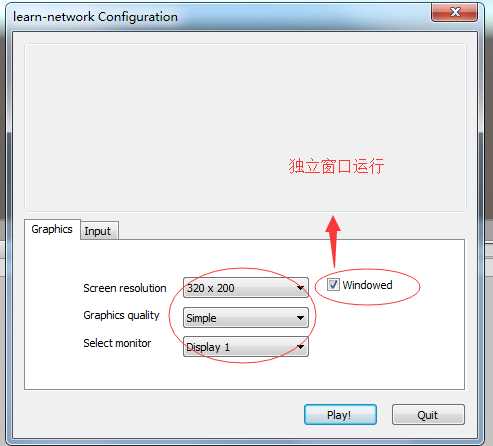
16.在一个独立的窗口运行该程序。"File" - "Building Settings ..."
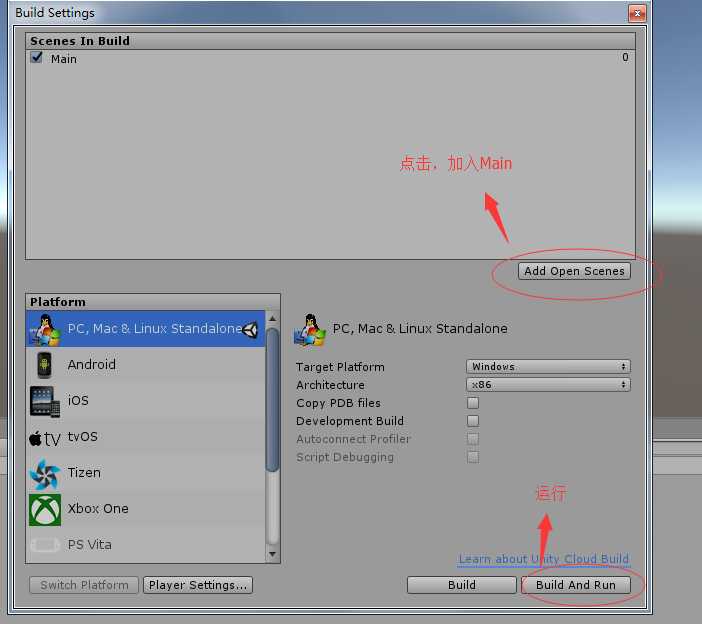
弹出窗口保存可执行文件
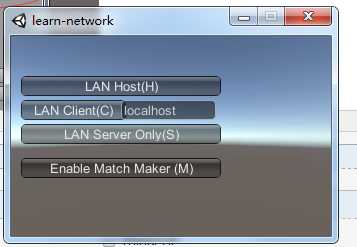
17.现在有两个可以运行的程序,一个是Unity模拟器,一个运行的独立窗口,可以自己选择哪个作为服务器,哪个作为客户端了。
18.注意,多个客户端的行为是无法同步的,因为PlayerController并没有相关的代码,可以自己作为学习开发。
Unity 官网教程 -- Multiplayer Networking
标签:rod move scene 注意 family hierarchy 允许 ack project
原文地址:http://www.cnblogs.com/jingjingdidunhe/p/6237461.html
