标签:端口 min conf centos 6 ruby gitlab get strong bsp
源码安装 GitLab 步骤繁琐:需要安装依赖包,Mysql,Redis,Postfix,Ruby,Nginx……安装完毕还得一个个手动配置这些软件,容易出错 - 此方式这里不做教程
环境 : centos 6.5 x64 - Minimal
Gillab 官网 : https://about.gitlab.com/
官方安装教程 : https://about.gitlab.com/downloads/
安装方式 : GitLab-CE
下图所示 : 需要选择安装的系统版本 , 根据教程进行安装GitLab . (如果英文比较好的,可以直接使用官方教程)
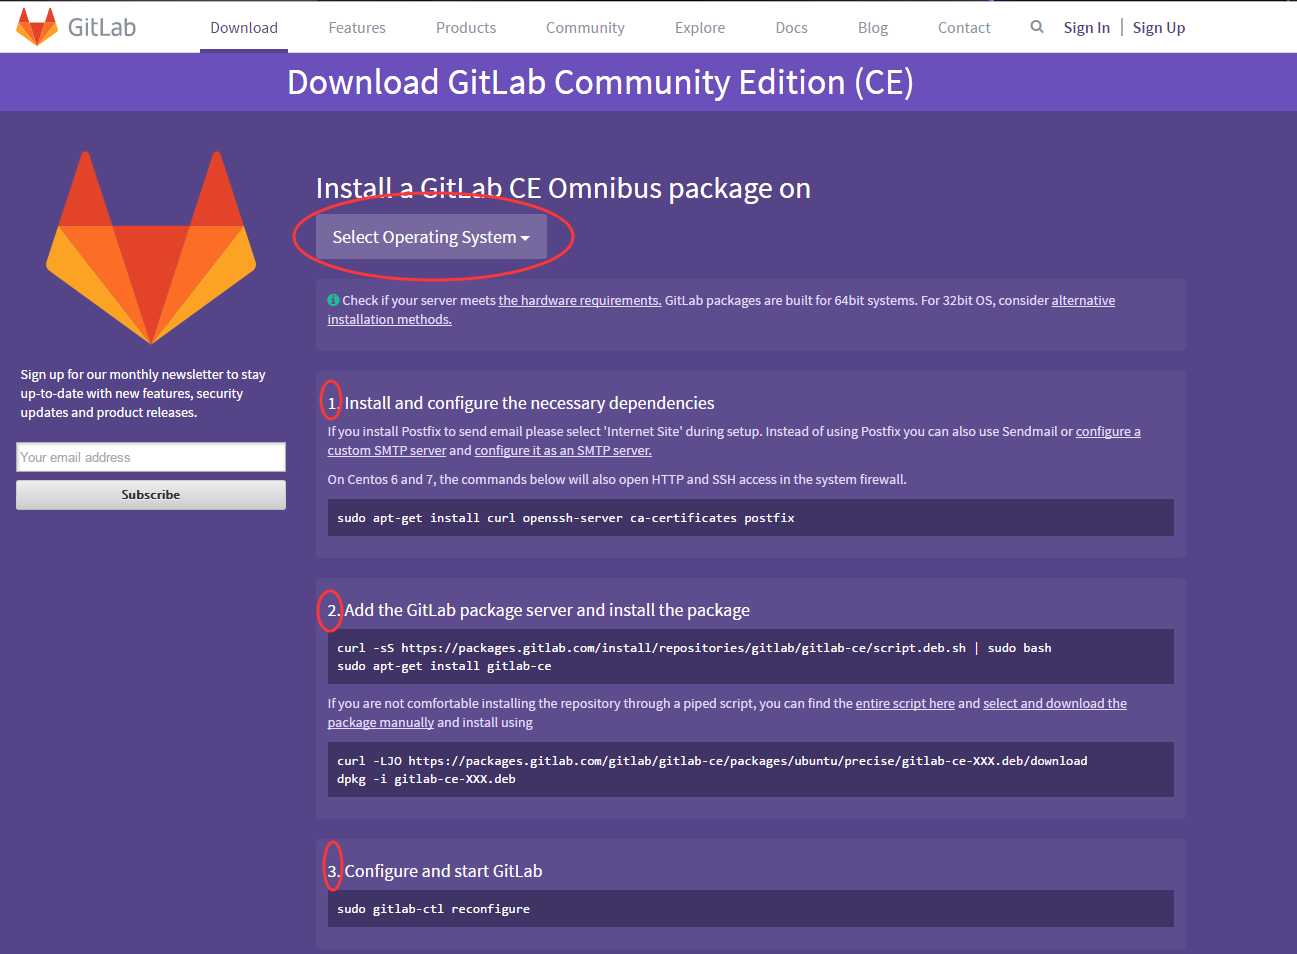
1 . 安装配置依赖项
如果已经安装了 Postfix 来发送邮件 , 请在安装过程中选择 ‘Internet Site‘ , 你也可以用 Sendmail 或者使用自定义的SMTP服务器来替代Postfix.
如果希望使用Exim,请把它当做SMTP来配置.
在Centos 6 和 7 上,下面的命令也会配置系统防火墙,把HTTP和SSH端口开放.
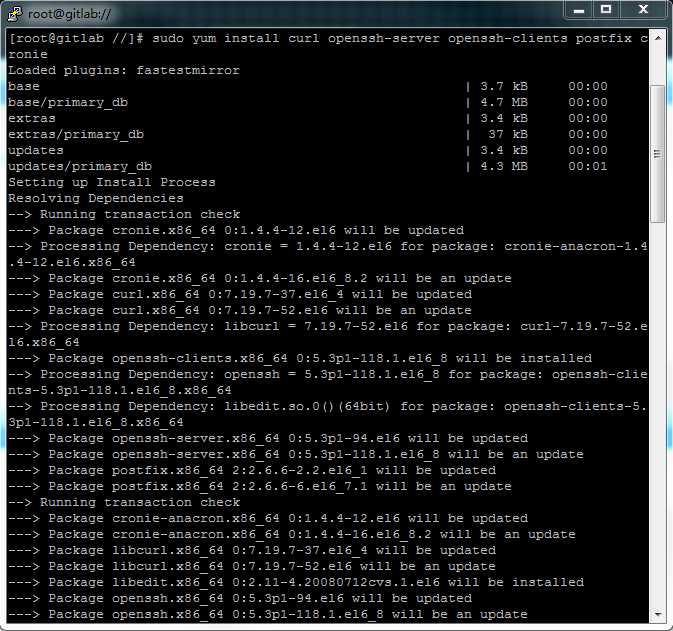
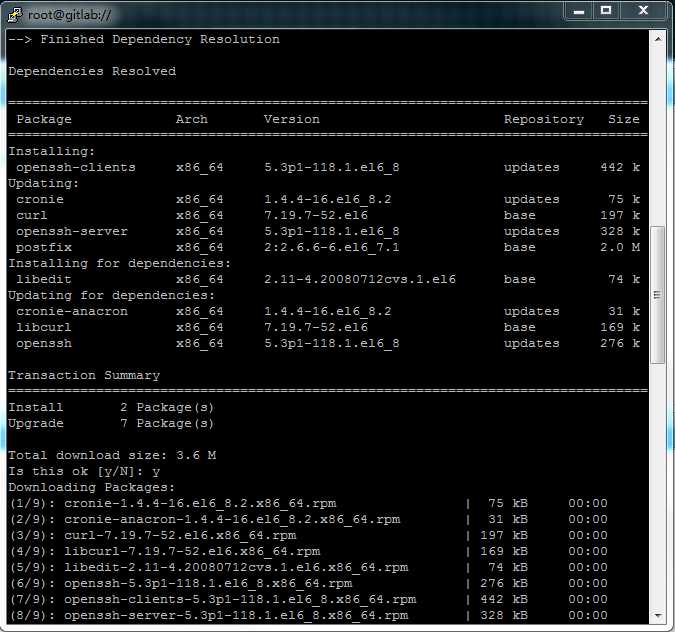
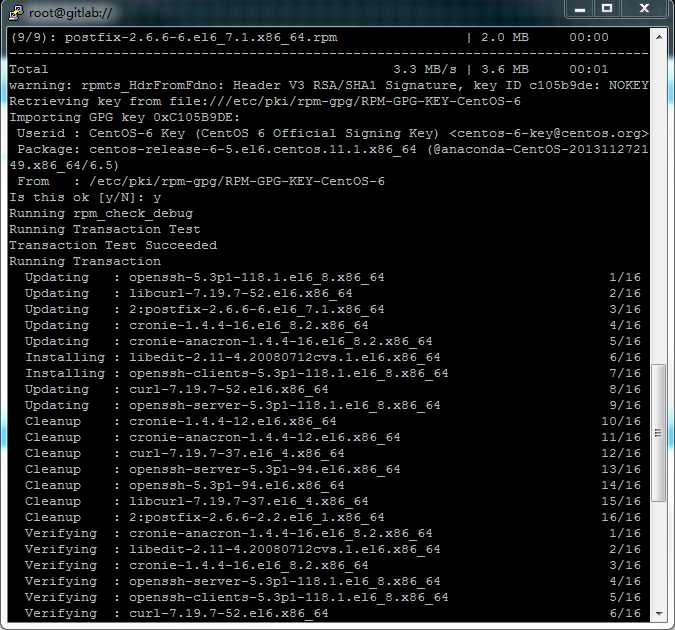
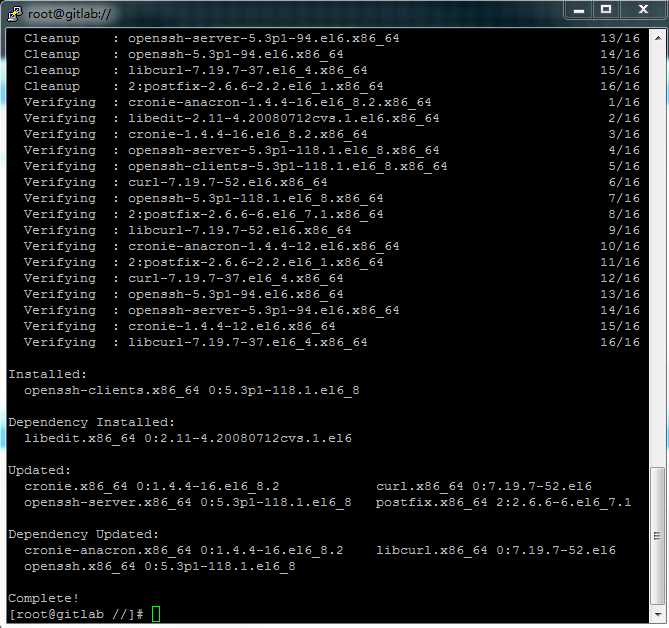
sudo yum install curl openssh-server openssh-clients postfix cronie
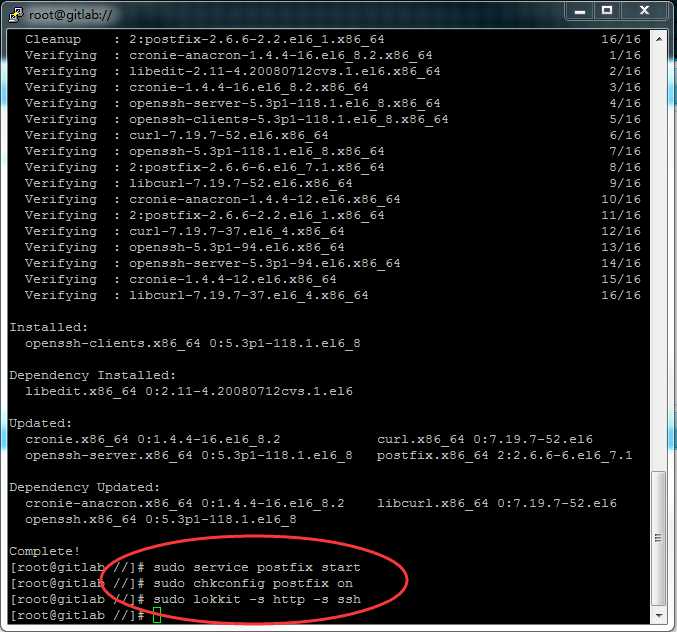
sudo service postfix start
sudo chkconfig postfix on
sudo lokkit -s http -s ssh
安装过程图示
2 . 添加并安装GitLab软件包
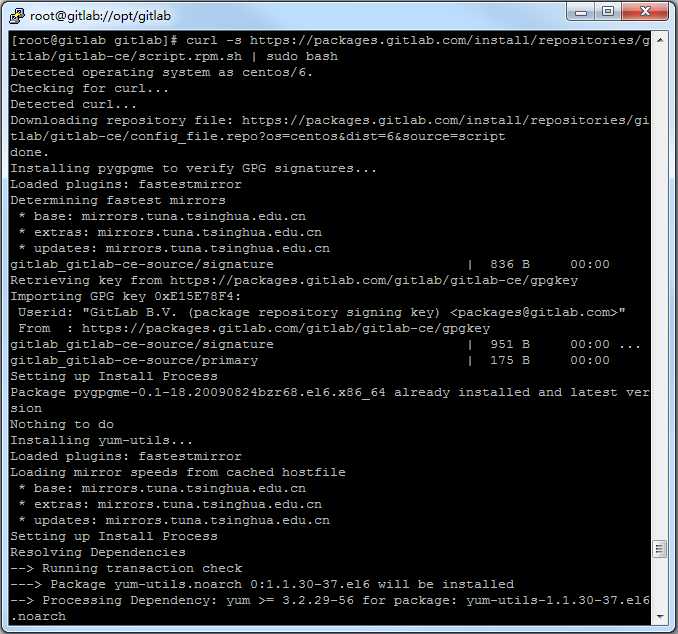
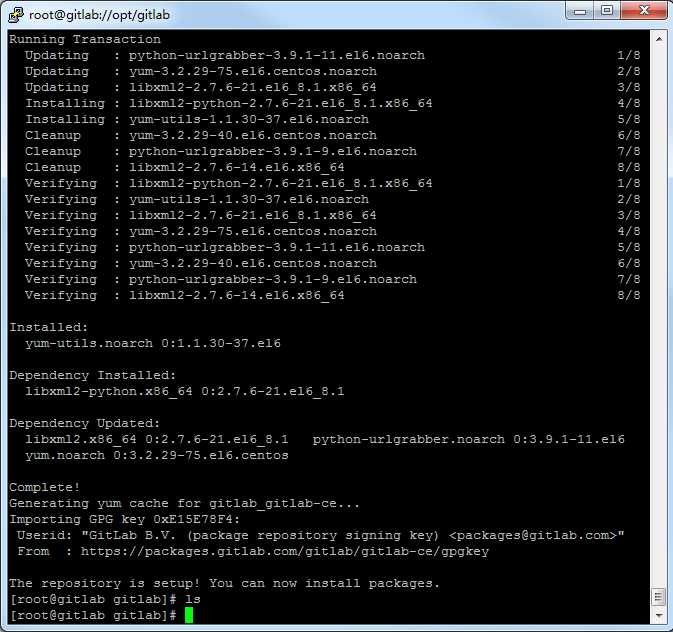
curl -sS https://packages.gitlab.com/install/repositories/gitlab/gitlab-ce/script.rpm.sh | sudo bash
sudo yum install gitlab-ce
安装过程图示
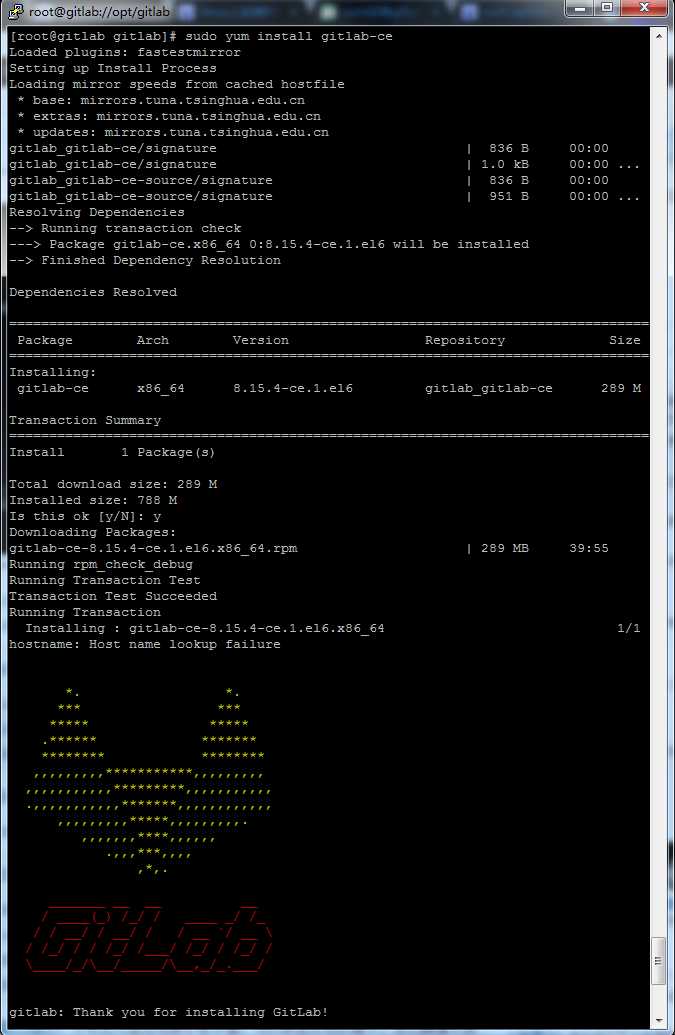
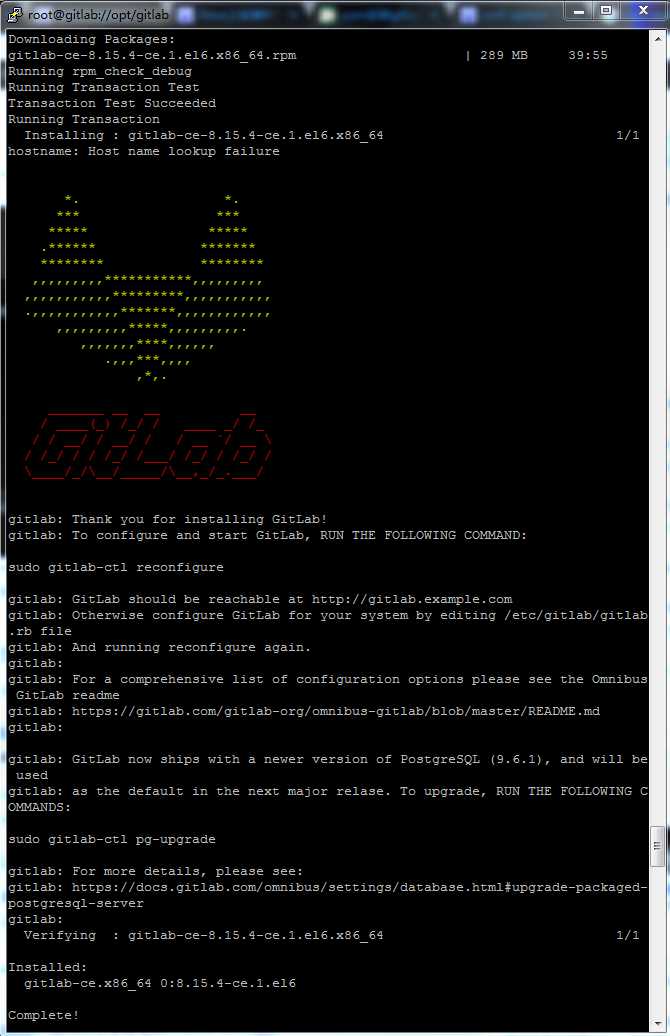
如果不习惯这种通过管道命令安装的方式,可以在这里找到完成的安装脚本,或者可以选择对应的GitLab安装包. 并使用下面命令进行安装
curl -LJO https://packages.gitlab.com/gitlab/gitlab-ce/packages/el/6/gitlab-ce-XXX.rpm/download
rpm -i gitlab-ce-XXX.rpm
3 . 配置和使用GitLab
sudo gitlab-ctl reconfigure
4 . 访问GitLab
在浏览器中访问GitLab主机名 (IP地址,端口为80 如 : http://192.168.1.100:80 )
在您的第一次访问时,您将被重定向到密码重置页面,以提供初始管理员帐户的密码.。
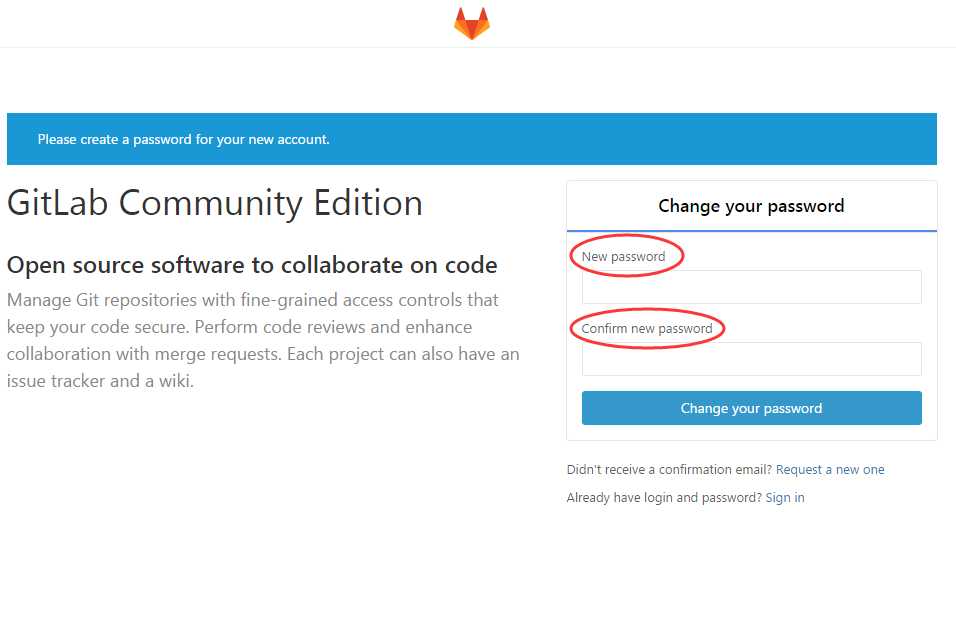
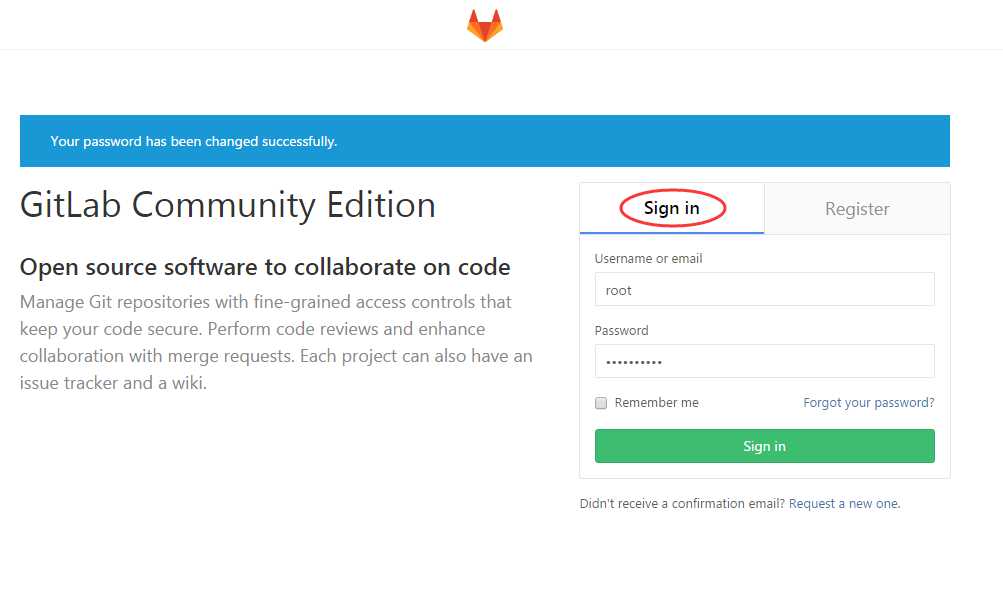
输入您想要的密码,您将被重定向回登录屏幕。默认帐户的用户名是root。提供您先前创建的密码并登录。登录后,根据需要可以更改用户名。
标签:端口 min conf centos 6 ruby gitlab get strong bsp
原文地址:http://www.cnblogs.com/menghaoqi/p/6296127.html