标签:window 最新版 pass ups eve cal html lis ima
下载地址:http://nginx.org/en/download.html
我下载的是当前最新版本 (nginx/Windows-1.11.10)
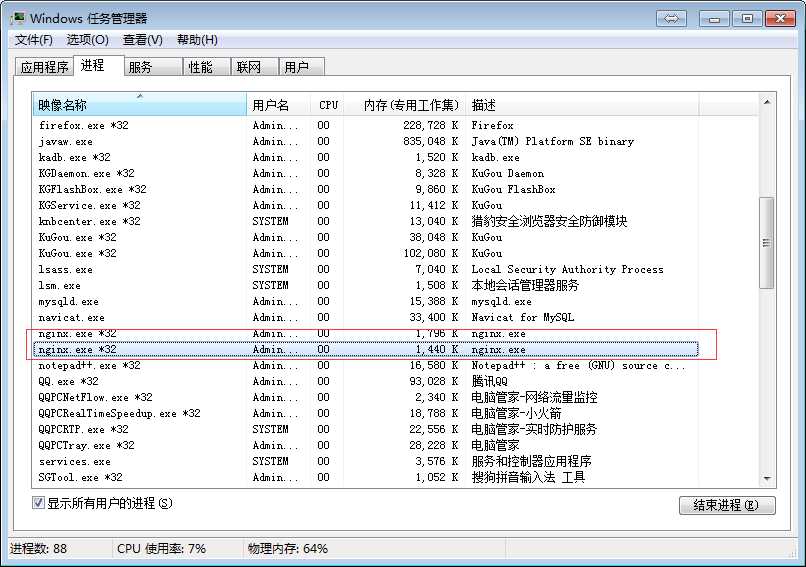
解压运行nginx.exe 可以看到命令行窗口一闪而过,查看任务管理器,可以看到多出两个nginx.exe的进程
进入解压目录的conf下
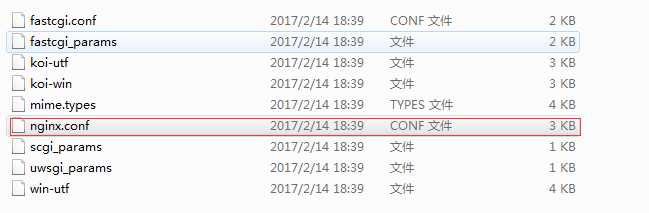
这个文件就是nginx的配置文件了,这个是window版的,有些配置被注释掉了
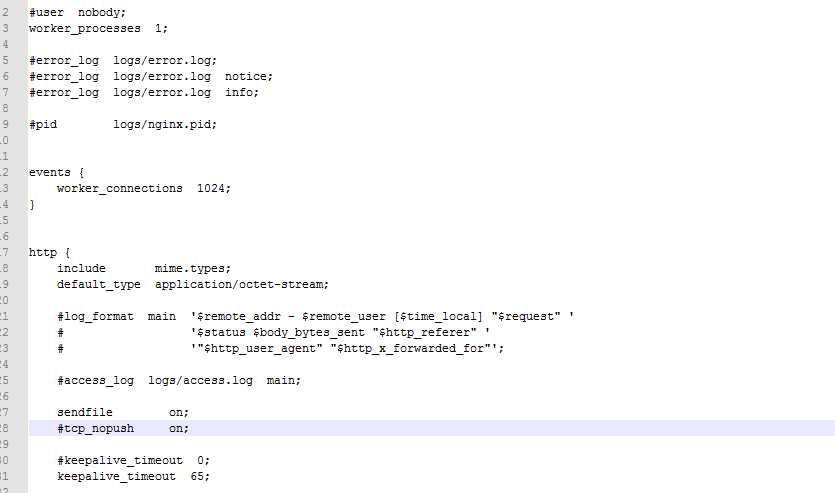
配置详细可以看这篇博客 http://www.cnblogs.com/sunxucool/p/3225818.html
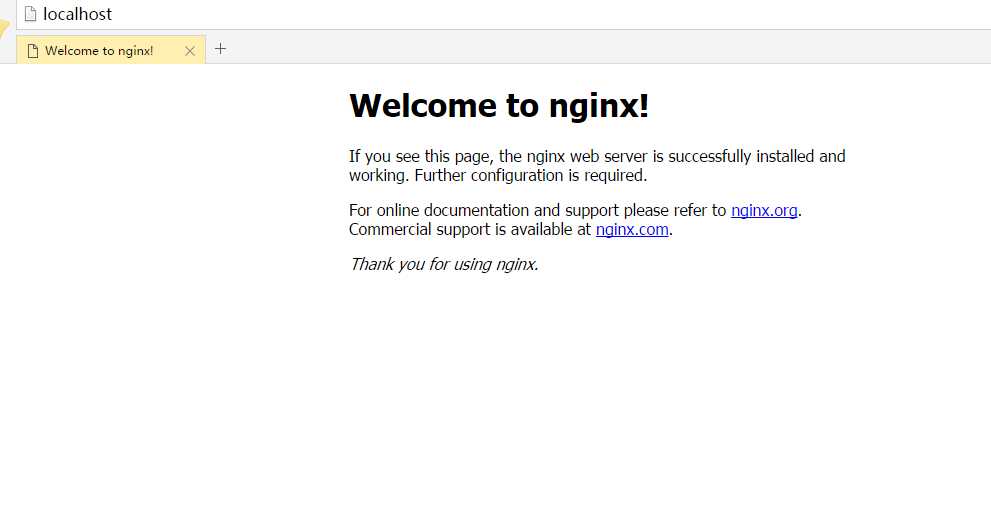
输入localhost可以看到nginx的默认页面
现在来使用一个web工程实现负载均衡...
改配置文件
worker_processes  1;

events {
    worker_connections  1024;
}

http {
    include       mime.types;
    default_type  application/octet-stream;

    sendfile        on;
    keepalive_timeout  65;

	upstream wgf.com{  #重定向的配置
		server localhost:8081;  #负载均衡服务器1
		server localhost:8082;  #负载均衡服务器2
	}

    server {
        listen       80;  #监听端口
        server_name  localhost; #监听ip

        location / {
			#root   html;
            #index  index.html index.htm;
			proxy_pass  http://wgf.com; #监听到的地址重定向到这个地址
			proxy_redirect  default;
        }
		error_page   500 502 503 504  /50x.html; #错误页匹配
		location = /50x.html {
		 root   html;
		}
    }
}
这个实现的原理可以从配置中大概看出来 监听到localhost:80请求重定向到nginx的伪站点http://wgf.com,
然后nginx通过配置找到最终访问的服务器地址localhost:8081 和localhost:8082
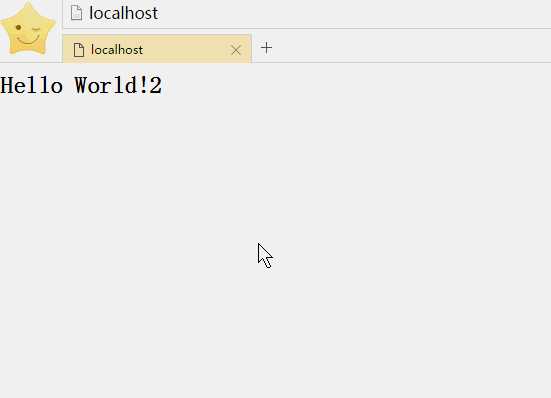
这两个是我本地的两个web工程,访问localhost会在这两个服务中轮换。效果如下
标签:window 最新版 pass ups eve cal html lis ima
原文地址:http://www.cnblogs.com/jiaqirumeng/p/6562232.html