标签:导入 需要 href runtime map mave string stc pid
一、利用eclipse快速创建Spring-boot项目
1.首先去http://start.spring.io网站,勾选所需要的starter,如图:
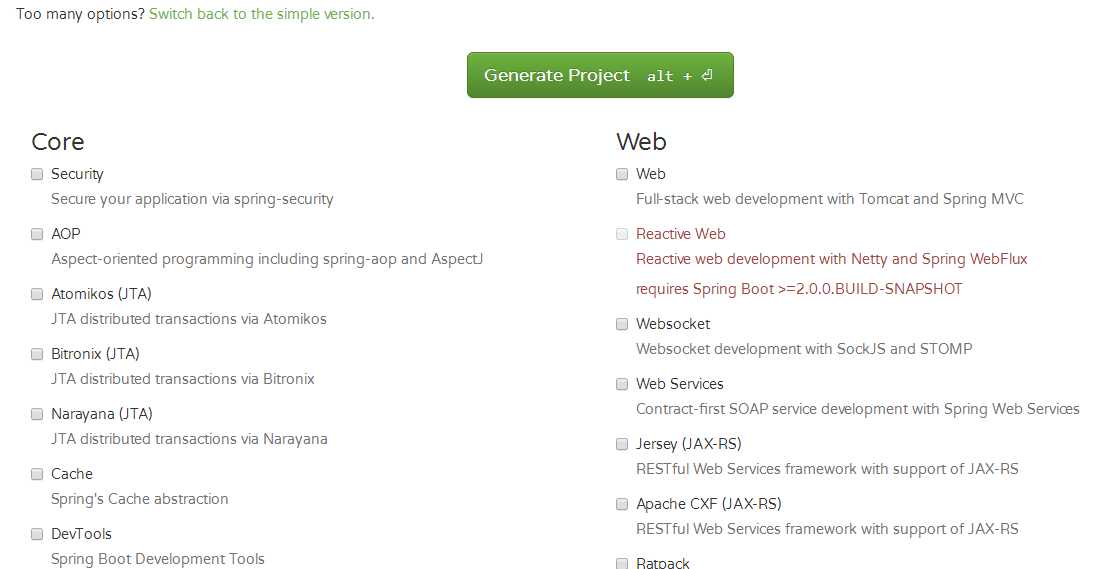
选择完之后下载该文件,打开后发现是一个正常的maven项目,然后将项目导入eclipse中
二、利用idea开发工具可以更快的创建Spring-boot项目
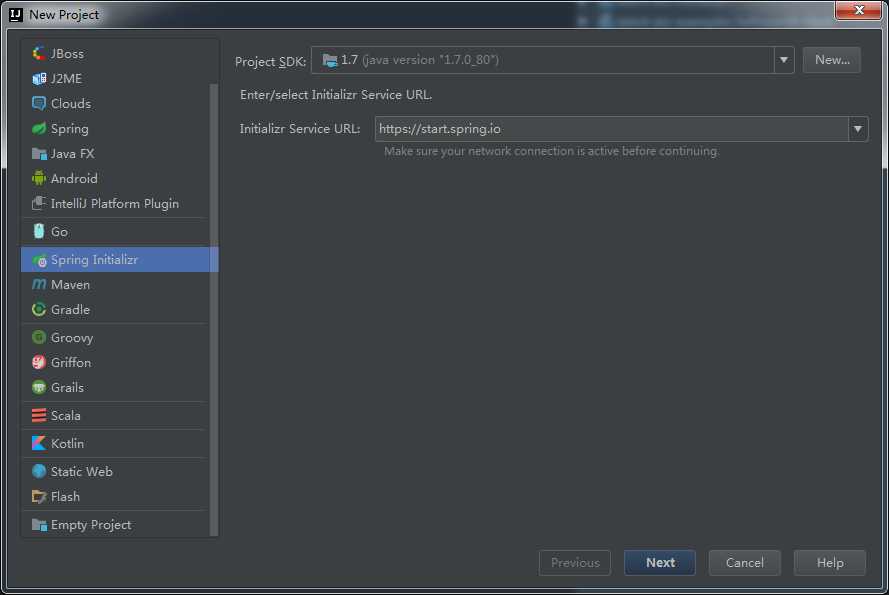
1.新建Spring Initializr 项目,如图:
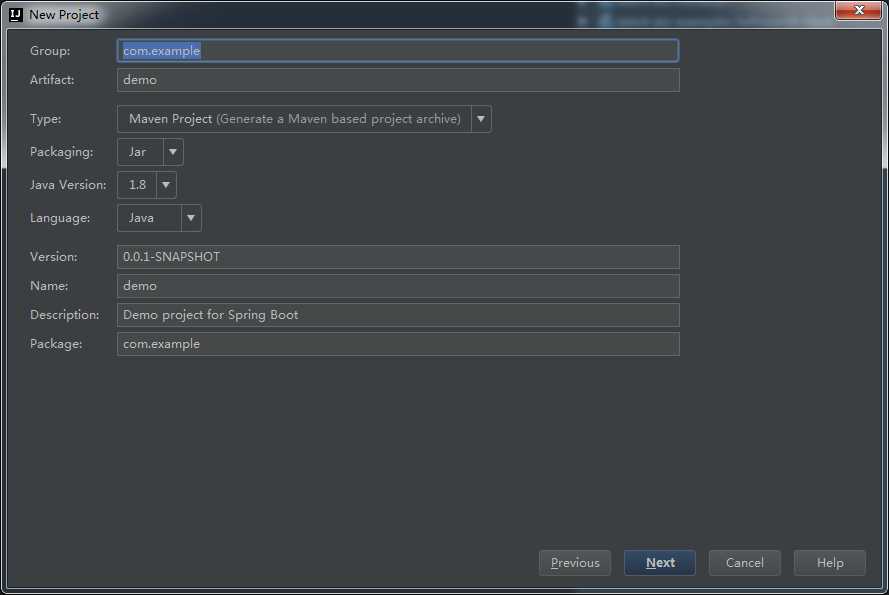
2.填写项目信息
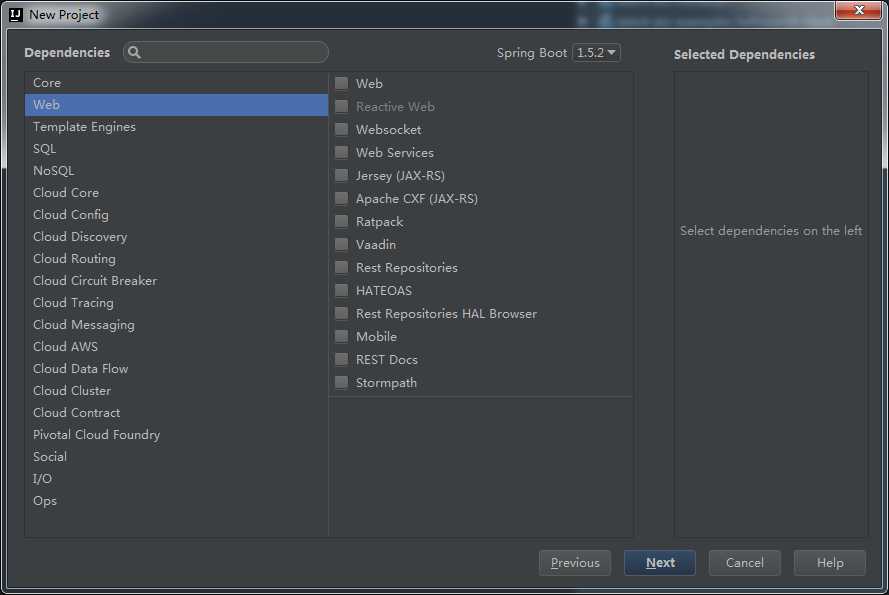
3.选择使用的技术
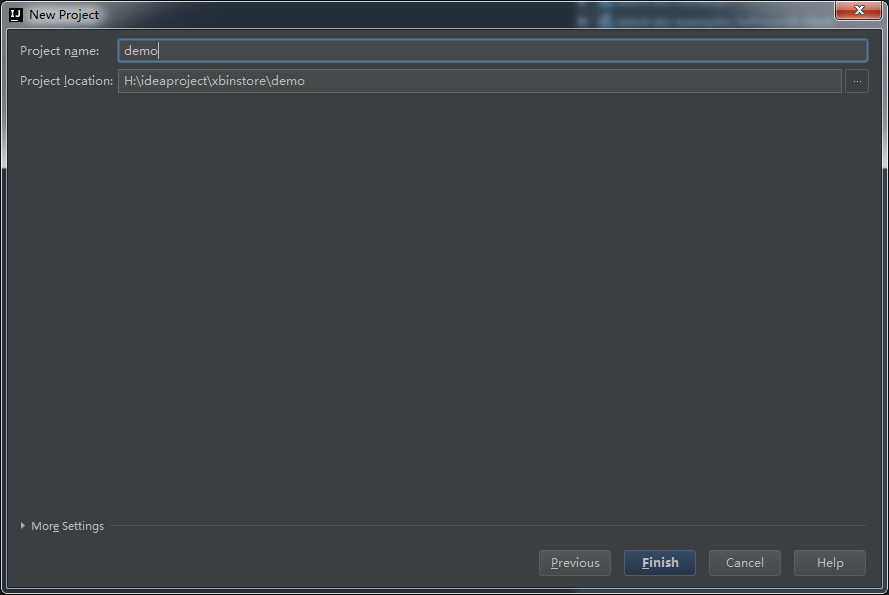
4.填写项目名称
三、maven手动构建Spring-boot
1 <parent>
2   <groupId>org.springframework.boot</groupId>
3   <artifactId>spring-boot-starter-parent</artifactId>
4   <version>1.5.2.RELEASE</version>
5   <relativePath />
6   <!--  lookup parent from repository -->
7 </parent>
注意Spring-boot-starter-parent包含用于绑定repackage目标的<executions>配置。如果你不使用Spring-boot-starter-parent,你将需要自己声明该配置。
 1 <dependencies>
 2     <dependency>
 3         <groupId>org.springframework.boot</groupId>
 4         <artifactId>spring-boot-starter-thymeleaf</artifactId>
 5     </dependency>
 6     <dependency>
 7         <groupId>org.postgresql</groupId>
 8         <artifactId>postgresql</artifactId>
 9         <scope>runtime</scope>
10     </dependency>
11     <dependency>
12         <groupId>org.springframework.boot</groupId>
13         <artifactId>spring-boot-starter-test</artifactId>
14         <scope>test</scope>
15     </dependency>
16 </dependencies>
1 <build>
2     <plugins>
3         <plugin>
4             <groupId>org.springframework.boot</groupId>
5             <artifactId>spring-boot-maven-plugin</artifactId>
6         </plugin>
7     </plugins>
8 </build>
 1 @SpringBootConfiguration
 2 public class SpringbootDemoApplication {
 3    @RequestMapping("/")
 4    String home() {
 5    return "Hello World!";
 6    }
 7    public static void main(String[] args) {
 8       SpringApplication.run(SpringbootDemoApplication.class, args);
 9    }
10 }
@SpringBootConfiguration注解的作用相当于@RestController、@EnableAutoConfiguration这两个注解
6. 创建一个可执行的jar
在cmd控制台进入项目所在的目录下,执行mvn package 打包项目
标签:导入 需要 href runtime map mave string stc pid
原文地址:http://www.cnblogs.com/kevin443/p/6715259.html