标签:default handler splay xml文件 str servlet post extend jsp页面
案例:使用springMVC编写用户注册页面 在注册成功页面显示注册的信息
1、先导入springmvc相关jar包(-----------建议在WEB-INF下的lib里添加,然后引用)

2、配置web.xml(-----------springmvc 以.do结尾)
<?xml version="1.0" encoding="UTF-8"?>
<web-app xmlns:xsi="http://www.w3.org/2001/XMLSchema-instance"
	xmlns="http://java.sun.com/xml/ns/javaee"
	xsi:schemaLocation="http://java.sun.com/xml/ns/javaee http://java.sun.com/xml/ns/javaee/web-app_3_0.xsd"
	id="WebApp_ID" version="3.0">
	<display-name>springmvc2</display-name>
	<welcome-file-list>
		<welcome-file>index.html</welcome-file>
		<welcome-file>index.htm</welcome-file>
		<welcome-file>index.jsp</welcome-file>
		<welcome-file>default.html</welcome-file>
		<welcome-file>default.htm</welcome-file>
		<welcome-file>default.jsp</welcome-file>
	</welcome-file-list>
	<!-- 在spring-webmvc-3.2.9.RELEASE.jar里面-->
	<servlet>
		<servlet-name>springmvc</servlet-name>
		<servlet-class>org.springframework.web.servlet.DispatcherServlet</servlet-class>
	</servlet>
	<servlet-mapping>
		<servlet-name>springmvc</servlet-name>
		<url-pattern>*.do</url-pattern>
	</servlet-mapping>
</web-app>
3、在WEB-INF文件下建文件springmvc-servlet.xml文件(-----------bean的name名字下要有/斜杠,视图解析器的前后缀要注意)
<?xml version="1.0" encoding="UTF-8"?>
<beans xmlns="http://www.springframework.org/schema/beans"
	xmlns:xsi="http://www.w3.org/2001/XMLSchema-instance"
	xmlns:p="http://www.springframework.org/schema/p"
	xmlns:context="http://www.springframework.org/schema/context"
	xmlns:aop="http://www.springframework.org/schema/aop"
	xmlns:mvc="http://www.springframework.org/schema/mvc"
	xsi:schemaLocation="http://www.springframework.org/schema/beans
		http://www.springframework.org/schema/beans/spring-beans-3.0.xsd
       	http://www.springframework.org/schema/aop
       	http://www.springframework.org/schema/aop/spring-aop-3.0.xsd
       	http://www.springframework.org/schema/tx
       	http://www.springframework.org/schema/tx/spring-tx-3.0.xsd
       	http://www.springframework.org/schema/context
       	http://www.springframework.org/schema/context/spring-context-3.0.xsd
		http://www.springframework.org/schema/mvc
		http://www.springframework.org/schema/mvc/spring-mvc-3.0.xsd"
       	>

	<!-- 视图解析器  配置前缀和后缀 要据modelAndView中封装视图名找到目标页面-->
	<bean class="org.springframework.web.servlet.view.InternalResourceViewResolver">
		<property name="prefix" value="/view/"></property>
		<property name="suffix" value=".jsp"></property>
	</bean>

	<bean name="/hello.do" class="com.wh.controller.HelloController"/>

</beans>
4、配置Controller(-----------注意是转到helloTo页面)
package com.wh.controller;

import javax.servlet.http.HttpServletRequest;
import javax.servlet.http.HttpServletResponse;

import org.springframework.web.servlet.ModelAndView;
import org.springframework.web.servlet.mvc.AbstractController;

public class HelloController extends AbstractController {

	@Override
	protected ModelAndView handleRequestInternal(HttpServletRequest request,
			HttpServletResponse response) throws Exception {
		String name = request.getParameter("name");
		System.out.println(name);
		ModelAndView mav = new ModelAndView("helloTo");// 转到helloTo.jsp页面
		mav.addObject("rel", name);
		return mav;
	}

}
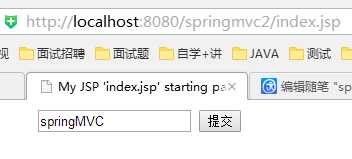
5、编写hello.jsp(-----------要注意,action后的地址,不用加斜杠/,这点很容易犯错,会导致跳转不到正确的页面)
	<form action="hello.do" method="post">
		<input name="name" type="text"/>
		<input type="submit" value="提交"/>
	</form>
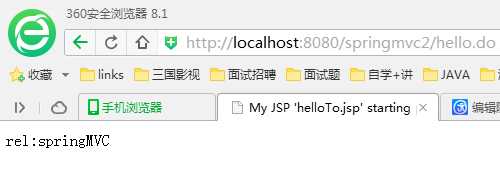
6、在WebRoot下新建view文件夹,在该文件夹下新建helloTo.jsp文件
  <body>
      rel:${rel}
  </body>
效果图如下:
-----------------------------------------------------------------------
-----------------------------------------------------------------------

标签:default handler splay xml文件 str servlet post extend jsp页面
原文地址:http://www.cnblogs.com/1020182600HENG/p/6724944.html