标签:mrr cot id3 awk auto 平台服 qps tfs awd
小分享:我有几张阿里云优惠券,用券购买或者升级阿里云相应产品最多可以优惠五折!领券地址:https://promotion.aliyun.com/ntms/act/ambassador/sharetouser.html?userCode=ohmepe03
本文将会示范如何在Windows系统下基于ASP.NET Core构建跨平台服务,并通过Docker容器运行发布。 首先说一下为什么选择这一套组合: 我本人和我们Code4Thought团队关注一切具备生产力的技术和工具,话说有所了解才有所选择,DotNet技术发展趋势也值得我们关注和支持。基于DotNot Core我们可以构建跨平台服务,结合Entity Framework Core(微软强大的ORM),MYSQL(免费),Docker(方便移植),Visual Studio 2015(宇宙最强IDE)这一系列技术和工具,不管从商业成本,可移植性,还是生产效率上,都具备很强的诱惑力。
1,创建ASP.NET Core,可以通过.Net Core SDK提供的命令创建,当然在Windows环境下最佳选择还是宇宙最强IDE:Visual Studio,本文使用2015 Update3 版本:
选择Web 应用程序,创建成功后,VS会自动执行 dotnet restore 自动还原project.json 中的依赖项,项目结构如下:
介绍几个变化项:
project.json:类似JAVA世界的Maven,管理了程序的依赖项,包括程序集,工具,配置等。
Program.cs:跟JAVA世界还是很像,程序会找到其中的Main方法做为启动入口,模板代码是通过微软Microsoft.AspNetCore.Hosting 自托管当前Web程序。
Startup.cs:初始化应用程序服务,全局配置,服务注入等。
wwwroot:前端项目文件。
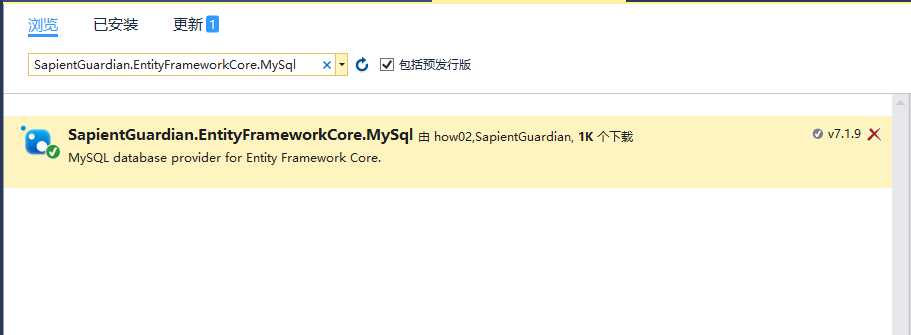
通过Nuget命令行或管理工具,获取项目所需依赖程序集和工具:

Get成功之后,project.json如下:
下面我们使用Entity Framework Core试用Code First模式,结合领域驱动设计,快速构建领域模型,假设建模后的模型包含 “用户“”和“物品“两个实体,当然这种开发模式可以充分利用面向对象的设计理念,比如领域模型通过继承获取一些系统属性:BaseEntity

 1 using System;
 2 using System.Collections.Generic;
 3 using System.Linq;
 4 using System.Threading.Tasks;
 5
 6 namespace WebApplication2.Domain.Model
 7 {
 8     public class BaseEntity
 9     {
10
11         public int Id { get; set; }
12
13         public DateTime CreateTime { get; set; }
14
15         public DateTime UpdateTime { get; set; }
16
17     }
18 }

 1 using System;
 2 using System.Collections.Generic;
 3 using System.Linq;
 4 using System.Threading.Tasks;
 5
 6 namespace WebApplication2.Domain.Model
 7 {
 8     public class UserEntity: BaseEntity
 9     {
10
11         public string Name { get; set; }
12
13         public long Age { get; set; }
14
15         //其它属性...
16
17         public virtual ICollection<ProductEntity> Products { get; set; }
18
19
20     }
21 }

 1 using System;
 2 using System.Collections.Generic;
 3 using System.Linq;
 4 using System.Threading.Tasks;
 5
 6 namespace WebApplication2.Domain.Model
 7 {
 8     public class ProductEntity: BaseEntity
 9     {
10         public String Name { get; set; }
11
12         public virtual UserEntity Owner { get; set; }
13
14         //其它属性...
15
16     }
17 }
构建DbContext:

 1 using System;
 2 using System.Linq;
 3 using Microsoft.EntityFrameworkCore;
 4 using WebApplication2.Domain.Model;
 5
 6 namespace WebApplication2.Domain
 7 {
 8     public class MyDbContext: DbContext
 9     {
10
11         public MyDbContext(DbContextOptions<MyDbContext> options)
12             : base(options)
13         { }
14         public DbSet<UserEntity> UserEntity { get; set; }
15         public DbSet<ProductEntity> ProductEntity { get; set; }
16         //protected override void OnConfiguring(DbContextOptionsBuilder optionsBuilder)
17         //{
18         //}
19
20         /// <summary>
21         /// 配置属性和模型关系等操作
22         /// </summary>
23         /// <param name="modelBuilder"></param>
24         protected override void OnModelCreating(ModelBuilder modelBuilder)
25         {
26             modelBuilder.Entity<UserEntity>().HasMany(a => a.Products).WithOne(a => a.Owner);
27
28         }
29
30         /// <summary>
31         /// 重写SaveChanges 方法,添加一些自定义操作
32         /// </summary>
33         /// <returns></returns>
34         public override int SaveChanges()
35         {
36             ChangeTracker.DetectChanges();
37
38             SetSystemProperty();
39
40             return base.SaveChanges();
41         }
42
43         private void SetSystemProperty()
44         {
45             //查询模型添加和变更
46             var modifiedSourceInfo = ChangeTracker.Entries()
47                .Where(e => e.State == EntityState.Added || e.State == EntityState.Modified).ToList();
48
49             DateTime currentTime = DateTime.Now;
50
51             //设置系统属性
52             foreach (var entry in modifiedSourceInfo)
53             {
54                 entry.Property("CreateTime").CurrentValue = currentTime;
55                 entry.Property("UpdateTime").CurrentValue = currentTime;
56             }
57
58
59         }
60
61     }
62 }
通过Startup.cs 注册MyDbContext,ASP.NET Core 默认设计了IOC容器管理服务对象
MySqlConnectionString 配置数据库连接:
编写业务逻辑实现(本文只是简单示例所以直接写到Controller),测试EF Core基本的增删改查,基本都能用,但还有一些不完善,比如导航属性还没有实现。

 1 using System;
 2 using System.Collections.Generic;
 3 using System.Linq;
 4 using System.Threading.Tasks;
 5 using Microsoft.AspNetCore.Mvc;
 6 using Microsoft.EntityFrameworkCore;
 7 using WebApplication2.Domain;
 8 using WebApplication2.Domain.Model;
 9
10 namespace WebApplication2.Controllers
11 {
12     public class HomeController : Controller
13     {
14         private MyDbContext _dbContext;
15         //注入MyDbContext
16         public HomeController(MyDbContext dbContext)
17         {
18             _dbContext = dbContext;
19         }
20
21         public IActionResult Index()
22         {
23             //查询用户
24             var checkUser = _dbContext.UserEntity.FirstOrDefault(a => a.Name.Equals("flynn"));
25
26             if (checkUser == null)
27             {
28                 //测试创建用户
29                 _dbContext.UserEntity.Add(new UserEntity()
30                 {
31                     Age = 111,
32                     Name = "flynn",
33                     Products = new List<ProductEntity>() //用户包含的物品
34                     {
35                         new ProductEntity()
36                         {
37                             Name = "prduct Name1",
38                         },
39                           new ProductEntity()
40                         {
41                             Name = "prduct Name2",
42                         }
43                     }
44                 });
45                 //持久化模型
46                 _dbContext.SaveChanges();
47             }
48
49             //再次查询用户,我们可以看到目前Entity Framework Core尚未支持Lazy Loading.
50             //通过提供Include 和 ThenInclude嵌套获取导航属性
51             var reCheckUser = _dbContext.UserEntity
52                 .Include(a=>a.Products)
53                 .FirstOrDefault(a => a.Name.Equals("flynn"));
54
55
56             var myProduct = reCheckUser.Products.ToList();
57
58             return View();
59         }
60
61         public IActionResult About()
62         {
63             ViewData["Message"] = "Your application description page.";
64
65             return View();
66         }
67
68         public IActionResult Contact()
69         {
70             ViewData["Message"] = "Your contact page.";
71
72
73
74             return View();
75         }
76
77         public IActionResult Error()
78         {
79             return View();
80         }
81     }
82 }
测试跟踪SQL语句执行过程

到此项目所有代码已经开发完成,我相信在效率上还是有一定诱惑力,能快速构建和实现中小型项目。
微软还给我们提供了一套数据迁移方案,打开Nuget 命令行,
执行命令 Add-Migration ,生成数据迁移代码和历史文件
执行命令:Update-Database ,更新和创建数据库(如果数据库不存在则创建,测试过程中,发现需要先创建一个空数据库)

查看Mysql数据库,数据表已经自动生成如下:
Docker的优势本人不重复赘述,在Windows 下安装Docker后,通过Windows Power Shell执行命令:
Docker --version
正常显示如下:
在项目文件目录,为项目创建Dockerfile,Dockerfile 内写入Docker镜像的创建过程和命令,注意Dockerfile不需要包含后缀名,文件内容如下:
FROM microsoft/dotnet:latest
COPY . /app
WORKDIR /app
RUN ["dotnet", "restore"]
RUN ["dotnet", "build"]
EXPOSE 5000/tcp
ENV ASPNETCORE_URLS http://*:5000
ENTRYPOINT ["dotnet", "run"]
文件逻辑: 获取微软提供的DotNet Core程序运行的官方镜像,可直接运行到Linux,将当前文件夹文件拷贝并设置工作目录到/app 文件夹,也就是会将刚才项目所有文件拷贝过去。
执行 dotnet 的restore 和 build 命令,最后执行dotnet run 命令启动程序。
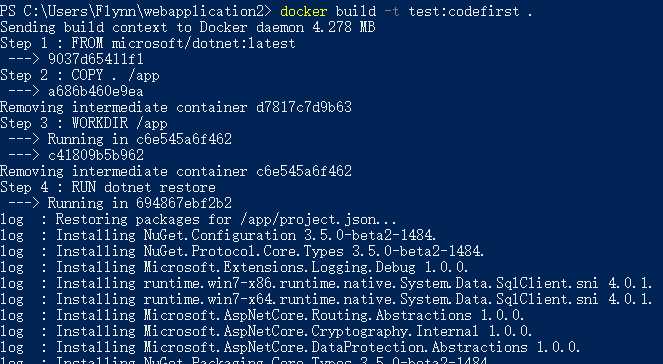
创建Docker镜像,执行命令:
docker build -t test:codefirst .
会首先下载微软官方镜像,然后按Dockerfile 进行构建:

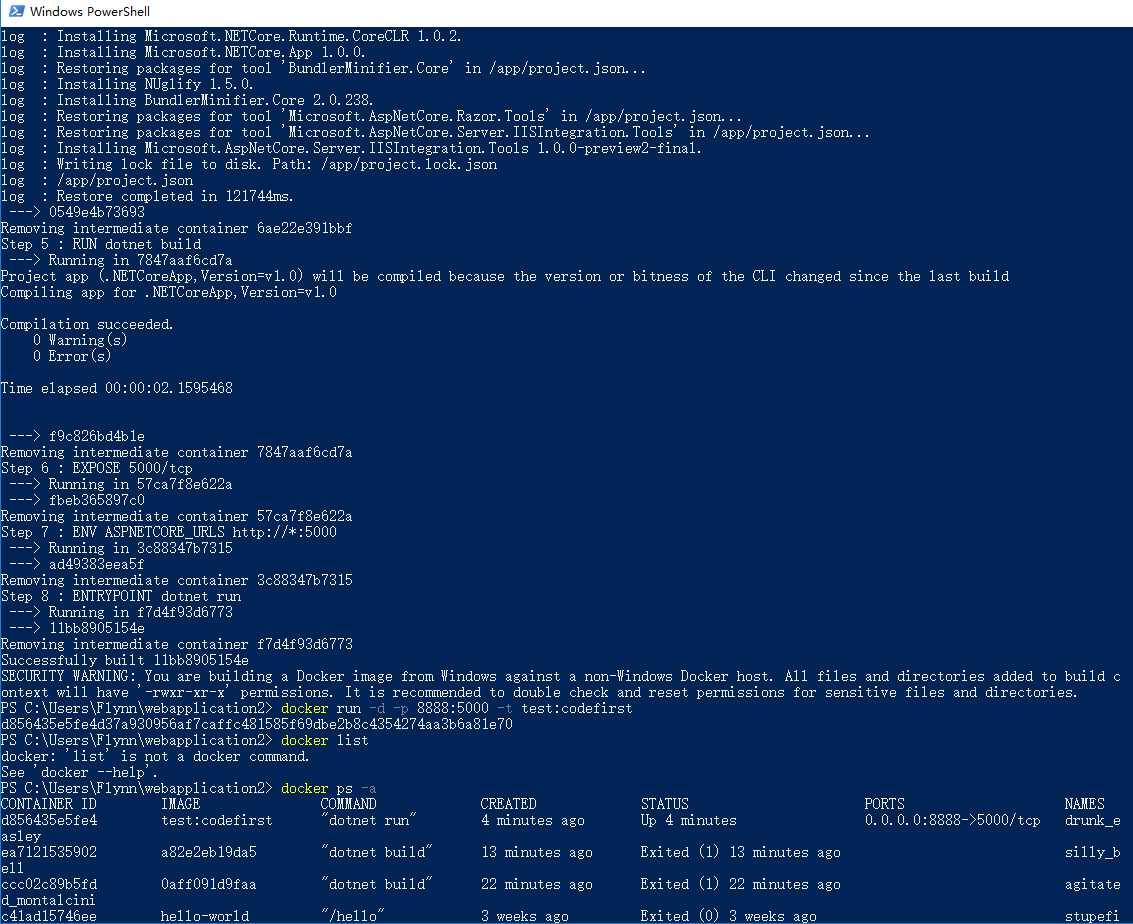
稍等下载和镜像构建完成,通过命令运行镜像:
docker run -d -p 8888:5000 -t test:codefirst
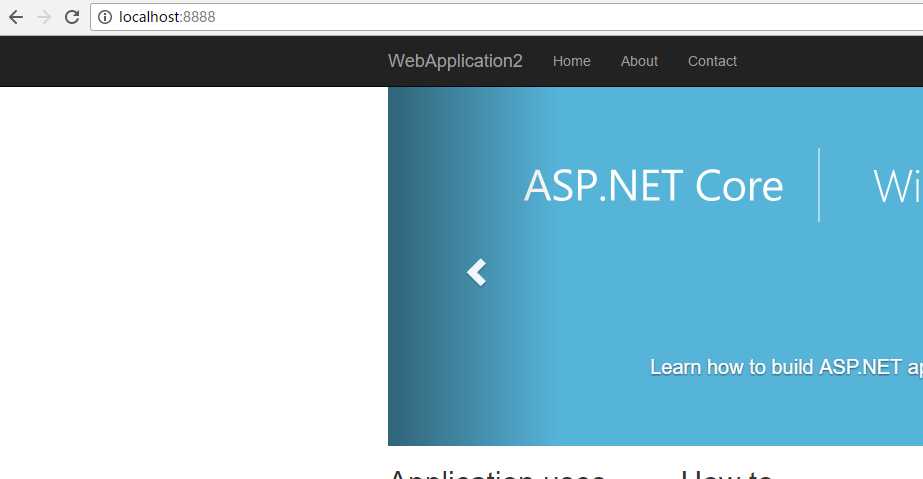
运行成功,可以直接访问端口8888,访问Docker运行的服务了。


本文简单介绍和尝试了微软一系列技术的可行性和真实开发效率,试用过程中,能明显感受到微软前所未有的开放度,希望大家多多指导,共同分享,共同改变。
作者:Code4Thought 成员 Flynn Shu
参考页面:http://qingqingquege.cnblogs.com/p/5933752.html
Windows下构建ASP.NET Core+Code First+Docker
标签:mrr cot id3 awk auto 平台服 qps tfs awd
原文地址:http://www.cnblogs.com/libing1/p/6758726.html