标签:android blog http os io 使用 java strong ar
Calabash-android是支持android的UI自动化测试框架,前面已经介绍过《中文Win7下成功安装calabash-android步骤》,这篇博文尝试测试一个真实应用:开源中国客户端。目的是和大家一起学习calabash测试工具。

oschina除了有网站,还有三大平台手机客户端:

客户端已经开源!
那么开源可以用来做什么呢?
我正在学用calabash-android,得找到一个合适的待测app,平时手机上开源中国这个app用的蛮顺手了,所以就选它了,再次特别向开源中国的开发工程师致谢!
可以参考:
中文Win7下成功安装calabash-android步骤
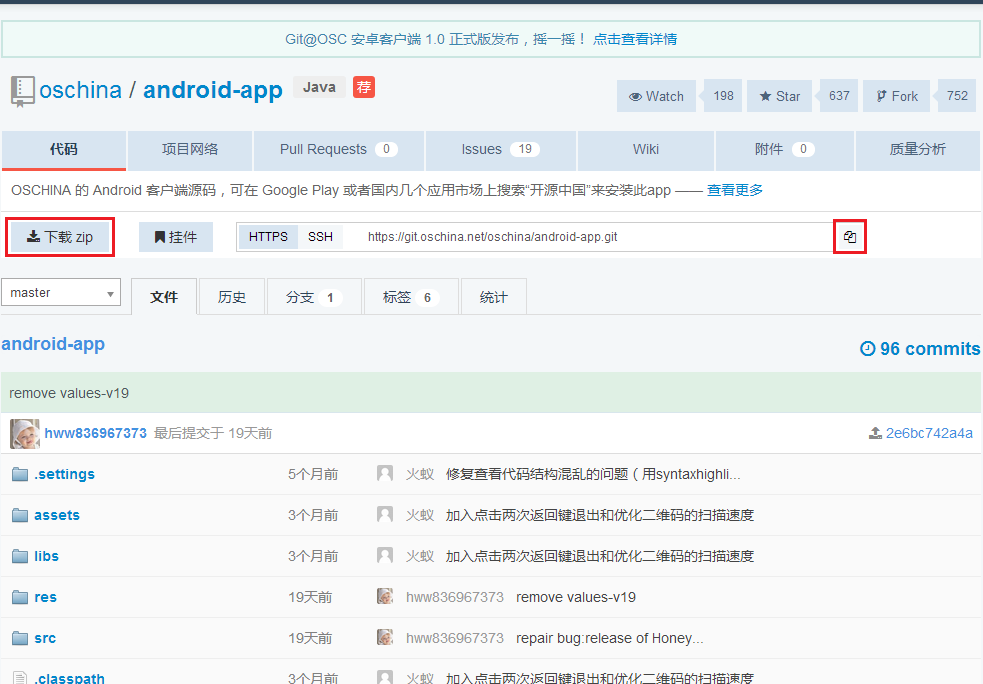
首先到 http://git.oschina.net/oschina/android-app ,

下载源代码方式的方式都可:
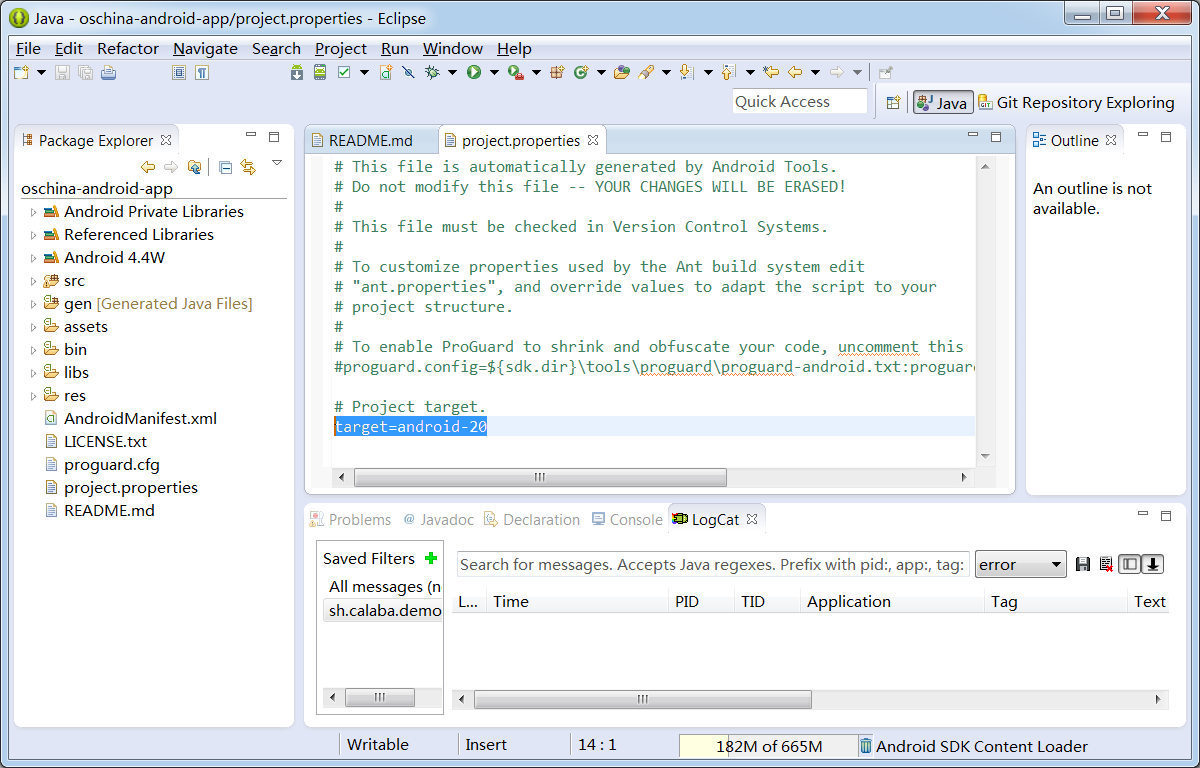
导入到ADT中后,源代码如下:

问题1: adt-bundle-20140702的API版本是20,所以要修改project.properties: target=android-15 改成 target=android-20
问题2: 源代码是使用了已作废的class: android.webkit.CacheManager
oschina-android-app/src/net/oschina/app/AppContext.java中使用了android.webkit.CacheManager
所以要把相关代码禁掉:
61行:
//import android.webkit.CacheManager;
1503到1509行:
//      File file = CacheManager.getCacheFileBaseDir();
//      if (file != null && file.exists() && file.isDirectory()) {
//          for (File item : file.listFiles()) {
//              item.delete();
//          }
//          file.delete();
//      }
问题3:Run As Android Application报错:Installation error: INSTALL_FAILED_VERSION_DOWNGRADE
原因是:手机已经装了一个开源中国的1.7.7.0版本,而ADT要下载的是1.7.6.9版本,Android系统不允许安装一个比已安装版本更旧的版本,所以从手机上卸载已有的1.7.7.0版本就可以了。
Run As Android Application > 选择连接到电脑Usb的手机 > OK 
oschina/android-app项目的AndroidManifest.xml中应该如下行:
<uses-permission android:name="android.permission.INTERNET" />
在命令行下进入oschina/android-app的源代码根目录:
D:\git\oschina>cd android-app

D:\git\oschina\android-app>dir
 Volume Serial Number is 9823-AB19

 Directory of D:\git\oschina\android-app

2014/09/01  20:26    <DIR>          .
2014/09/01  20:26    <DIR>          ..
2014/09/01  20:21               783 .classpath
2014/09/01  20:21    <DIR>          .git
2014/09/01  20:21                64 .gitignore
2014/09/01  20:21               822 .project
2014/09/01  20:21    <DIR>          .settings
2014/09/01  20:21            10,829 AndroidManifest.xml
2014/09/01  20:21    <DIR>          assets
2014/09/01  20:42    <DIR>          bin
2014/09/01  20:26    <DIR>          gen
2014/09/01  20:21    <DIR>          libs
2014/09/01  20:21            18,092 LICENSE.txt
2014/09/01  20:21             1,424 proguard.cfg
2014/09/01  20:41               563 project.properties
2014/09/01  20:21             4,183 README.md
2014/09/01  20:21    <DIR>          res
2014/09/01  20:21    <DIR>          src
               8 File(s)         36,760 bytes
              10 Dir(s)  133,131,993,088 bytes free

D:\git\oschina\android-app>
创建calabash目录:
D:\git\oschina\android-app>mkdir calabash
创建cucumber skeleton:
D:\git\oschina\android-app>cd calabash

D:\git\oschina\android-app\calabash>calabash-android gen

----------Question----------
I‘m about to create a subdirectory called features.
features will contain all your calabash tests.
Please hit return to confirm that‘s what you want.
---------------------------


----------Info----------
features subdirectory created.
---------------------------

D:\git\oschina\android-app\calabash>dir
 Volume Serial Number is 9823-AB19

 Directory of D:\git\oschina\android-app\calabash

2014/09/01  21:54    <DIR>          .
2014/09/01  21:54    <DIR>          ..
2014/09/01  21:54    <DIR>          features
               0 File(s)              0 bytes
               3 Dir(s)  133,131,988,992 bytes free

D:\git\oschina\android-app\calabash>
编辑 D:\git\oschina\android-app\calabash\features\my_first.feature:
初始内容:
Feature: Login feature

  Scenario: As a valid user I can log into my app
    When I press "Login"
    Then I see "Welcome to coolest app ever"
第一行Feature: XX,第二行 Scenario: YY是给人读的,所以随便填写什么中文英文内容都可以
关键内容是第三行When I press ..和第四行Then I see .., 这是给Cucumber软件识别的。
When后面跟动作语句,Then后面跟内容检查语句
先尝试如下改动:
Feature: 启动开源中国

  Scenario: 启动应用后,能看到软件版本更新信息
    Then I see "软件版本更新"
运行calabash-andriod run
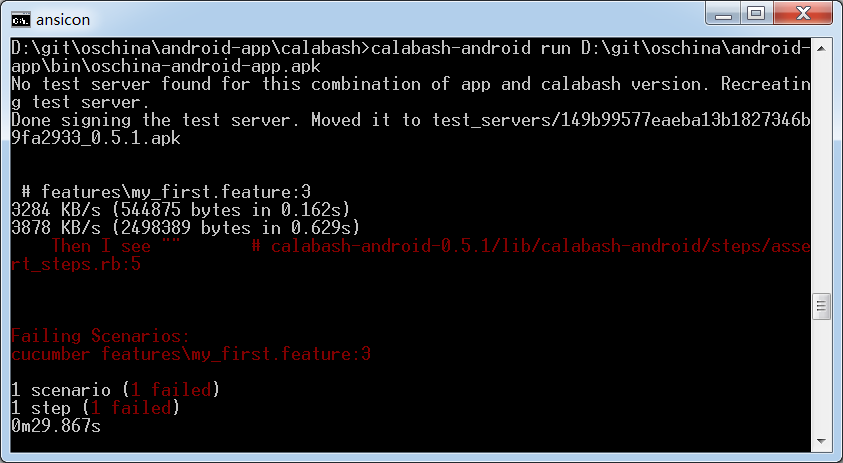
D:\git\oschina\android-app\calabash>calabash-android run D:\git\oschina\android-app\bin\oschina-android-app.apk

测试失败,原因是Then的默认等待时间只有2秒,开源中国app的启动时间比较长。
ansicon中未能显示中文:“软件版本更新”,这个后面再解决。
按照 https://github.com/calabash/calabash-android/blob/master/ruby-gem/lib/calabash-android/canned_steps.md的指导,可以指定等待几秒:
Feature: 启动开源中国

  Scenario: 启动应用后,能看到软件版本更新信息
    Then I wait for 10 seconds
    Then I see "软件版本更新"

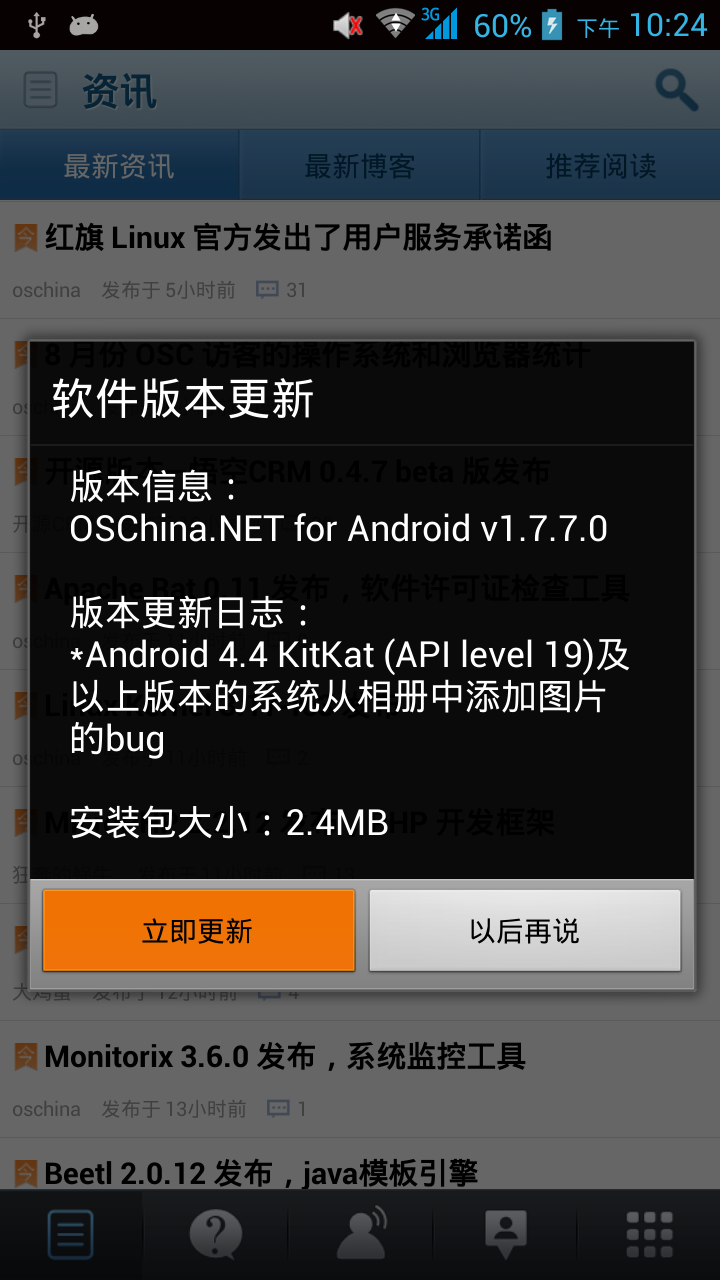
手机上看到的开源中国启动后画面:

按钮“立即更新”为什么是红色的?以后再解决。
到此步为止,calabash测试开源中国Android客户端的环境已经建立完毕,接下去同学们就可以欢快的尝试canned_steps.md里的各个预定义步骤了。
我也会继续完成这个测试用例,大家一起共同进步!
标签:android blog http os io 使用 java strong ar
原文地址:http://my.oschina.net/fitnessefan/blog/308893