标签:core 说明 自己 appendto err curl password xmlns column
今天完成了两个dao层的实现,并且完成了用户的注册和登录功能。
对dao层的方法稍微做了修改。其实dao层并不是写死的,我们后期要实现什么功能,需要对数据库进行哪些操作的时候,如何设计sql语句是在我们写业务逻辑的时候怎么方便怎么来。随时修改。所以到最后可能我的dao层跟现在完全不一样。
今天修改后的IUserDao接口
public interface IUserDao
{
    /**
     * 添加用户
     * @param user
     * @return
     */
    int insertUser(User user);

    /**
     * 通过userid删除用户
     * @param userid
     * @return
     */
    int deleteByUserid(String userid);

    /**
     * 通过用户名查找
     * @param username
     * @return
     */
    User selectByUsername(String username);;

    /**
     * 通过用户名和密码查找
     * @param username
     * @param password
     * @return
     */
    User selectForLogin(@Param("username") String username,@Param("password") String password);

    /**
     * 修改用户信息
     * @param userid
     * @return
     */
    int updateUserInfo(User user);
}
它的mapper实现userdao.xml
<?xml version="1.0" encoding="UTF-8"?>
<!DOCTYPE mapper
  PUBLIC "-//mybatis.org//DTD Mapper 3.0//EN"
  "http://mybatis.org/dtd/mybatis-3-mapper.dtd">

      <mapper namespace="com.yck.paifang.dao.IUserDao">
          <resultMap type="User" id="userResultMap">
              <id property="userid" column="userid"/>
              <id property="username" column="username"/>
              <result property="nickname" column="nickname"/>
              <result property="password" column="password"/>
              <result property="password" column="password"/>
              <result property="eMail" column="e_mail"/>
              <result property="phone" column="phone"/>
              <result property="hits" column="hits"/>
              <result property="headPicUrl" column="head_pic_url"/>
              <result property="createDate" column="create_date"/>
              <collection property="articleList" ofType="Article"/>
          </resultMap>


     <insert id="insertUser" parameterType="User">
         insert into t_user values
              (#{userid},#{username},#{nickname},#{password},#{eMail},#{phone},
              #{hits},#{headPicUrl},#{createDate})

     </insert>

     <delete id="deleteByUserid">
         delete from t_user where binary userid=#{userid}
     </delete>

     <select id="selectByUsername" resultType="User">
         select * from t_user
         where username=#{username}
     </select>


     <select id="selectForLogin" resultType="User">
         select *
              from (select * from t_user where binary username=#{username} and password=#{password}) as user
              left join t_article  as article
              on user.userid = article.authorid
     </select>

     <update id="updateUserInfo" parameterType="User">
         update t_user
              set nickname=#{nickname},
                  email=#{email},
                  phone=#{phone},
                  head_pic_url=#{headPicUrl}
             where binary userid=#{userid}
     </update>

 </mapper>
并且初步写了IUserService接口以及他的实现UserServiceImpl
public interface IUserService
{
    User login(String username,String password);

    String register(User user);

}
@Service
public class UserServiceImpl implements IUserService
{
    @Autowired
    private IUserDao userdao;

    @Override
    public User login(String username, String password)
    {

        return userdao.selectForLogin(username, password);
    }

    @Override
    public String register(User user)
    {
        String result = "registerError";
        if(userdao.selectByUsername(user.getUsername())==null)
        {
            user.setUserid(StringUtil.createUniqueid());
            user.setCreateDate(DateUtil.dateToString(new Date()));
            user.setHits(0);
            user.setNickname(user.getUsername());
            userdao.insertUser(user);
            result = "registerOK";
        }

        return result;
    }


}
写完了Service层,我们就得给他配置spring-service.xml
<?xml version="1.0" encoding="UTF-8"?>
<beans xmlns="http://www.springframework.org/schema/beans"
       xmlns:xsi="http://www.w3.org/2001/XMLSchema-instance"
       xmlns:context="http://www.springframework.org/schema/context"
       xmlns:tx="http://www.springframework.org/schema/tx"
       xsi:schemaLocation="http://www.springframework.org/schema/beans
                               http://www.springframework.org/schema/beans/spring-beans.xsd
                           http://www.springframework.org/schema/context
                           http://www.springframework.org/schema/context/spring-context-4.3.xsd
                            http://www.springframework.org/schema/tx
                           http://www.springframework.org/schema/tx/spring-tx-4.3.xsd">


    <!--配置自动扫描Service包下所有注解的类型  -->
    <context:component-scan base-package="com.yck.paifang.service"/>

    <!--配置事务管理器  -->
    <bean id="transactionManager" class="org.springframework.jdbc.datasource.DataSourceTransactionManager">
        <!-- 注入数据库连接池 -->
        <property name="dataSource" ref="dataSource"/>
    </bean>

    <!-- 配置基注解的声明式事物
        · 默认使用注解来管理事物行为-->
    <tx:annotation-driven transaction-manager="transactionManager"/>
</beans>
然后是springMVC的配置,spring-web.xml
<?xml version="1.0" encoding="UTF-8"?>
<beans xmlns="http://www.springframework.org/schema/beans"
       xmlns:xsi="http://www.w3.org/2001/XMLSchema-instance"
       xmlns:mvc="http://www.springframework.org/schema/mvc"
       xmlns:context="http://www.springframework.org/schema/context"
       xsi:schemaLocation="http://www.springframework.org/schema/beans
                        http://www.springframework.org/schema/beans/spring-beans-3.2.xsd
                        http://www.springframework.org/schema/mvc
                        http://www.springframework.org/schema/mvc/spring-mvc-3.2.xsd
                        http://www.springframework.org/schema/context
                        http://www.springframework.org/schema/context/spring-context-3.2.xsd ">
    <!--开启注解  -->
    <mvc:annotation-driven/>

    <!-- 静态资源默认servlet配置 -->

    <mvc:default-servlet-handler/>


    <!-- 内部资源视图解析器配置 -->
    <bean id="internalResourceViewResolver" class="org.springframework.web.servlet.view.InternalResourceViewResolver">
        <property name="prefix" value="WEB-INF/jsps/"/>
        <property name="suffix" value=".jsp"/>
    </bean>

    <!-- 自动扫描controller -->
    <context:component-scan base-package="com.yck.paifang.controller"/>


</beans>
最后是web.xml的配置
<?xml version="1.0" encoding="UTF-8"?>
<web-app xmlns:xsi="http://www.w3.org/2001/XMLSchema-instance" xmlns="http://xmlns.jcp.org/xml/ns/javaee" xsi:schemaLocation="http://xmlns.jcp.org/xml/ns/javaee http://xmlns.jcp.org/xml/ns/javaee/web-app_3_1.xsd" id="WebApp_ID" version="3.1">
  <display-name>Paifang</display-name>
  <servlet>
     <servlet-name>DispatcherServlet</servlet-name>
     <servlet-class>org.springframework.web.servlet.DispatcherServlet</servlet-class>
     <init-param>
         <param-name>contextConfigLocation</param-name>
         <param-value>classpath:spring-*.xml</param-value>
     </init-param>
 </servlet>

 <servlet-mapping>
     <servlet-name>DispatcherServlet</servlet-name>
     <url-pattern>/</url-pattern>
 </servlet-mapping>


  <welcome-file-list>
    <welcome-file>index.jsp</welcome-file>
  </welcome-file-list>
</web-app>
这些配置配完了难免会有许多小错误,多跑几次程序,根据提示一个一个改就行了,我都写好多次了还是会报很多错,这些都不重要
控制器部分
@Controller
public class UserController
{
    @Autowired
    private IUserService userService;

    @RequestMapping( value="doRegister" ,method= RequestMethod.POST)
    public String doRegister(User user)
    {
        if(userService.register(user).equals("registerOK"))
            return "redirect:login";
        else return "redirect:register";
    }

    @RequestMapping( value="doLogin" ,method= RequestMethod.POST)
    @ResponseBody
    public String doLogin(User user,HttpServletRequest request)
    {
        user = userService.login(user.getUsername(), user.getPassword());
        if(user != null)
        {
            request.getSession().setAttribute("currentUser", user);
            return "loginOK";
        }

        else return "loginError";

    }


}
为了把功能区分开来,我专门写了一个负责页面跳转的控制器,先预先设立了几个页面
@Controller
public class WebPageController
{
    @RequestMapping("index")
    public String toIndex()
    {
        return "index";
    }


    @RequestMapping("login")
    public String toLogin()
    {
        return "login";
    }


    @RequestMapping("register")
    public String toRegister()
    {
        return "register";
    }

    @RequestMapping("publish")
    public String toPublish()
    {
        return "publish";
    }

    @RequestMapping("articleDetails")
    public String toArticleDetaile()
    {
        return "articleDetails";
    }
}
至于JSP的设计,我曾经跟我关注的那位大佬写过一个类似的,模板就是从他那扒下来的。当然,CSS全是我自己写的,我就是看到他的截图自己写的
首先是网站的公共部分,头和尾
navigation.jsp
<%@ page language="java" contentType="text/html; charset=UTF-8"
    pageEncoding="UTF-8"%>
<%@taglib uri="http://java.sun.com/jsp/jstl/core"  prefix="c"%>
<link rel="stylesheet" type="text/css" href="css/navigation.css">
<!DOCTYPE html PUBLIC "-//W3C//DTD HTML 4.01 Transitional//EN" "http://www.w3.org/TR/html4/loose.dtd">

<div id="navigationId">
    <div id="logoId"><a href="index">牌坊</a></div>
    <div id="columnId">
        <ul>
            <li><a href="#">原创</a></li>
            <li><a href="#">分享</a></li>
            <li><a href="#">美文欣赏</a></li>
            <li><a href="#">专题</a></li>
        </ul>
    </div>
    <div id="loginOrRegisterId">
        <c:choose>
            <c:when test="${empty sessionScope.currentUser}">
                <span><a href="login">登录</a></span>
                <span>|</span>
                <span><a href="register">注册</a></span>
            </c:when>
            <c:otherwise>
                <span><a href="userpage">${sessionScope.currentUser.username}</a></span>
                <span>|</span>
                <span><a href="logout">登出</a></span>
            </c:otherwise>
        </c:choose>
    </div>
</div>
navigation.css
@CHARSET "UTF-8";
*{margin:0px;padding:0px;font-family:"微软雅黑";}
body{background-color:#caa4a7;position:relative;}
/*导航栏样式*/
#navigationId{background-color:#621315;width:100%;height:80px;color:#FFF;list-style:none;position:absolute;}
#navigationId #logoId{display:inline-block;width:150px;height:80px;margin-left:30px;position:absolute;
                  font-size:48px;letter-spacing:10px;text-align:center;font-weight:500;cursor:pointer;}
#navigationId #logoId:hover{background-color:#c1959a;}
#navigationId #logoId a{text-decoration:none;color:#FFF;}
#navigationId #columnId{display:inline-block;margin-left:120px;height:80px;text-align:center;line-height:80px;position:absolute;left:200px;}
#navigationId #columnId ul li{display:inline-block;float:left;width:100px;height:80px;folat:left;margin-left:20px;text-align:center;cursor:pointer;font-weight:300;}
#navigationId #columnId ul li:hover{background-color:#c1959a;}
#navigationId #columnId ul li a{text-decoration:none;color:#FFF;font-size:16px;}
#navigationId #loginOrRegisterId{display:inline-block;width:300px;padding-left:20px;position:absolute;right:20px;top:30px;}
#navigationId #loginOrRegisterId span{margin-left:10px;}
#navigationId #loginOrRegisterId span a{text-decoration:none;color:#FFF;}
网站底部bottom.jsp以及它的CSS
<%@ page language="java" contentType="text/html; charset=UTF-8"
    pageEncoding="UTF-8"%>
<link rel="stylesheet" type="text/css" href="css/bottom.css">
<!DOCTYPE html PUBLIC "-//W3C//DTD HTML 4.01 Transitional//EN" "http://www.w3.org/TR/html4/loose.dtd">
<div id="bottomId">
    <div class="declaraction">
        <label><a href="#">广告服务</a></label>
        <label><a href="#">关于我们</a></label>
        <label><a href="#">联系我们</a></label>
        <label><a href="#">版权声明</a></label>
    </div>
</div>
@CHARSET "UTF-8";
/*底部样式*/
body{position:relative;}
#bottomId{background-color:#873d44;width:100%;height:60px;position:absolute;bottom:-180px;}
#bottomId .declaraction{position:absolute;left:400px;top:20px}
#bottomId .declaraction label{display:inline-block;float:left;width:120px;height:30px;margin-left:20px;text-align:center;line-height:30px;}
#bottomId .declaraction label a{text-decoration:none;color:#FFF;font-size:16px;}
#bottom .declaraction label:hover{background-color:#c1959a;}
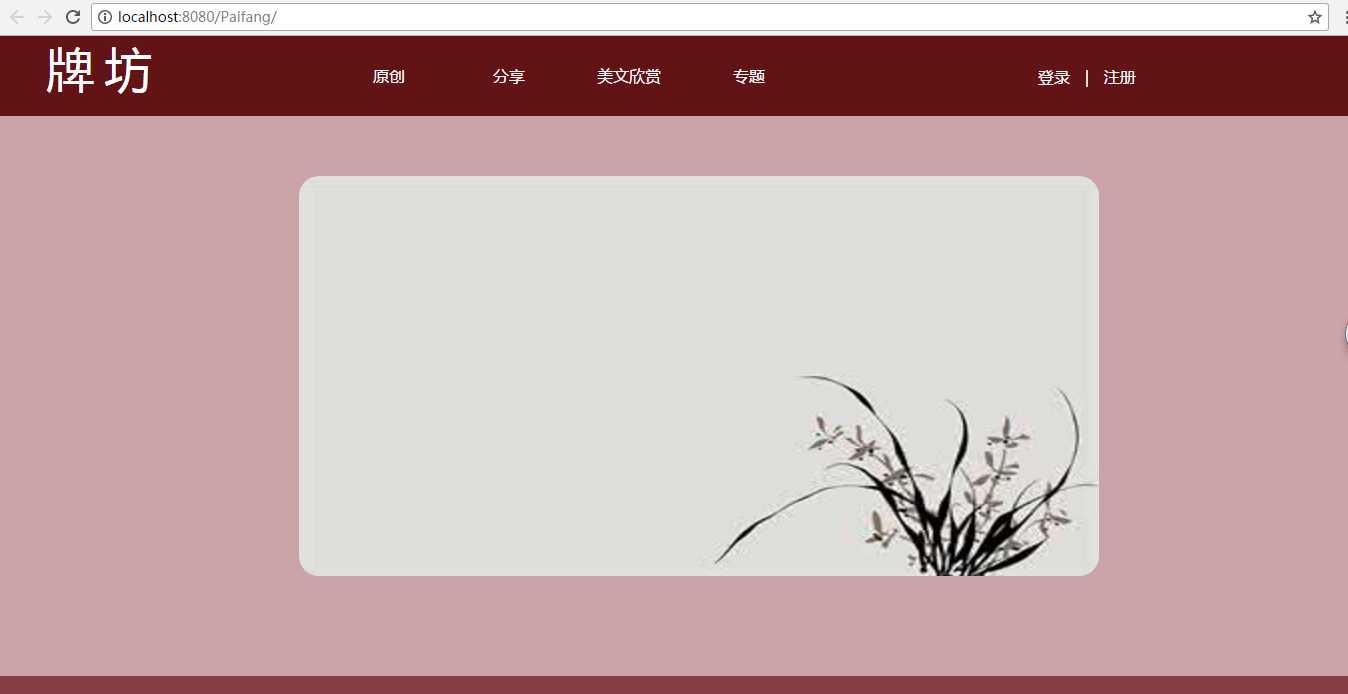
首页主体我没想到做什么,也就写了一个轮番图,等这个项目功能完成得差不多的时候我们再把一些推荐的连接加到图片上去,下面是我这首页的一些资料
<%@ page language="java" contentType="text/html; charset=UTF-8"
    pageEncoding="UTF-8"%>
<!DOCTYPE html PUBLIC "-//W3C//DTD HTML 4.01 Transitional//EN" "http://www.w3.org/TR/html4/loose.dtd">
<html>
<head>
<meta http-equiv="Content-Type" content="text/html; charset=UTF-8">
<link rel="stylesheet" type="text/css" href="css/index.css">
<script type="text/javascript" src="script/jquery-3.2.1.js"></script>
<script type="text/javascript" src="script/index.js"></script>
<title>牌坊</title>
</head>
<body>
<%@include file="common/navigation.jsp" %>
<div id="mainId">
    <div id=bannerId>
        <input class="leftButton"type="button" value="<"/>
        <div id="imageId">
            <ul>
                <li><img alt="图片一" src="image/1.jpg"></li>
                <li><img alt="图片二" src="image/2.jpg"></li>
                <li><img alt="图片三" src="image/3.jpg"></li>
                <li><img alt="图片四" src="image/4.jpg"></li>
                <li><img alt="图片五" src="image/5.jpg"></li>
            </ul>
        </div>
        <input class="rightButton" type="button" value=">"/>
    </div>
</div>
<%@include file="common/bottom.jsp" %>
</body>
</html>
@CHARSET "UTF-8";
#mainId{width:100%;height:520px;position:relative;top:80px;}

#mainId #bannerId{width:1000px;min-height:520px;position:absolute;left:200px;top:10px;}

#mainId #bannerId input{display:inline-block;width:80px;height:400px;margin-top:50px;font-size:48px;opacity:0;background-color:#763732;border-radius:20px;}
#mainId #bannerId input:hover{opacity:0.5;}
#mainId #bannerId .leftButton{position:absolue;left:20px;float:left;}
#mainId #bannerId .rightButton{position:absolue;right:20px;float:right;}

#mainId #bannerId #imageId{display:inline-block;width:800px;height:400px;float:left;position:absolute;left:100px;top:50px;overflow:hidden;}
#mainId #bannerId ul{width:4000px;height:400px}
#mainId #bannerId ul li{list-style-type:none;display:inline-block;width:800px;height:400px;float:left;}
#mainId #bannerId ul li img{width:800px;height:400px;cursor:pointer;border-radius:20px;}
/**
 * index.jsp所用到的JS代码

 */


/**
 * 无缝轮番效果
 */
$(function(){
    $(".leftButton").on("click",function(){
        $("#imageId ul").animate({marginLeft:"-800px"},1000,function(){
            $("#imageId ul li").eq(0).appendTo($("#imageId ul"));
            $("#imageId ul").css("margin-left","0px");
        });
    })
    $(".rightButton").on("click",function(){
        $("#imageId ul").css("margin-left","-800px");
        $("#imageId ul li").eq(4).prependTo($("#imageId ul"));
        $("#imageId ul").animate({marginLeft:"0px"},1000)
    })
})
最后跑出的首页效果大概如下
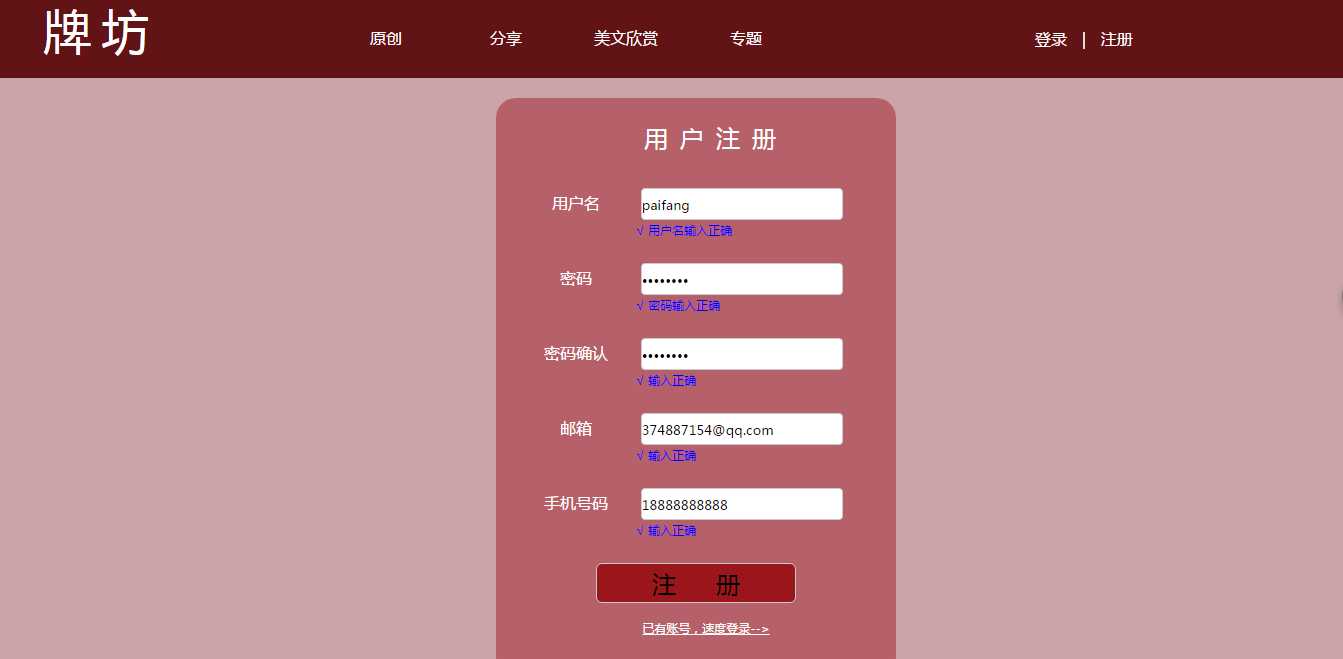
先注册一个账号
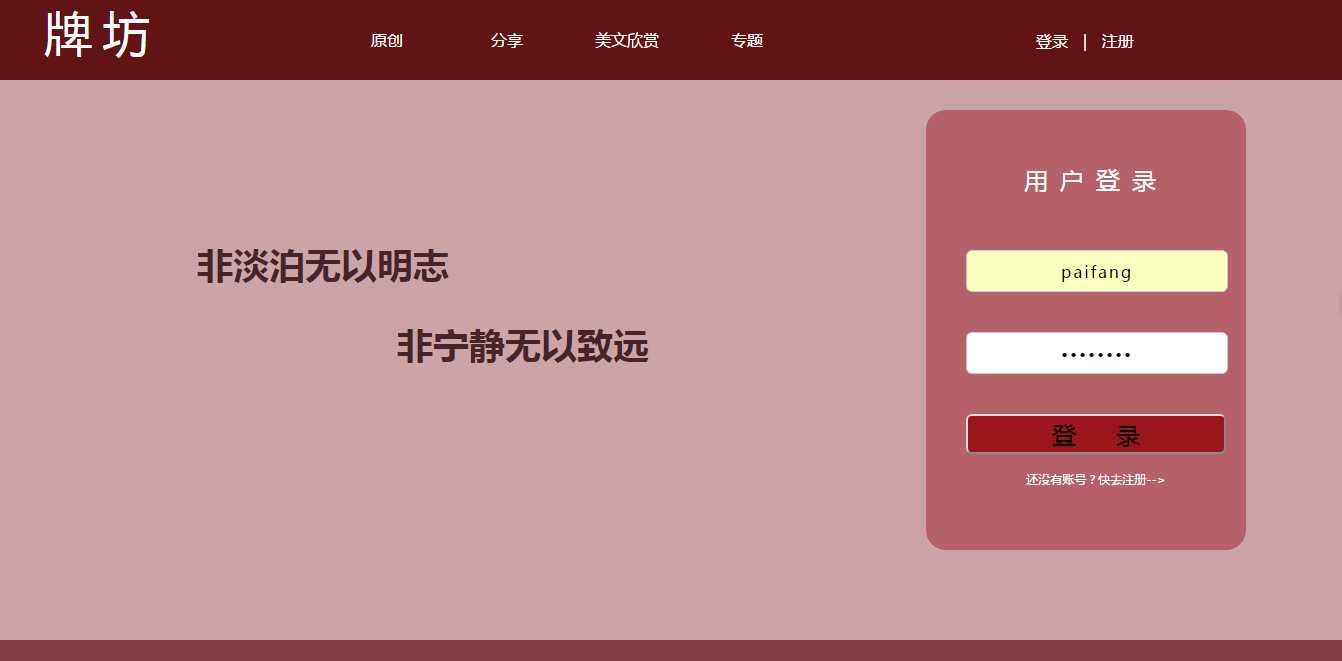
 登录
登录
右上角显示了username,说明我们已经登录了
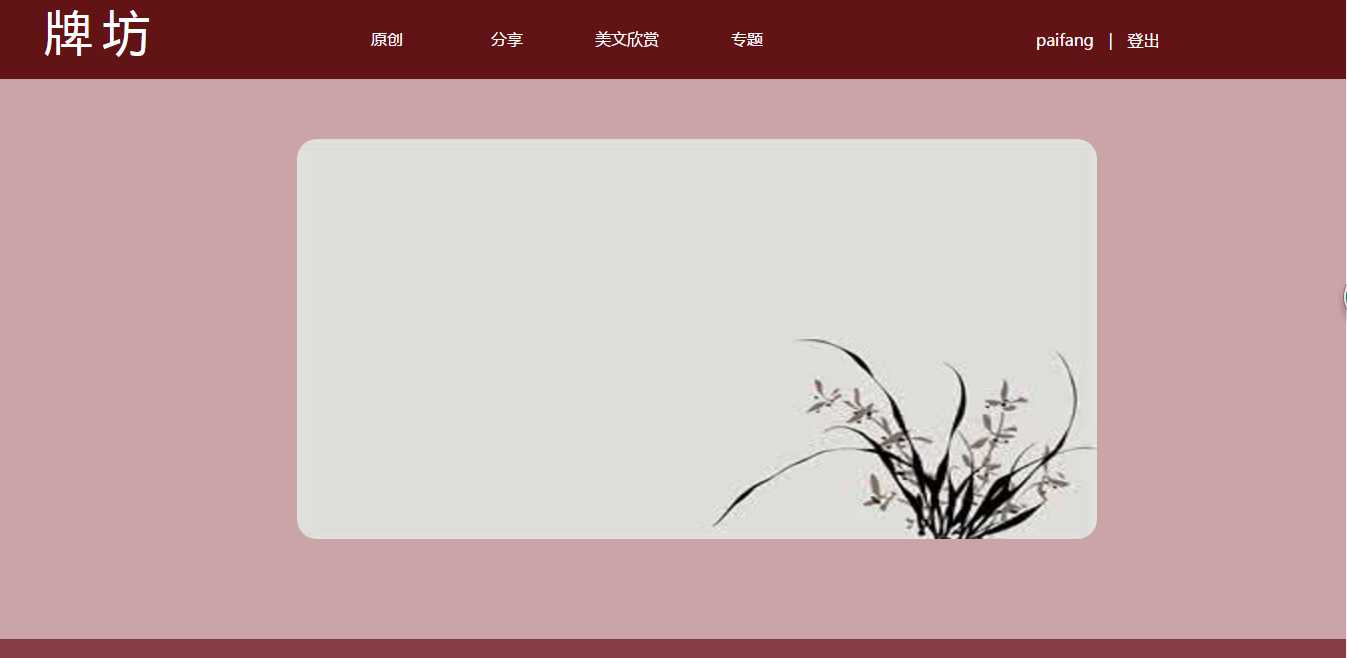
其实我的设想是鼠标hover到上面的时候有下拉菜单,有一些常用的操作。不过我们现在先把主要功能做好。后期再改漂亮一点
Spring+SpringMVC+Mybatis 立个牌坊系列之二
标签:core 说明 自己 appendto err curl password xmlns column
原文地址:http://www.cnblogs.com/yeyeck/p/7392598.html