标签:技术 bin debug launch 系统 rds 函数 程序 prot
关于caffe的安装百度,教程满天飞,不过有一点提一下,双系统 双显卡 (笔记本)在Ubuntu安装英伟达显卡的时候图形界面可能会挂掉,这个问题在Ubuntu 16.04得到初步解决,网上有一篇笔记本安装caffe有提到过,但是怎么都找不到了。。。。
调试编辑器为Virtual Studio Code微软的生产的编辑器。挺好用的,
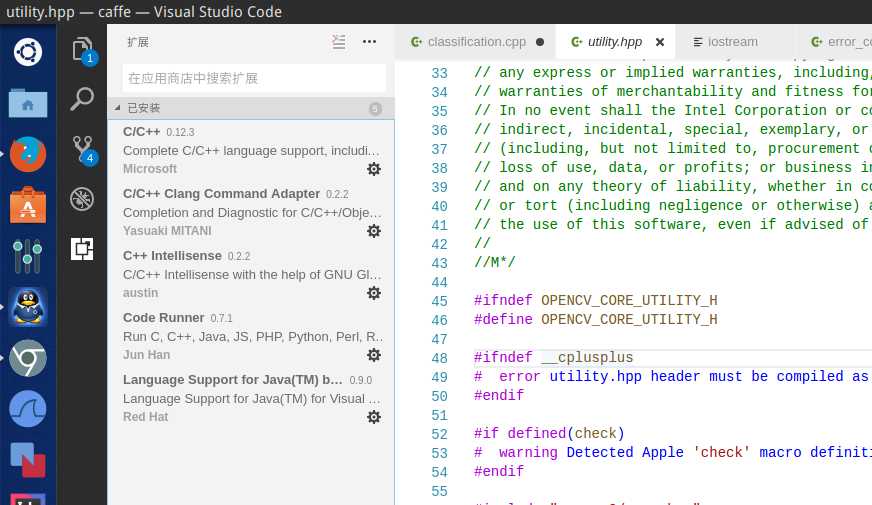
如图这是我安装的插件第一个比较重要,可以使用gdb调试caffe。进入caffe跟文件夹修改
Make.config 中的#DEBUG := 1 #号去掉 然后保存,重新编译即可。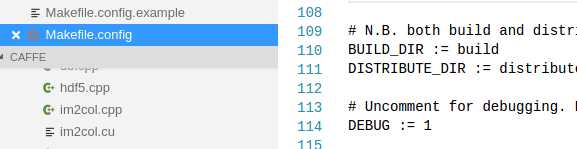
以调试examples/cpp_classification为例。
给出我的launch.json配置文件
{
    "version": "0.2.0",
    "configurations": [

        {
            "name": "(gdb) Launch",
            "type": "cppdbg",
            "request": "launch",
            "args": ["models/bvlc_reference_caffenet/deploy.prototxt",
                "models/bvlc_reference_caffenet/bvlc_reference_caffenet.caffemodel",
                "data/ilsvrc12/imagenet_mean.binaryproto",
                "data/ilsvrc12/synset_words.txt",
                "examples/images/cat.jpg"],
            "program": "${workspaceRoot}/build/examples/cpp_classification/classification.bin",
            "stopAtEntry": false,
            "cwd": "/home/kellygod/caffe/",
            "environment": [],
            "externalConsole": true,
            "MIMode": "gdb",
            "setupCommands": [
                {
                    "description": "Enable pretty-printing for gdb",
                    "text": "-enable-pretty-printing",
                    "ignoreFailures": true
                }
            ]
        }
    ]
}
cwd为运行的根目录 把他指定为caffe根目录方便调试。
program 为可执行程序路径,caffe默认生成到{caffe_root}/build/xxx
args 为启动参数,我为什么这么写? 因为example 的README就是这么说的,跑跑demo。
之后的话就可以像visual Studio 那样了 F9给文本下断点,单步调试 观看变量状态啥的,当然 了 大牛也可以直接使用gdb命令行调试。

如图已经进入断点了, 可以跟踪函数了。。。
End
标签:技术 bin debug launch 系统 rds 函数 程序 prot
原文地址:http://www.cnblogs.com/kellygod/p/7469863.html