标签:network 文件 人事 net 导致 输出 style ural strong
---恢复内容开始---
首先配置win10下的tensorflow-gpu的运行环境,然后在github上将NeuralStyle拷贝下来,
最后根据文档说明参数,运行文件,即可得到自己喜欢的style了。

整个实验项目的步骤:
一.环境配置
1.安装vs2015
2.安装cuda 8.0
3.python3.5.2安装(注意win10下要安装tensorflow-gpu版则需要安装较高版本的python,亲测3.5.2是可以的)
4.安装tensorflow-gpu版
5.安装项目运行依赖包(这个网站有资源http://www.lfd.uci.edu/~gohlke/pythonlibs/#pyparsing)
6.下载vgg-model, http://www.vlfeat.org/matconvnet/models/beta16/imagenet-vgg-verydeep-19.mat
二.项目运行
1.下载NeuralStyle项目
2.项目运行分析
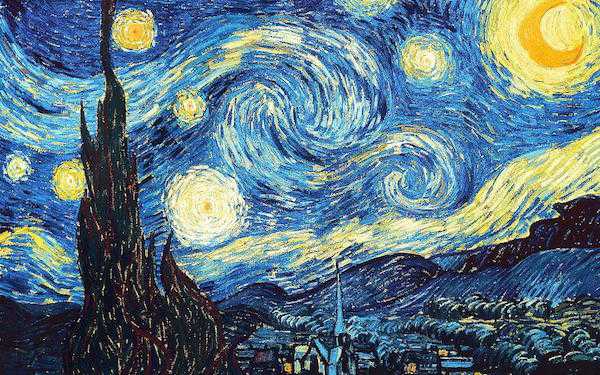
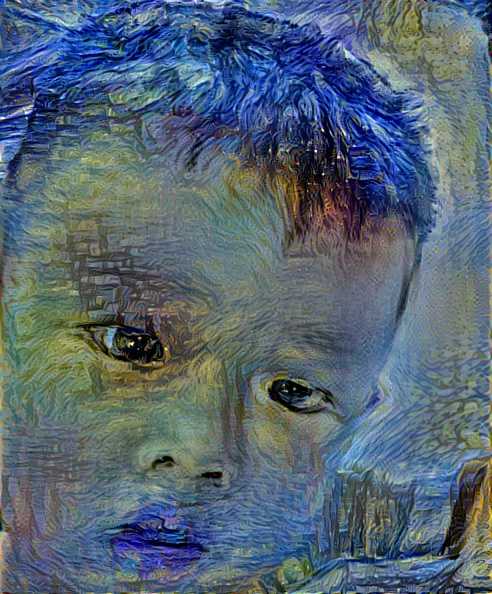
运行neural_style.py文件,--content 后面接你需要变化的图片,--styles后面接你需要引入风格的图片,--output后面接你要输出的图片。这三个参数后面跟的是这些
图片的路径。最后--network是开始用的网络模型参数(?大概就是别人事先训练好的结果)
python D:\tensorflow_test\neural-style-master\neural_style.py --content D:\tensorflow_test\neural-style-master\examples\test.jpg --styles D:\tensorflow_test\neural-style-master\examples\1-style.jpg --output D:\tensorflow_test\neural-style-master\examples\put_test.jpg --network D:\tensorflow_test\neural-style-master\imagenet-vgg-verydeep-19.mat
3.分析,注意你的content图片不宜过大,否则会导致训练时间太长。
---恢复内容结束---
win10下NeuralStyle的tensorflow版实验
标签:network 文件 人事 net 导致 输出 style ural strong
原文地址:http://www.cnblogs.com/yanghang-great/p/7495961.html