标签:status name apache central 就会 deploy 列表 nat src
一、安装nexus
前置条件 :已经安装了JDK
1:下载nexus(http://www.sonatype.com/download-oss-sonatype) 最新版本(我的是3.5.1).
2:解压下载文件,我的放在了/Users/xxx/myApp下
3:配置环境变量:
打开/etc目录,在profile文件中加入:NEXUS_HOME="/Users/xxx/myApp/nexus-3.5.1-02-mac/nexus-3.5.1-02";
保存,退出后。打开控制台键入nexus start 即可启动(注:配置完环境变量后,控制台需要重启,再打开.)
如果不清楚命令,输入nexus,系统会给出命令使用说明
Usage: /Users/xxx/myApp/nexus-3.5.1-02-mac/nexus-3.5.1-02/bin/nexus {start|stop|run|run-redirect|status|restart|force-reload}
4:启动后,neuxs默认监听端口是8081。
在浏览器输入http://127.0.0.1:8081/nexus或者http://localhost:8081/nexus
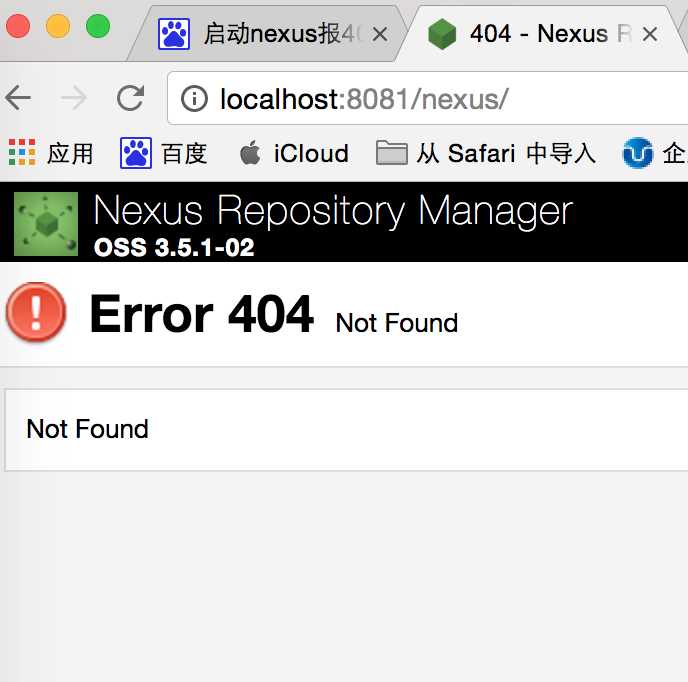
出现下面这个界面,没关系,点击nexus repo..图标,跳转到下一个界面。


5、新搭建的neuxs环境只是一个空的仓库,需要手动和远程中心库进行同步。
nexus默认是关闭远程索引下载,最重要的一件事情就是开启远程索引下载。
登陆nexus系统,默认用户名密码为admin/admin123。
点击配置
/Repositories菜单下面的Repositories,找到右边仓库列表中的三个仓库Apache Snapshots,Codehaus Snapshots和Central,然后再没有仓库的Configuration下把Download Remote Indexes修改为true。然后在这三个仓库上分别右键,选择Repari Index,这样Nexus就会去下载远程的索引文件。
新建公司的内部仓库,步骤为Repositories –> Add –> Hosted Repository,在页面的下半部分输入框中填入Repository ID和Repository Name即可,比如分别填入myrepo和 my repository,另外把Deployment Policy设置为Allow Redeploy,点击save就创建完成了。
Nexus 的仓库分为这么几类:
二、在maven中配置自己的私服
标签:status name apache central 就会 deploy 列表 nat src
原文地址:http://www.cnblogs.com/nannan0226/p/7498482.html