标签:red 绝对定位 height code ges pre css 定位 order
我们知道运用css可以绘画出各式各样的形状:三角形,圆形,正方形,椭圆形,平行四边形等等,而通过他们之间进行两两组合可以变换出各种意想不到的效果图,气泡框就是其中一个。最简单的气泡框就是一个矩形框+一个三角框。
我们先来看看用css如何画三角形:
css绘三角形之 border方法
先画一个100*100的矩形,给他四边加上不同颜色的边框。代码如下:
.demo{ width:100px; height:100px; border:50px solid ;border-color:red pink yellow grey}

<div class="demo"></div>
效果图:
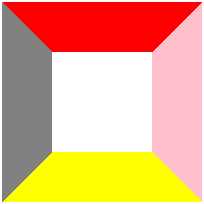
这时候我们看到中间的白色矩形就是div的内容区域块,但是当我们将div的宽高设置为0时:
.demo{ width:0px; height:0px; border:100px solid ;border-color:red pink yellow grey;margin:50px auto}
效果如下:
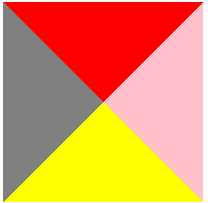
我们想要的三角形出现了。当我们想获得其中的特定方向的一个三角形时,只需将另外三边的边框颜色设置成透明即可。代码如下:
.demo{width:0px;height:0px;border:100px solid;border-color:red transparent transparent transparent;margin:50px auto}
效果图:
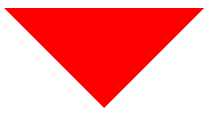
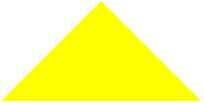
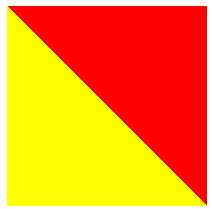
此外,将相邻两边设置相同颜色还能绘出直角三角形:
.demo{ width:00px; height:0px; border:100px solid ;border-color:red red yellow yellow;margin:50px auto; }
效果图:
有了各种各样的三角形再运用绝对定位接下来绘气泡就简单了:
代码如下:
.demo{ width:260px; height:100px; border:10px solid #abc;margin:50px auto;position:relative}

.demo span{position:absolute; left:60px;bottom:-50px;
      border:20px solid;border-color:#abc transparent transparent transparent}
效果图:
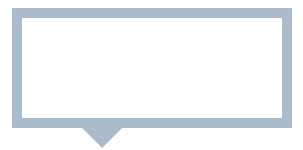
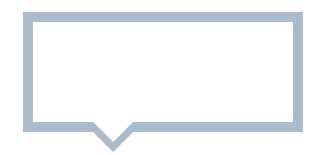
这时候三角形是实心的不是我们想要的结果,我们可以通过叠加一个同内容背景颜色相同的行内元素strong来实现我们想要的效果:
.demo{ width:260px; height:100px; border:10px solid #abc;margin:50px auto;position:relative}
.demo strong{position:absolute; left:60px;bottom:-40px;
                    border:20px solid;border-color:white transparent transparent transparent}
.demo span{position:absolute; left:60px;bottom:-50px;
                    border:20px solid;border-color:#abc transparent transparent transparent}


<div class="demo">
       <span></span>
       <strong></strong></div>
效果图:
标签:red 绝对定位 height code ges pre css 定位 order
原文地址:http://www.cnblogs.com/rain-null/p/7550621.html