标签:instance blog framework ice cli 9.png ati 新建 demo
:创建项目工程
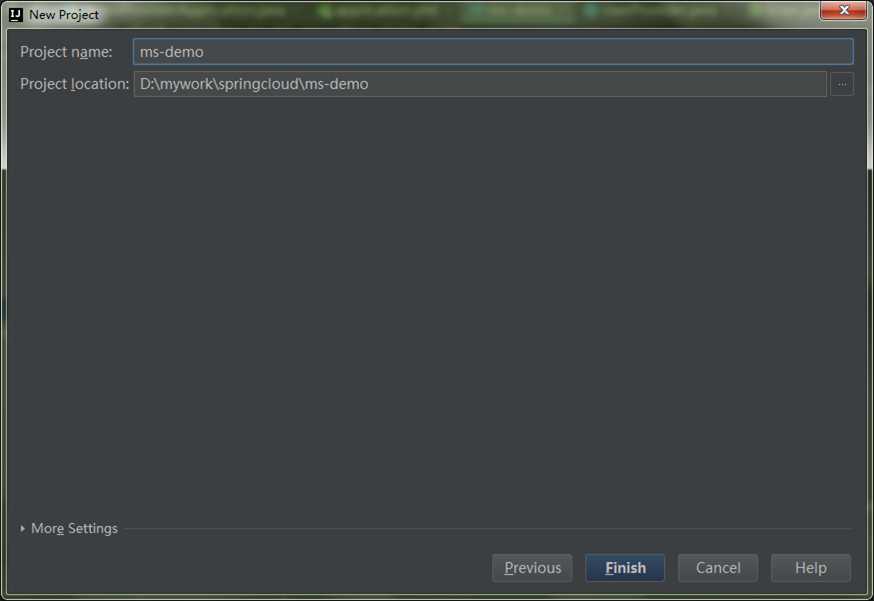
新建project
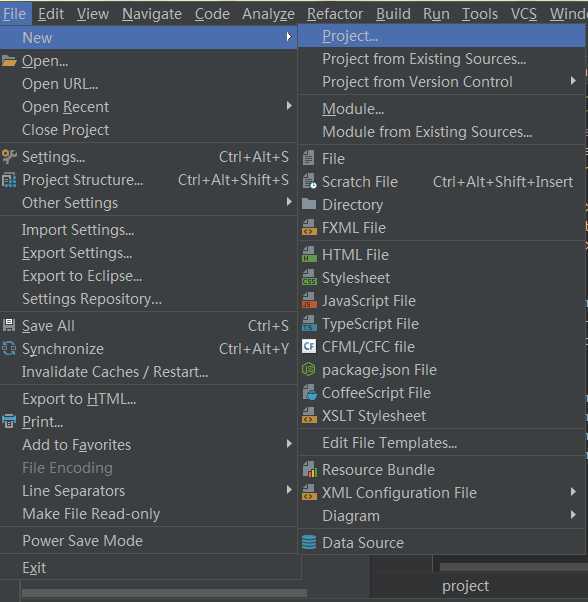
这里选择gradle
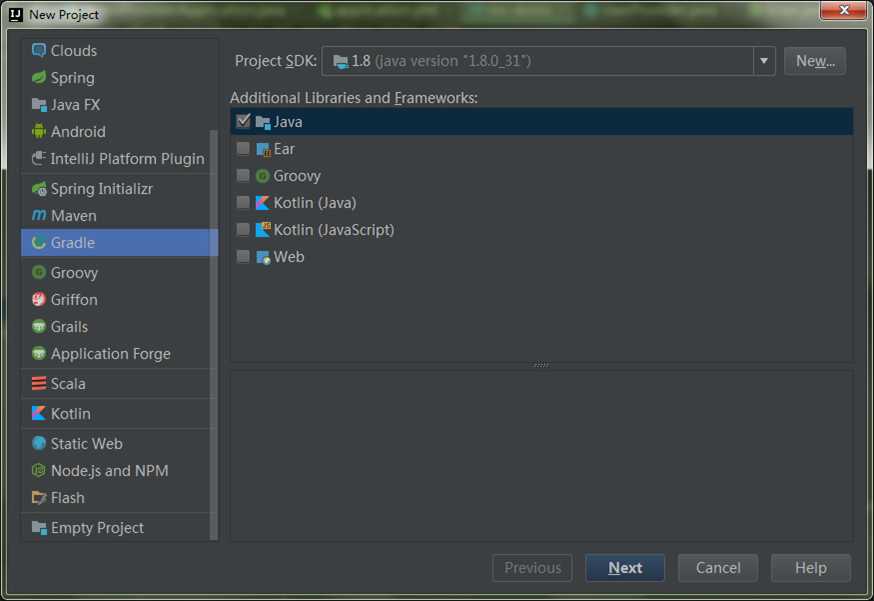
直接next
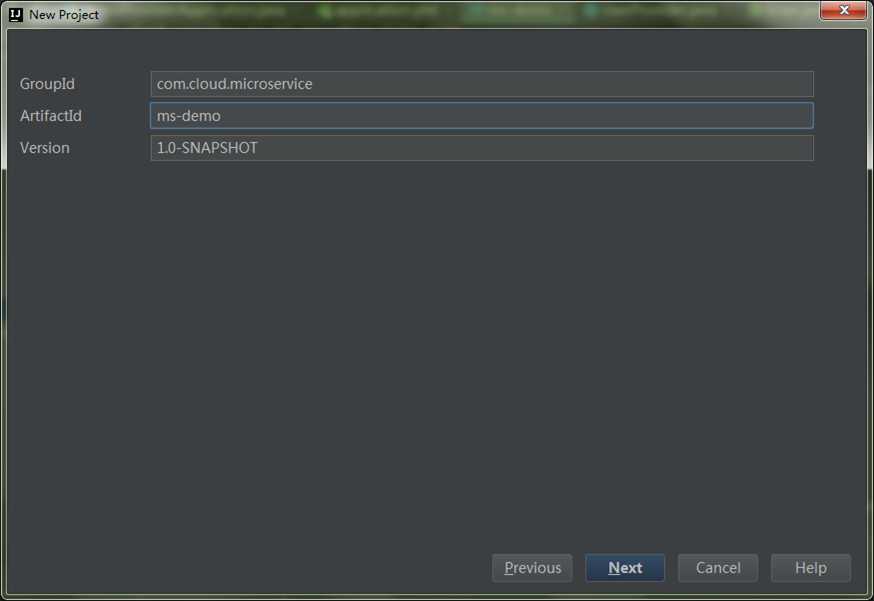
继续next
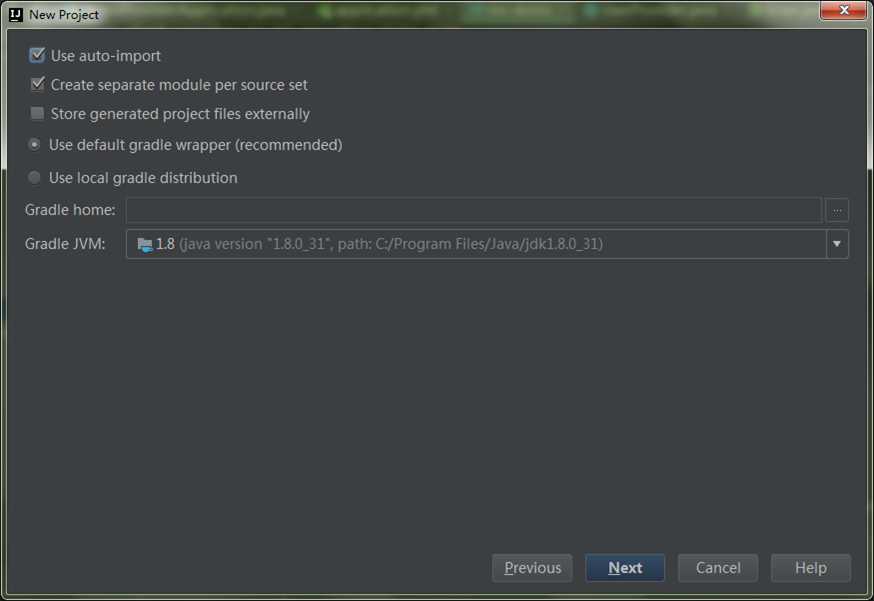
最后点击finish
二:创建Eureka服务中心
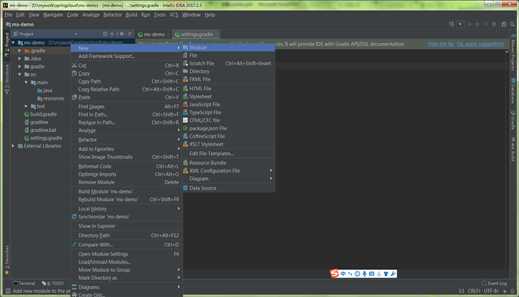
选择第一步中创建的项目,右键选择new--->module
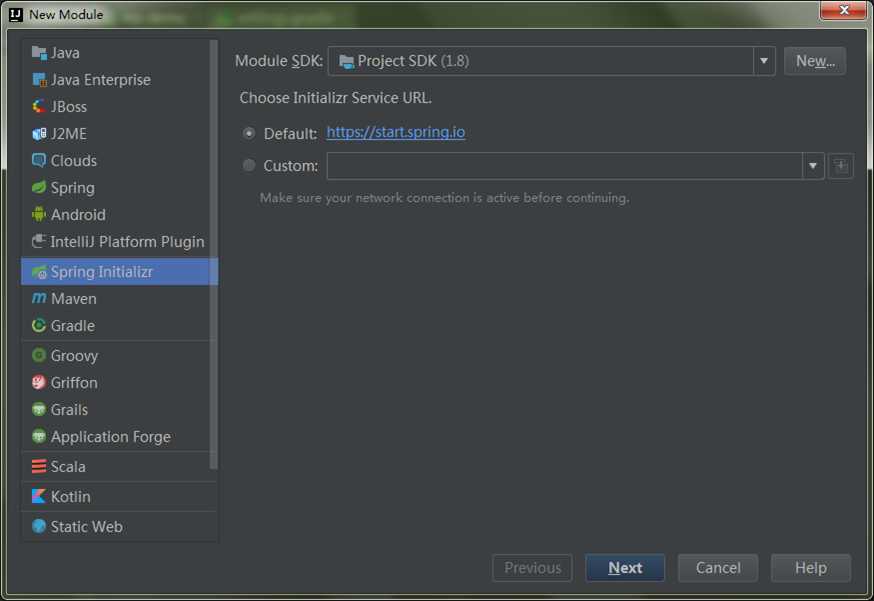
选择Spring Initializr,然后next
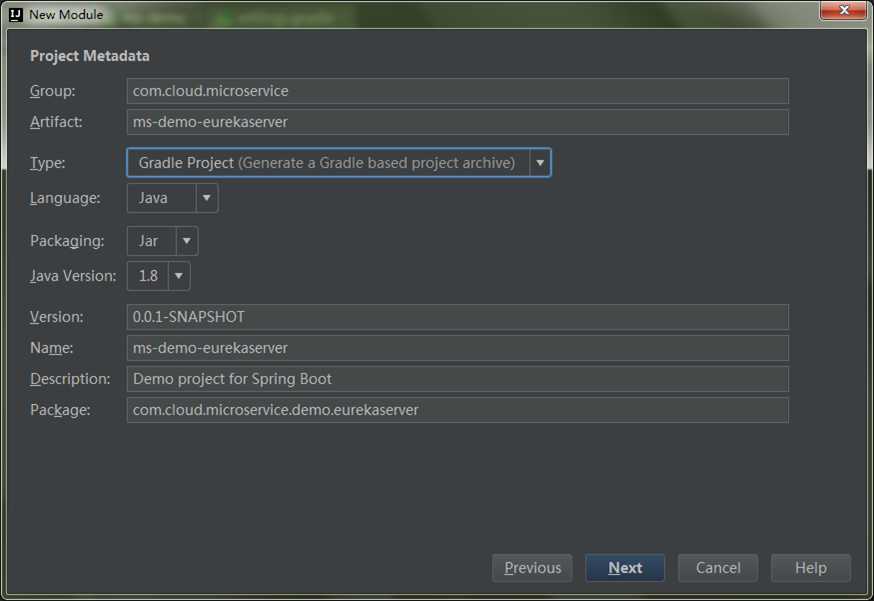
这里输入Group、Artifact,并选择Gradle Project,然后next
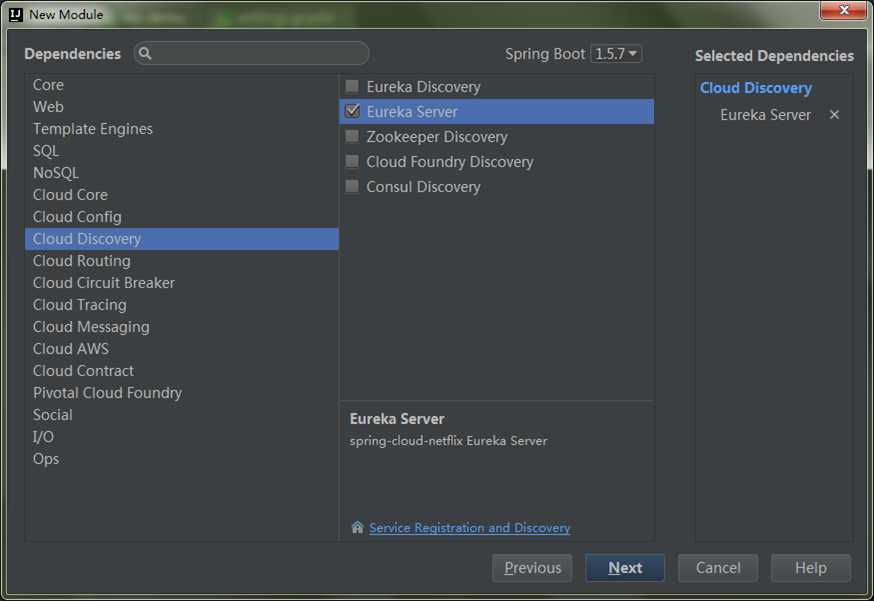
选择Eureka Server,然后点击next
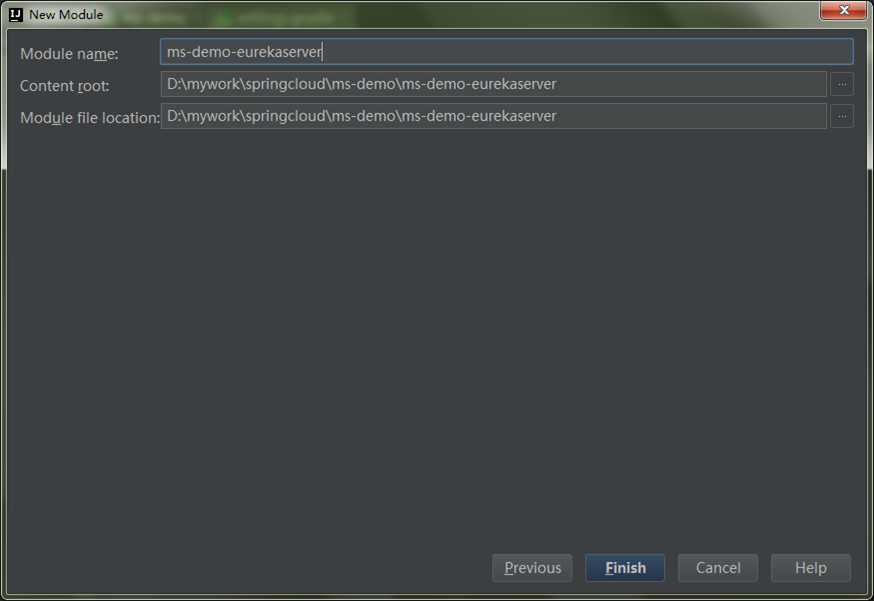
输入module name然后finish
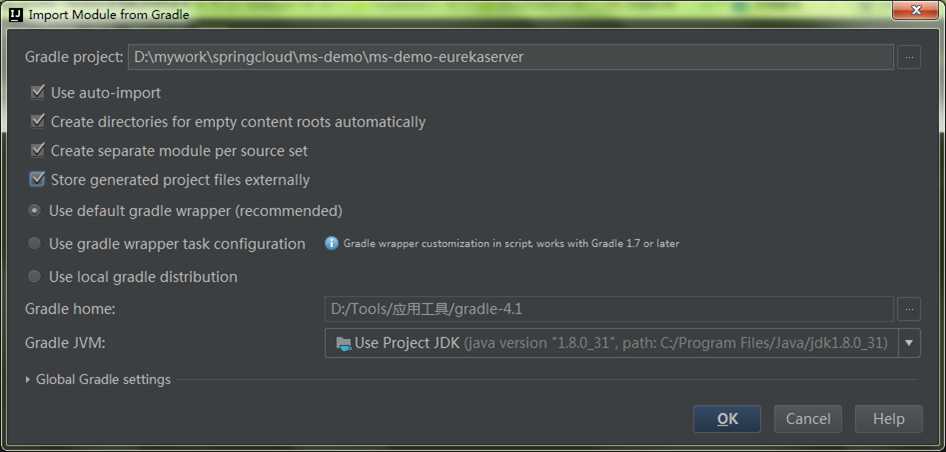
我这里把几个都勾上了,然后OK
三:代码
代码很简单,只需要在springboot工程的启动application类上加一个@EnableEurekaServer注解就行了,具体如下:
 1 package com.cloud.microservice.demo.eurekaserver;
 2
 3 import org.springframework.boot.SpringApplication;
 4 import org.springframework.boot.autoconfigure.SpringBootApplication;
 5 import org.springframework.cloud.netflix.eureka.server.EnableEurekaServer;
 6
 7 @EnableEurekaServer
 8 @SpringBootApplication
 9 public class EurekaServerApplication {
10
11     public static void main(String[] args) {
12         SpringApplication.run(EurekaServerApplication.class, args);
13     }
14 }
eureka server的配置文件appication.yml:
 1 server:
 2   port: 9090
 3
 4 eureka:
 5   instance:
 6     hostname: localhost
 7   client:
 8     registerWithEureka: false
 9     fetchRegistry: false
10     serviceUrl:
11       defaultZone: http://${eureka.instance.hostname}:${server.port}/eureka/
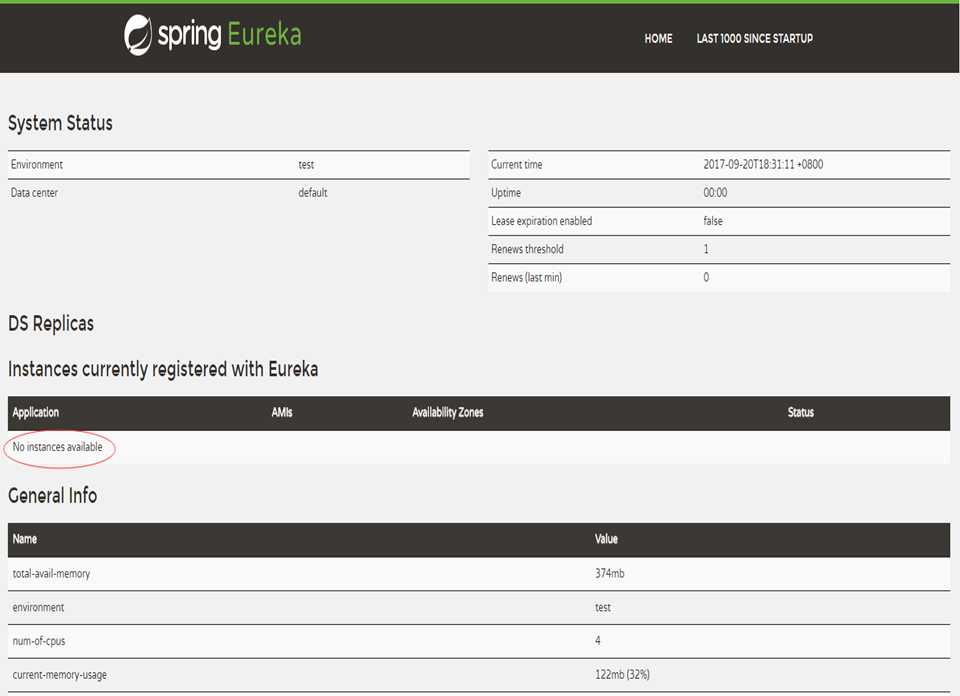
启动工程,打开浏览器访问: http://localhost:9090,界面如下:
标签:instance blog framework ice cli 9.png ati 新建 demo
原文地址:http://www.cnblogs.com/chxuyuan/p/7562751.html