标签:des android style blog http color io os 使用
因为学Android已经有一段时间了,但是在学校,服务器方面是个短板啊,没有专门的服务器拿给我们学生练手,所以只有自己找办法了。当然,Tomcat就是不二的选择了。
在网上看了看资料,还是觉得自己记录下来比较好。
因为我是学Android的,所以jdk什么的已配置好了。如果不知道,请看《java的环境变量配置》
首先我们先要下载Tomcat:http://tomcat.apache.org/(请自行选择版本),我用的是Tomcat 7.0.55。
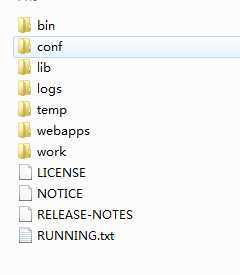
我下载下来是一个压缩包,选择好路径后,进行解压。(此步骤即安装)
解压后的文件有这些:

然后,我们双击bin文件夹,找到一个bat文件(windows系统下哈),如图:

双击该文件。(即启动Tomcat服务)
如果启动不成功,一般的情况是控制台出来一下立即消失,说明Tomcat没有找到Java的运行时环境。需要配置jdk的环境变量。
如果启动成功,会出现以下启动成功信息:

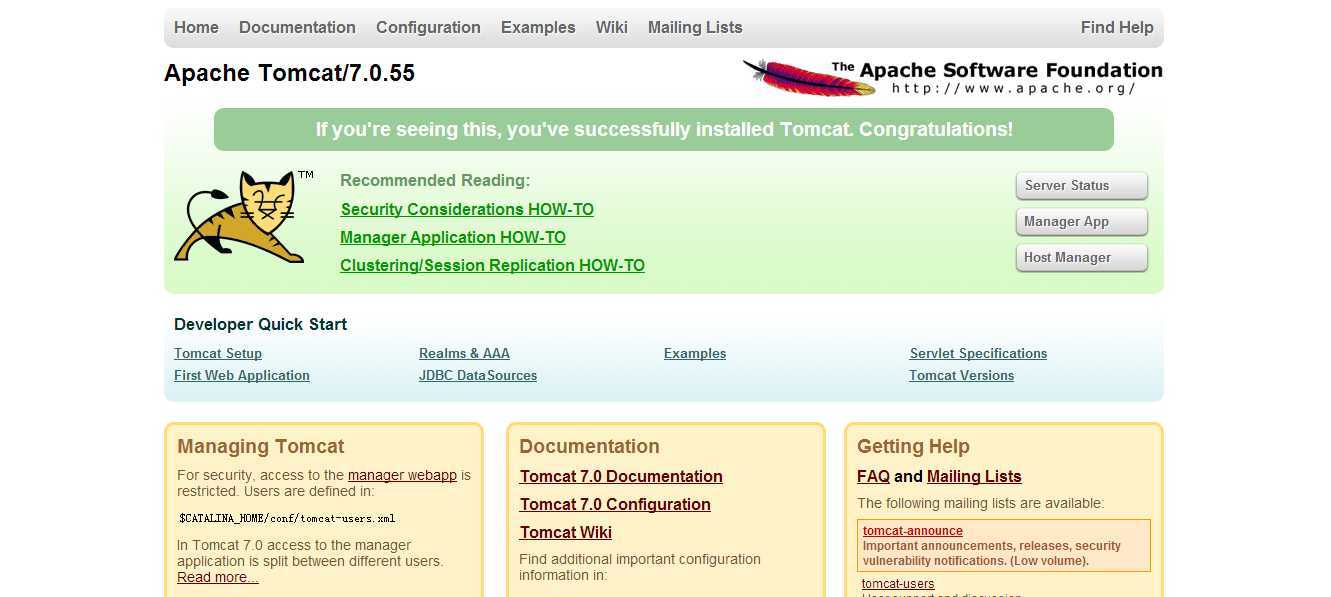
启动成功以后,我们打开浏览器,在地址栏输入http://localhost:8080/,即可参见如下界面(输入:http://127.0.0.1:8080也可以):

此时,我们的Tomcat算是完整的成功启动了。
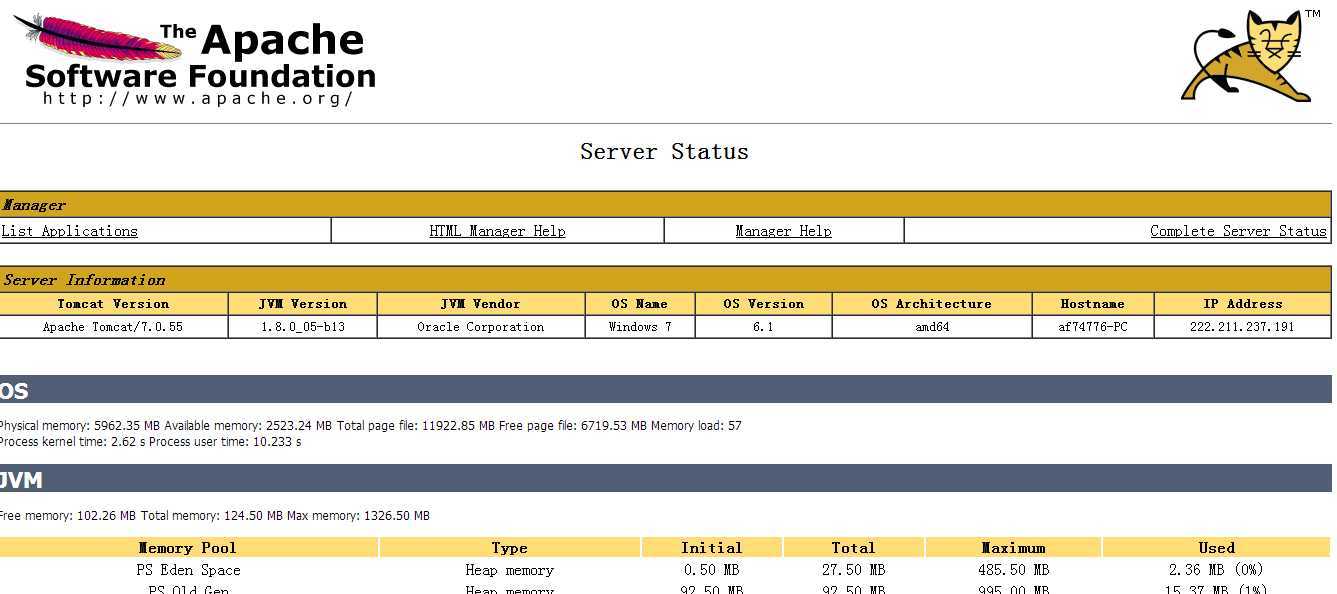
如果你要看服务状态,可点击ServiceStatus按钮:

此时,会弹出对话框让你输入账号和密码,我们先点击取消,此时会跳转到另一个页面:

将该英文翻译出来,即可知道,是让我们在cof/tomcat-users.xml中添加虚线框中的那两句代码。红线处的用户名和密码就是登陆时需要的。
登陆后的界面如下:(基本配置都能看见)

下面,我们通过一个简单的例子来使用一下:
在……apache-tomcat-7.0.55\webapps\ROOT\mytest目录下放上一张名为tomcat.png的图片。
(注意:tomcat解压后的webapps文件夹下的ROOT文件夹是tomcat的默认部署目录,mytest是我在ROOT文件夹下新建的一个文件夹)
下面,我们做一个Android的图片查看器:
先是布局main.xml:
<?xml version="1.0" encoding="utf-8"?>
<LinearLayout xmlns:android="http://schemas.android.com/apk/res/android"
    android:layout_width="fill_parent"
    android:layout_height="fill_parent"
    android:orientation="vertical" >

    <TextView
        android:layout_width="fill_parent"
        android:layout_height="wrap_content"
        android:text="图片路径" />

    <EditText  android:id="@+id/et_path"
                android:layout_width="fill_parent"
        android:layout_height="wrap_content"
        android:hint="请输入图片路径"/>

    <Button         android:layout_width="wrap_content"
        android:layout_height="wrap_content"
        android:onClick="look"
        android:text="查看"/>

    <ImageView  android:id="@+id/iv"
        android:layout_width="fill_parent"
        android:layout_height="fill_parent"
        android:src="@drawable/ic_launcher"
        android:scaleType="centerInside"/>

</LinearLayout>
然后是MainActivity:
package cn.itcast.imagelooker;

import java.io.IOException;
import java.io.InputStream;
import java.net.HttpURLConnection;
import java.net.MalformedURLException;
import java.net.URL;

import org.apache.http.conn.ConnectTimeoutException;

import android.app.Activity;
import android.graphics.Bitmap;
import android.graphics.BitmapFactory;
import android.os.Bundle;
import android.view.View;
import android.widget.EditText;
import android.widget.ImageView;
import android.widget.Toast;

public class MainActivity extends Activity {

    private EditText et_path;
    private ImageView iv;

    @Override
    public void onCreate(Bundle savedInstanceState) {
        super.onCreate(savedInstanceState);
        setContentView(R.layout.main);

        et_path = (EditText) findViewById(R.id.et_path);
        iv = (ImageView) findViewById(R.id.iv);
    }

    public void look(View v) {
        String path = et_path.getText().toString();
        if (path.equals("")) {
            Toast.makeText(this, "图片的路径为空", 1).show();
        } else {
            try {
                // 另一种方式
//                URL url = new URL(path);
//                Bitmap bitmap = null;
//                bitmap = BitmapFactory.decodeStream(url.openStream());
//                iv.setImageBitmap(bitmap);

                // 构建路径
                URL url = new URL(path);
                // //打开连接
                 HttpURLConnection conn = (HttpURLConnection)
                 url.openConnection();
                 //请求方式
                 conn.setRequestMethod("GET");
                 //超时时间
                 conn.setConnectTimeout(5000);
                Bitmap bitmap = null;
                bitmap = BitmapFactory.decodeStream(url.openStream());
                 if(conn.getResponseCode() == 200){
                 InputStream is = conn.getInputStream();

                // 把流转化为图片
                 Bitmap bitmap1 = BitmapFactory.decodeStream(is);
                 if(bitmap1 == null){
                 Toast.makeText(this, "获取的图片流为空", 1).show();
                 }else{
                iv.setImageBitmap(bitmap1);
                 }
                 }else{
                 Toast.makeText(this, "输入的路径不存在", 1).show();
                 }

            }catch (Exception e) {
                // TODO Auto-generated catch block
                e.printStackTrace();
                if (e instanceof MalformedURLException) {
                    Toast.makeText(this, "输入的路径格式错误", 1).show();
                } else if (e instanceof ConnectTimeoutException) {
                    Toast.makeText(this, "连接超时错误", 1).show();
                } else if (e instanceof IOException) {
                    Toast.makeText(this, "获取数据错误", 1).show();
                } else {
                    Toast.makeText(this, "未知错误", 1).show();
                }
            }
        }

}}
另外,千外不要忘记权限:
<uses-permission android:name="android.permission.INTERNET"/>
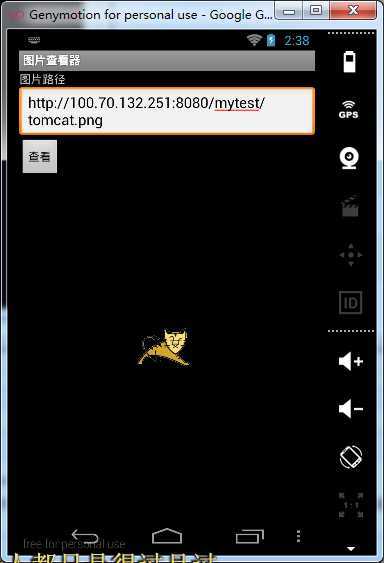
运行程序。如图:
(在输入框中正确输入IP地址后,点击按钮可查看名为tomcat.png的图片)

注意:为什么输入是的地址是100.70.132.251?
100.70.132.251这个地址是通过ipconfig获取得到的计算机地址。Genymotion与android模拟器(simulator)不同,自带Android模拟器使用的地址应该是10.0.2.2。10.0.2.2 是模拟器设置的特定ip,是你的电脑的别名alias记住,因此在模拟器上用10.0.2.2访问你的电脑本机。记住不能使用localhost:8080和127.0.0.1这两个路径,因为android模拟器(simulator)把它自己作为了localhost,也就是说,代码中使用localhost或者127.0.0.1来访问,都是访问模拟器自己!
下面推荐一篇Tomcat安装配置的博文,比我讲得更加详细。
http://www.cnblogs.com/Johness/archive/2012/07/20/2600937.html
标签:des android style blog http color io os 使用
原文地址:http://www.cnblogs.com/scetopcsa/p/3965218.html