标签:tor 技术分享 eth com factor ext images class cto
一:url的配置
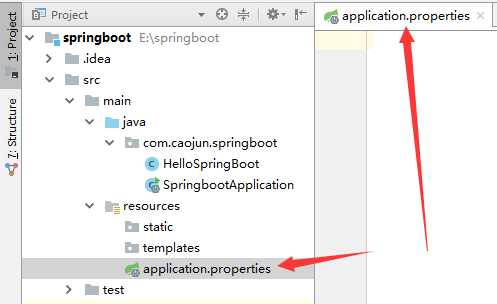
1.配置
默认配置文件是application.properties
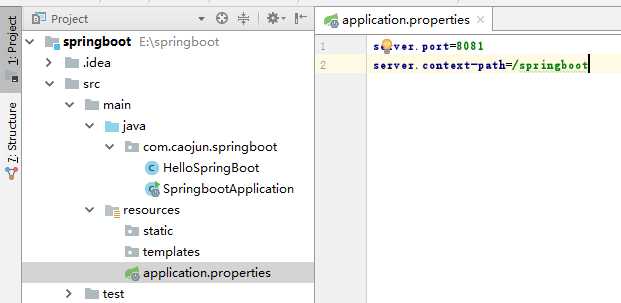
2.配置
配置端口
配置context path
3.启动效果

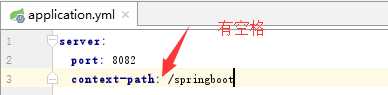
4.第二种配置方式
要先删除application.properties文件,保留一个即可。

5.启动效果

二:字段的配置
1.配置文件
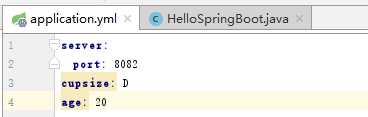
2.Java文件
 1 package com.caojun.springboot;
 2
 3 import org.springframework.beans.factory.annotation.Value;
 4 import org.springframework.web.bind.annotation.RequestMapping;
 5 import org.springframework.web.bind.annotation.RequestMethod;
 6 import org.springframework.web.bind.annotation.RestController;
 7
 8 @RestController
 9 public class HelloSpringBoot {
10
11     @Value("${cupsize}")
12     private String cupSize;
13
14     @Value("${age}")
15     private Integer age;
16
17     @RequestMapping(value="/hello")
18     public String say(){
19         return("cupSize="+cupSize+",age="+age);
20     }
21 }
3.启动

4.配置中使用配置
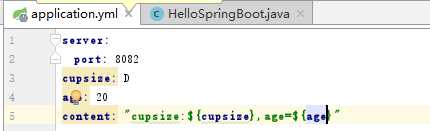
5.Java文件
package com.caojun.springboot;

import org.springframework.beans.factory.annotation.Value;
import org.springframework.web.bind.annotation.RequestMapping;
import org.springframework.web.bind.annotation.RequestMethod;
import org.springframework.web.bind.annotation.RestController;

@RestController
public class HelloSpringBoot {

    @Value("${content}")
    private String content;

    @RequestMapping(value="/hello")
    public String say(){
        return(content);
    }
}
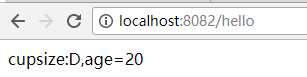
6.启动效果
7.简化使用字段的方法,配置文件
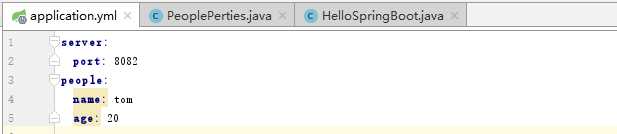
8.新建Java类
需要使用Component进行加载bean
需要使用ConfigurationProperties进行对属性进行配置。
 1 package com.caojun.springboot;
 2
 3 import org.springframework.boot.context.properties.ConfigurationProperties;
 4 import org.springframework.stereotype.Component;
 5
 6 @Component
 7 @ConfigurationProperties(prefix = "people")
 8 public class PeoplePerties {
 9     private String name;
10     private Integer age;
11
12     public String getName() {
13         return name;
14     }
15
16     public void setName(String name) {
17         this.name = name;
18     }
19
20     public Integer getAge() {
21         return age;
22     }
23
24     public void setAge(Integer age) {
25         this.age = age;
26     }
27 }
9.Java程序
 1 package com.caojun.springboot;
 2
 3 import org.springframework.beans.factory.annotation.Autowired;
 4 import org.springframework.beans.factory.annotation.Value;
 5 import org.springframework.web.bind.annotation.RequestMapping;
 6 import org.springframework.web.bind.annotation.RequestMethod;
 7 import org.springframework.web.bind.annotation.RestController;
 8
 9 @RestController
10 public class HelloSpringBoot {
11
12     @Autowired
13     private PeoplePerties peoplePerties;
14
15     @RequestMapping(value="/hello")
16     public String say(){
17         return peoplePerties.getName()+"====="+peoplePerties.getAge();
18     }
19 }
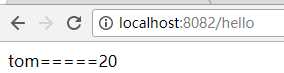
10.启动运行
11.多配置文件
先复制application,然后分别命名:
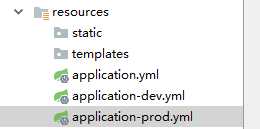
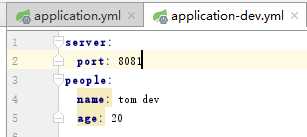
修改application.yml:

dev文件
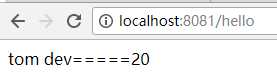
11.运行
12.其他的配置(数据库)

标签:tor 技术分享 eth com factor ext images class cto
原文地址:http://www.cnblogs.com/juncaoit/p/7751326.html