标签:app style 必须 sch pack 使用 上下文 frame spring
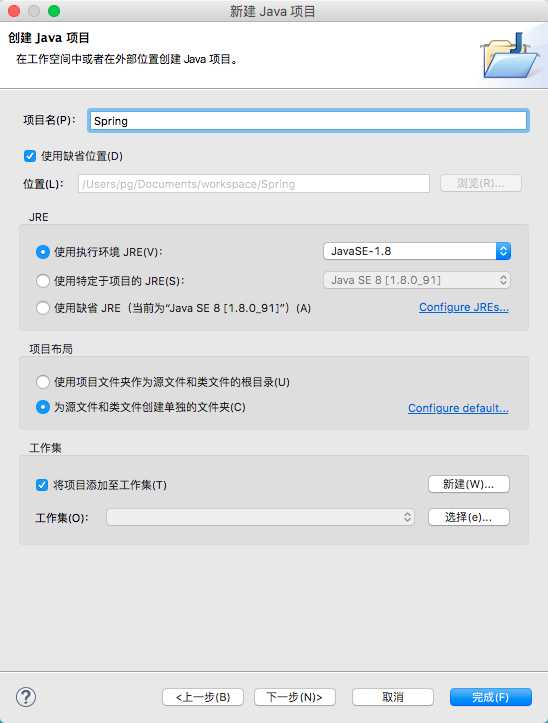
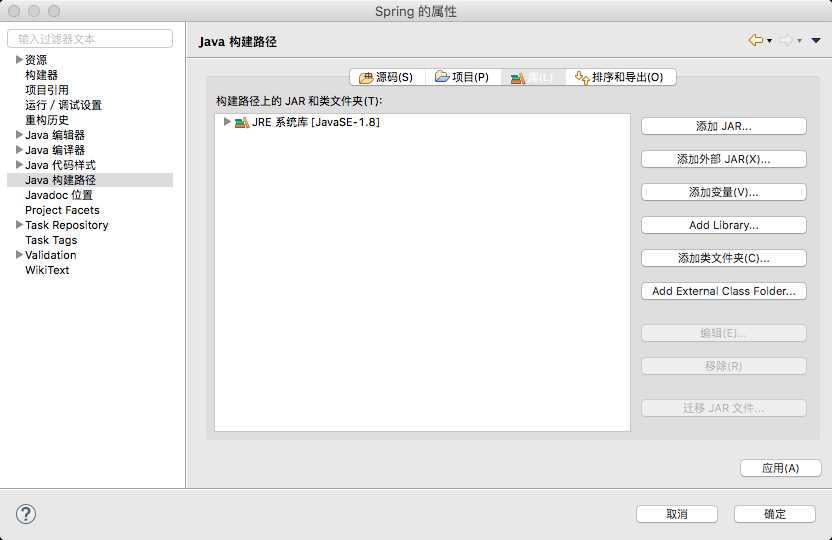
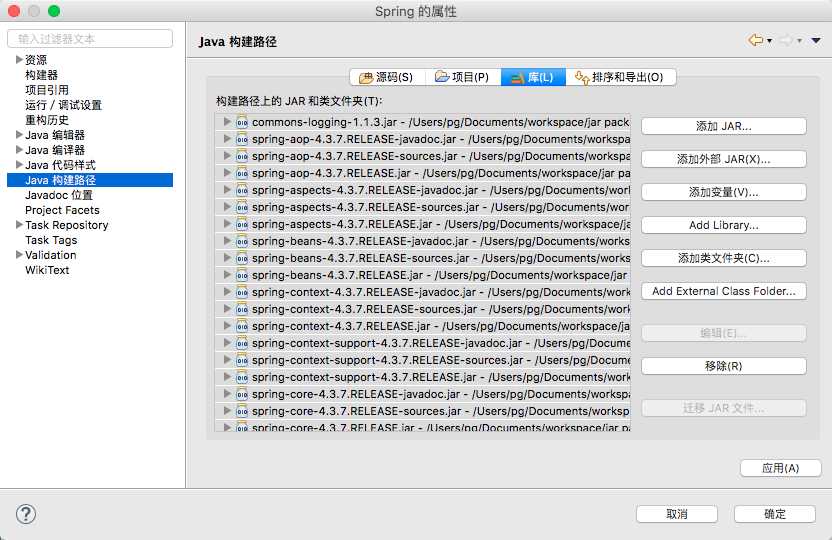
现在在Spring项目下创建实际的源文件。首先,要创建一个名为com.tuorialsponit的包,然后在该com.tuorialsponit包下创建HelloWorld.java和MainApp.java文件。
目录结构如下:
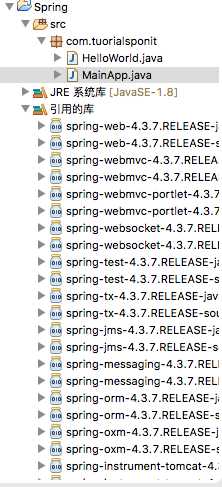
这里是Helloworld.java文件的内容:
package com.tuorialsponit;

public class HelloWorld {
    private String message;
    public void setMessage(String message) {
        this.message = message;
    }

    public String getMessage() {
        return this.message;
    }
}
下面是MainApp.java文件的内容:
package com.tuorialsponit;

import org.springframework.context.ApplicationContext;
import org.springframework.context.support.ClassPathXmlApplicationContext;

public class MainApp {
    public static void main(String[] args){
        ApplicationContext context = new ClassPathXmlApplicationContext("beans.xml");
        HelloWorld obj = (HelloWorld) context.getBean("helloworld");
        String message = obj.getMessage();
        System.out.println(message);
    }
}
关于主要程序有以下两个要点需要注意:
你需要创建一个Bean的配置文件,该文件是一个XML文件,并且作为粘合bean的粘合剂类,这个文件需要在src目录下创建,如下图所示:
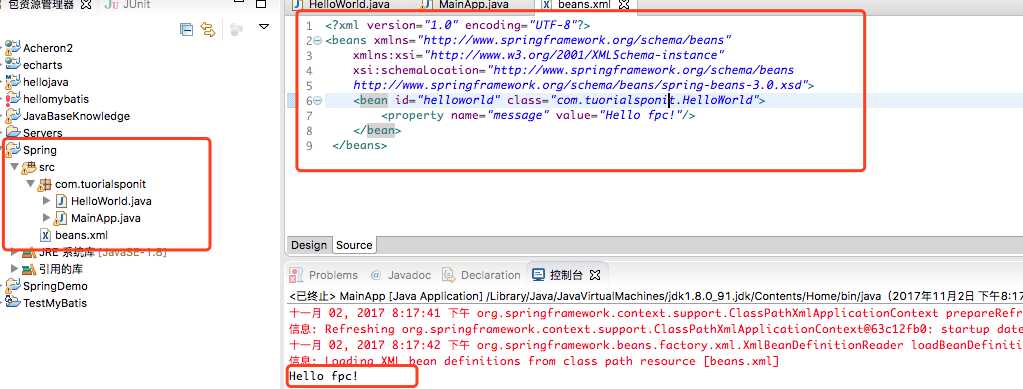
通常开发人员将该文件奥村委为beans.xml文件,你必须确保这个文件在CLASSPATH中是可用的。beans.xml用于给不同的bean分配唯一的ID,并且控制不同值得对象的创建,而不会影响Spring的任何源文件。例如,使用下面的文件,你可以为“message”变量传递任何值,因此你就可以输出信息的不同值,而不会影响到HelloWorld.java和MainApp.java文件。让我们看看它是如何工作的:
<?xml version="1.0" encoding="UTF-8"?>
<beans xmlns="http://www.springframework.org/schema/beans"
    xmlns:xsi="http://www.w3.org/2001/XMLSchema-instance"
    xsi:schemaLocation="http://www.springframework.org/schema/beans
    http://www.springframework.org/schema/beans/spring-beans-3.0.xsd">
     <bean id="helloworld" class="com.tuorialsponit.HelloWorld">
         <property name="message" value="Hello fpc!"/>
     </bean>
 </beans>
当Spring应用程序被加载到内存中时,框架利用了上面的配置文件来创建所有已经定义的beans,并且按照标签的定义为他们分配一个唯一的ID。

通过更改beans.xml中的value,可以达到更改message属性的值并且保持两个源文件不变。
标签:app style 必须 sch pack 使用 上下文 frame spring
原文地址:http://www.cnblogs.com/fangpengchengbupter/p/7774095.html