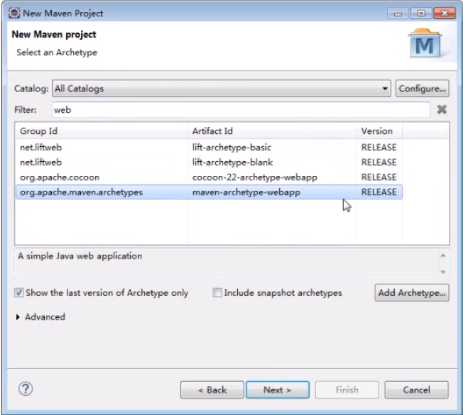
1,要注意选择webapp,如下图所示
2,直接构建出来的项目,会有叉号,原因是没有Servlet Api的依赖,
也可以直接从http://mvnrepository.com/这个网址进行搜索
<dependency>
<groupId>org.eclipse.jetty</groupId>
<artifactId>jetty-maven-plugin</artifactId>
<version>9.3.10.v20160621</version>
</dependency>
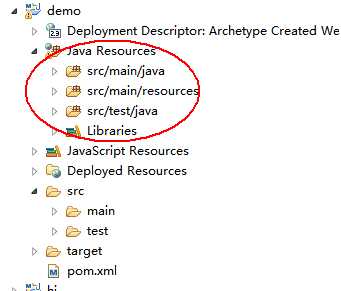
3,查看eclipse中是否创建了maven约定的目录结构,
通常情况下是没有,需要自己手动创建,如果在Project Explorer无法创建目录,需要转到Navigator视图中进行创建
如下图所示
4,需要检查target的输出目录是否为classes文件夹,通常情况下是正确的
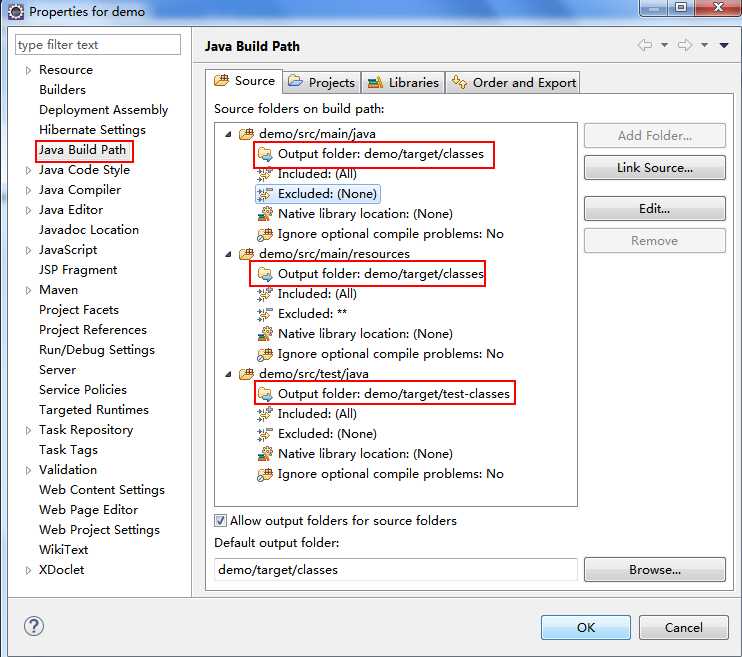
5,正式的将maven项目转化为web项目,通常情况下不需要进行改动
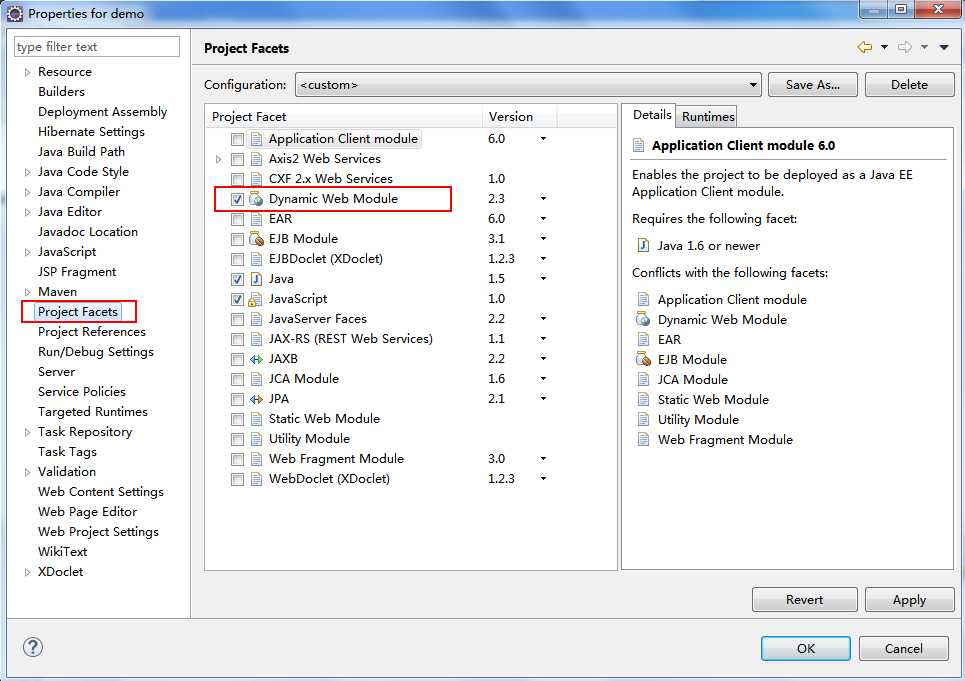
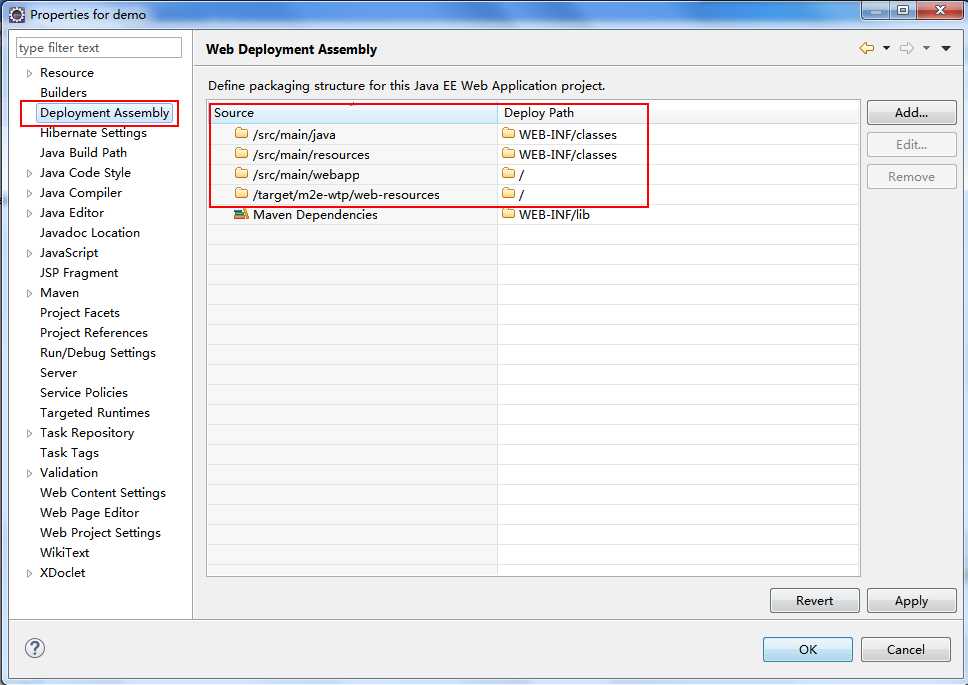
其中第二个框,表示的是项目发布的文件,其中不能出现类似test之类的文件夹,也就是测试文件夹
6,在pom.xml中添加服务器的maven插件,这里以jetty为例,也可以使用tomcat服务器
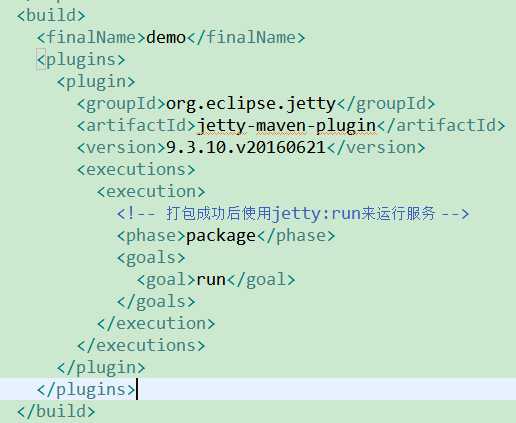
后面一部分的含义是将run阶段归并到package阶段,根据自我需求,使用tomcat服务器的例子

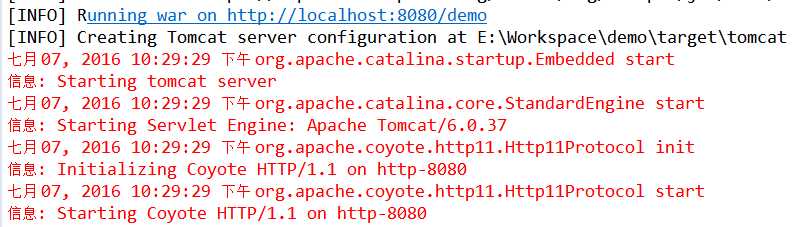
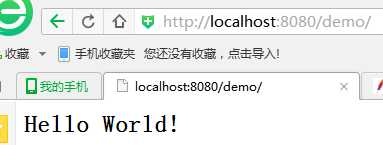
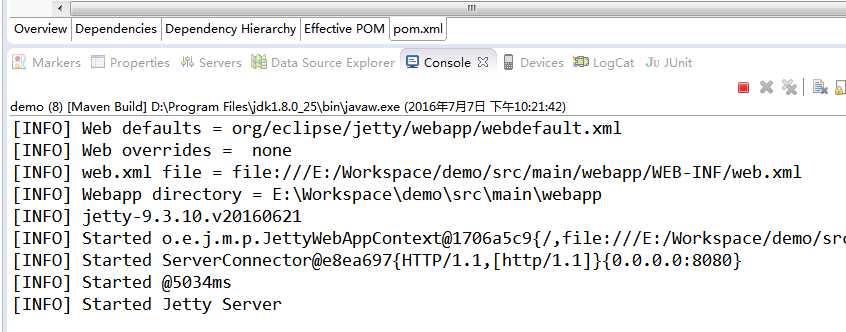
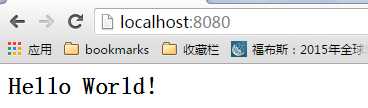
7,启动服务器,在浏览器进行访问,使用jetty:run命令
当使用tomcat时的结果