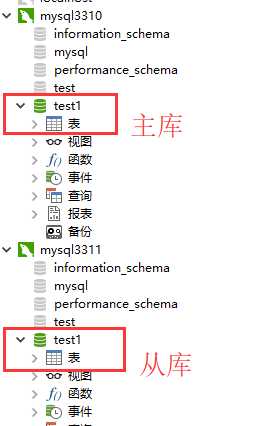
同一台电脑配置mysql5.5两个实例,分别在3310和3311两个端口。设定3310为主库,3311为从库。
最终效果如下:

3310主库:
grant replication slave,reload,super on *.* to slave@192.168.1.110 identified by ‘123456‘;

-- my.ini文件中的[mysqld]下增加
server-id = 1
replicate-do-db=test1
3311从库:
-- my.ini文件中的[mysqld]增加
server-id = 2
replicate-do-db=test1
relay-log=relay-bin
relay-log-index=relay-bin-index
stop slave;

-- 【方法一】
change master to master_host=‘192.168.1.110‘,master_port=3310,master_user=‘slave‘,master_password=‘123456‘;

-- 【方法二】若指定position同步,请使用(后面两个参数通过主库命令“show master status;”查看):
change master to master_host=‘192.168.1.110‘,master_port=3310,master_user=‘slave‘,master_password=‘123456‘,
master_log_file=‘mysql-bin.000001‘,master_log_pos=107;

start slave;
至此,配置完毕,通过命令:
show slave status\G;
查看同步是否连接成功,关键指标为:
Slave_IO_Running: Yes
Slave_SQL_Running: Yes
备注:
-- 查看server_id:
show VARIABLES like ‘server_id‘;
-- 主服务器上查看主机状态,File和Position
show master status;
默认配置的mysql中root账户无密码,通过如下方式修改:
mysql -u root -p
enter password:(此处直接回车)

-- 修改密码为123456
set password=password(‘123456‘);
-- 刷新权限
flush privileges;
附my.ini配置文件下载:
参考:
https://www.cnblogs.com/puchengjie/p/5220676.html
主从同步故障解决方案:
Slave_SQL_Running: No
http://blog.51cto.com/kerry/277414
http://blog.chinaunix.net/uid-21505614-id-289477.html
linux下配置主从参考:
http://blog.chinaunix.net/uid-21505614-id-289477.html
