windows Sever 2012下Oracle 12c安装配置方法图文教程
Oracle 12c安装配置方法图文教程,具体内容如下
1、我们开启虚拟机

2、Windows Sever 2012启动中。

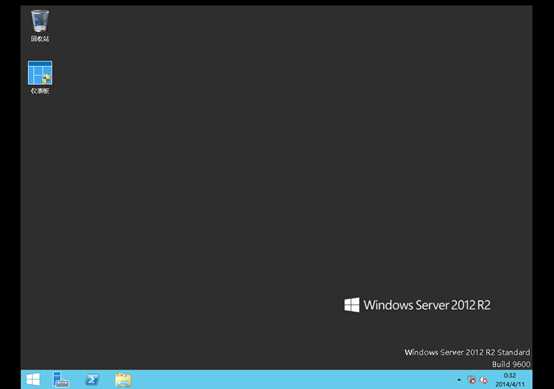
3.看到Windows Sever 2012的桌面。
4.我们解压缩两个文件,winx64_12c_database_1of2.zip,winx64_12c_database_2of2.zip.也就是oracle的安装文件。

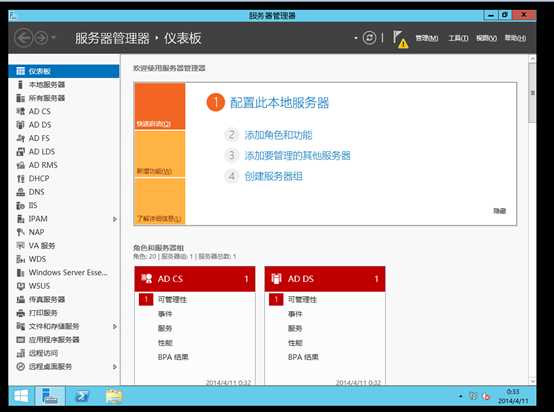
5.这个时候我们可以看到服务器启动以后的仪表板。
6.然后我们合并两个解压缩以后文件夹的内容,进行合并。可以查看大小2G多。

7.我们可以看到合并后应该是这样。

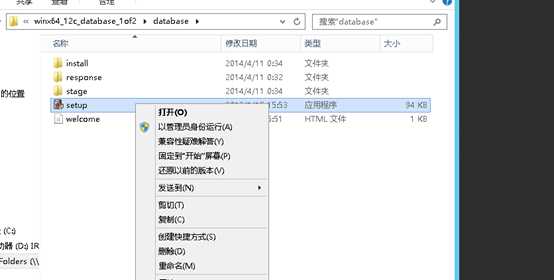
8.然后启动setup.exe进行安装。
9.然后选择是启动。

10.这个时候命令行正在启动中。
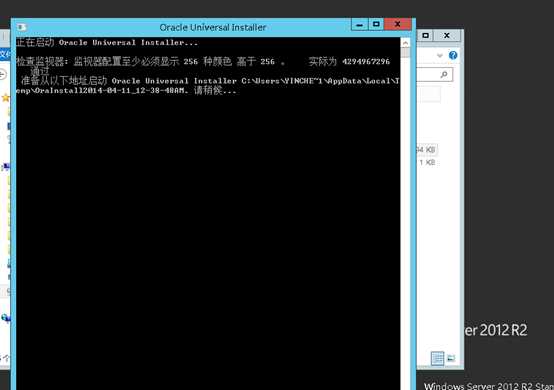
11.oracle正在启动中。

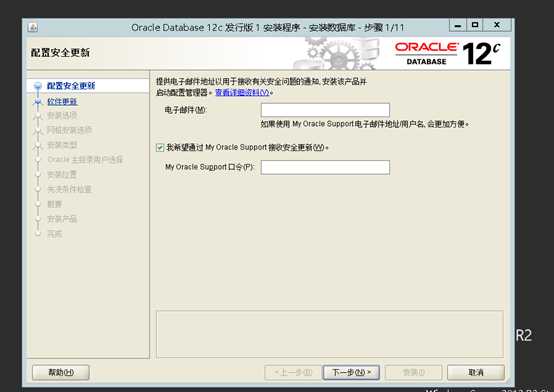
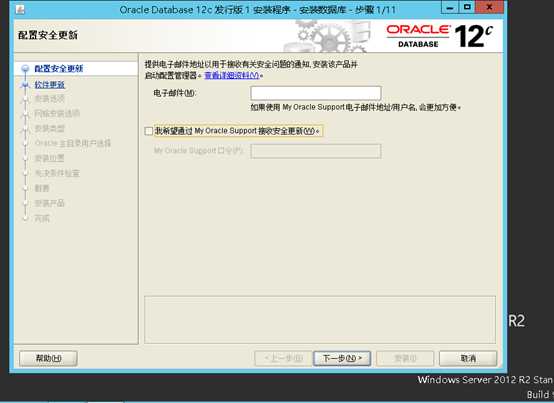
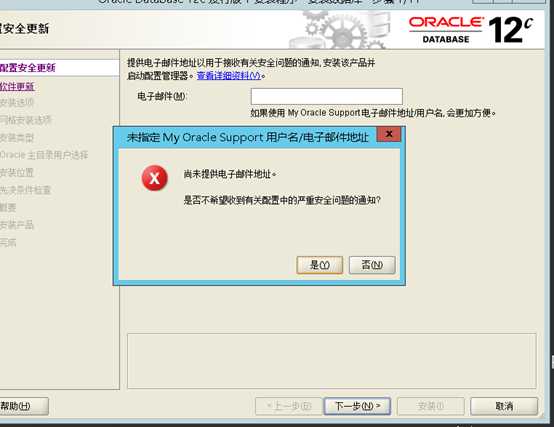
12.我们配置安全更新,其实是幌子,哥没有银子付费,不更新,先装了再说。
13.接下来我们单击下一步。
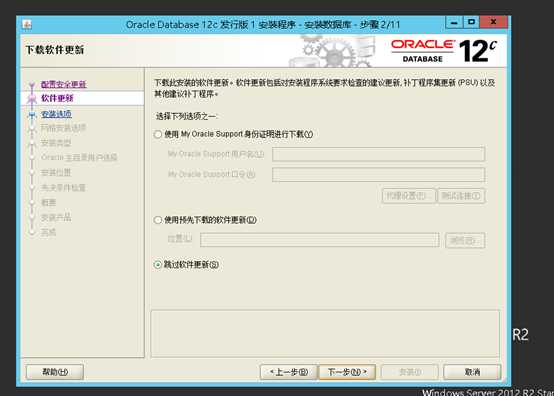
14.我们单击是,继续。
15.我们选择跳过软件更新,我们使用my oracle support身份证明需要很多银子啊,穷人买不起。
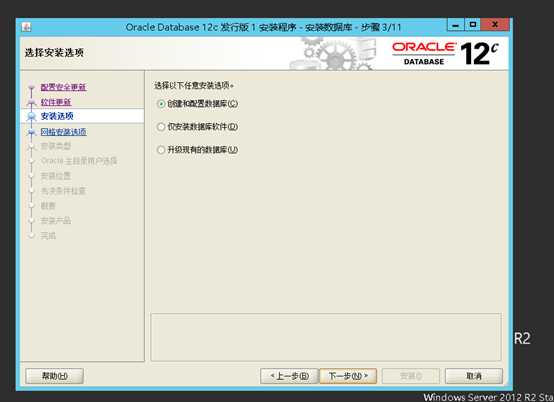
16.我们创建与配置数据库。
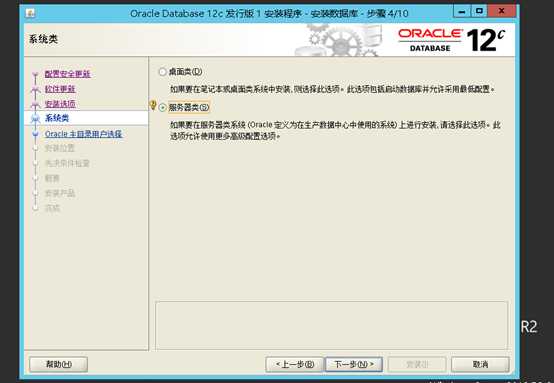
17.然后选择服务器类,安装功能最强大的。
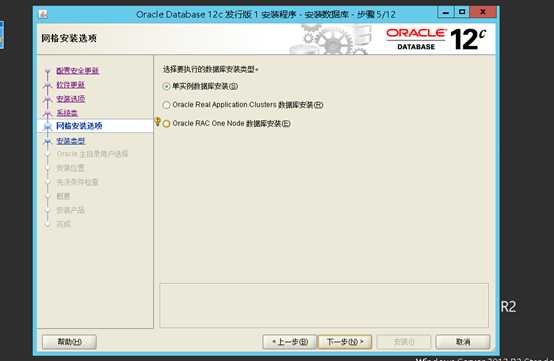
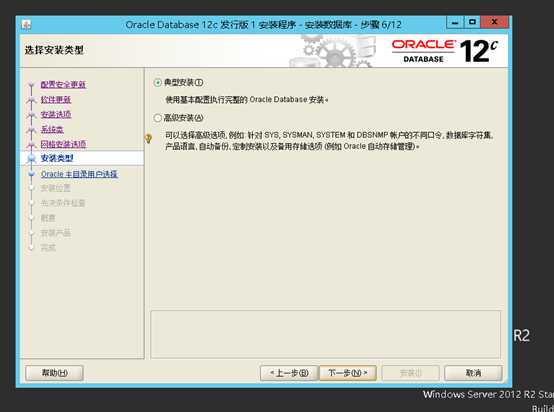
18.我们选择单实例数据库安装。
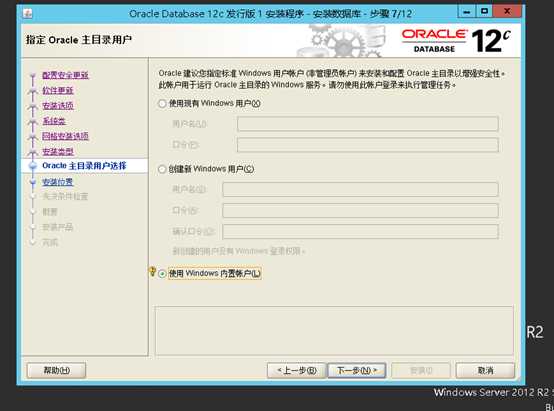
19. 我们选择典型安装。
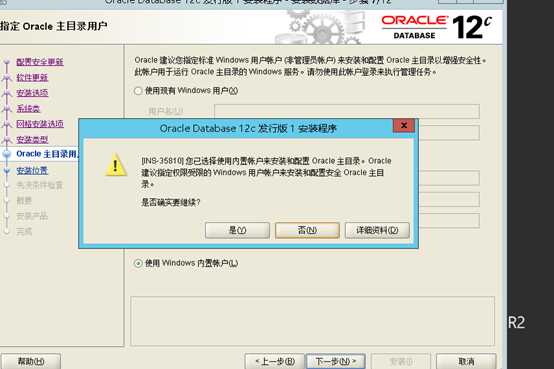
20.我们选择使用windows内置账户。
21.接下来我们单击是。
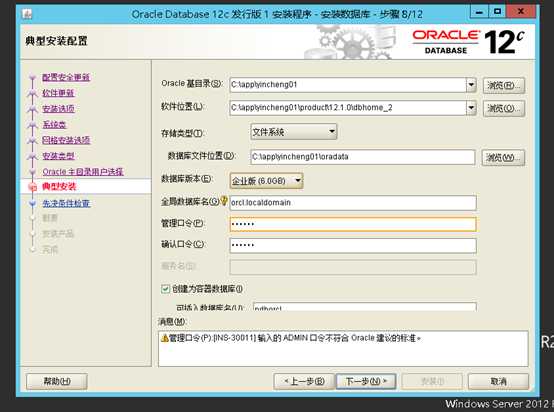
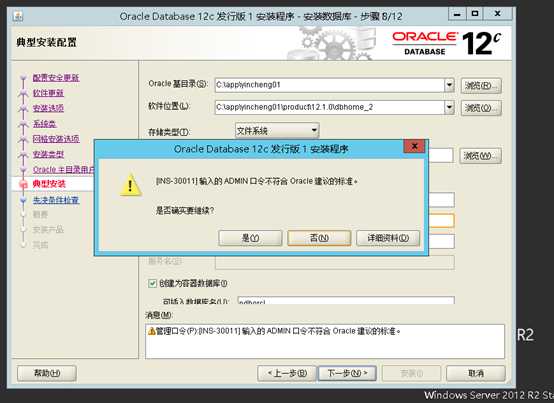
22.我们如下配置,安装企业版,另外我们基于学习,密码不必太复杂。
23.接下来我们单击是。跳过口令检测。
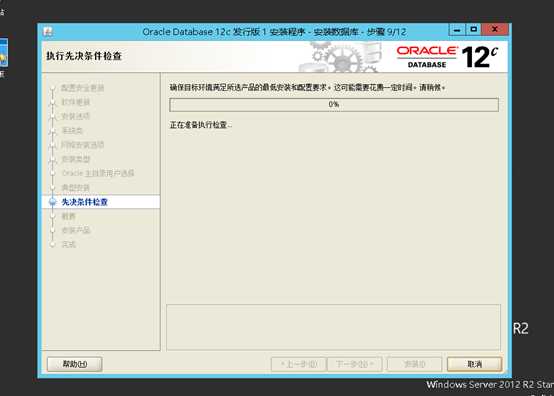
24.我们检测下环境看看是否够装。
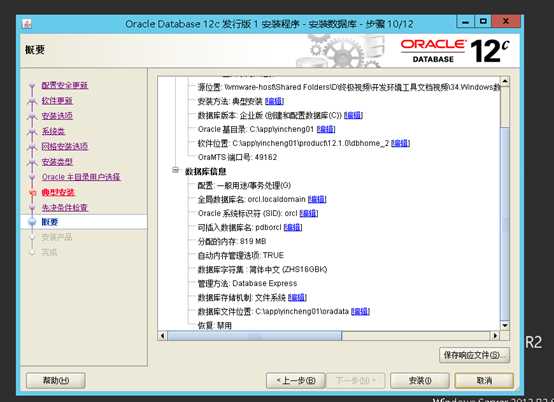
25.我们可以看到我们安装的选项全部定制完成。
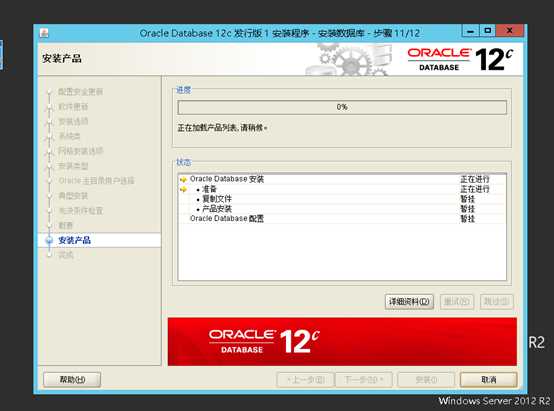
26.这个时候安装进行中。
27.这个时候单击确定。
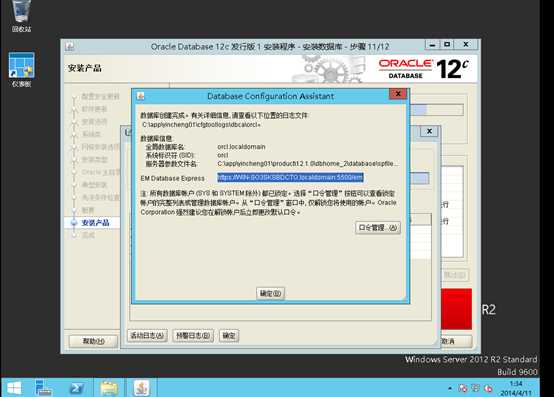
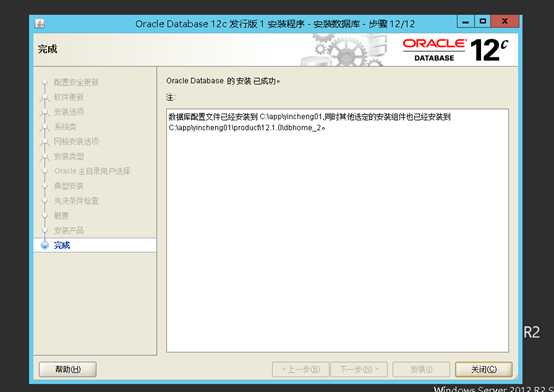
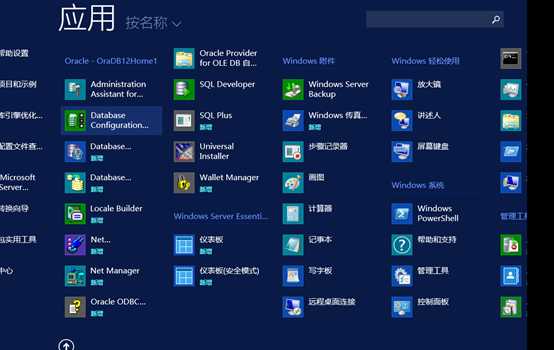
28.安装成功。
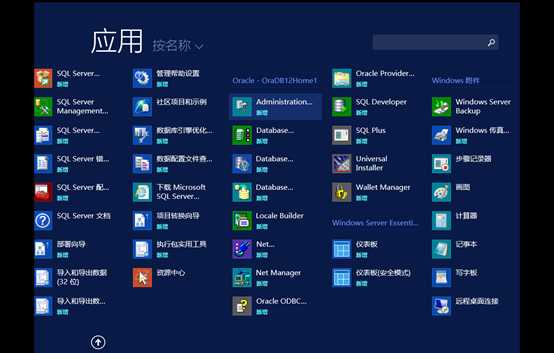
29.我们查看所有的选项,可以看到Oracle的所有组件。
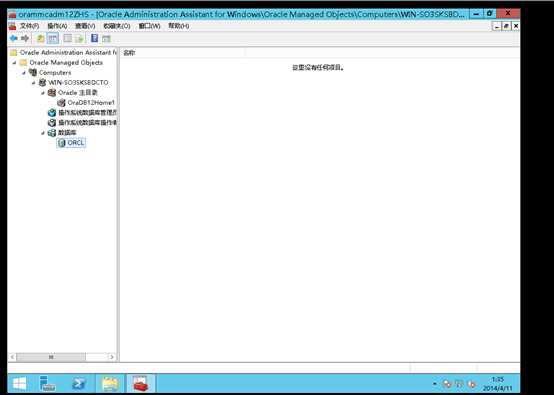
30.在这我们可以看到数据库ORCL。
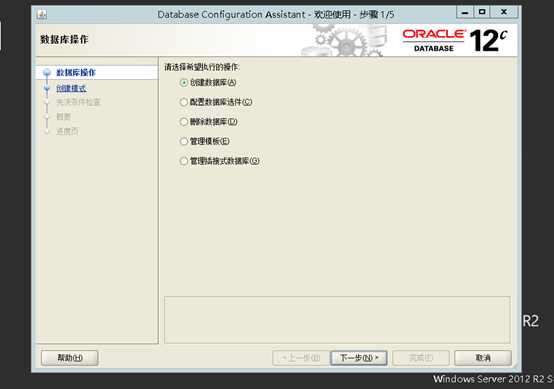
31.这个时候我们看到所有的本地角色,ORacle对于权限管理很精细。

32.在这个我们接着启动数据库设置助手。
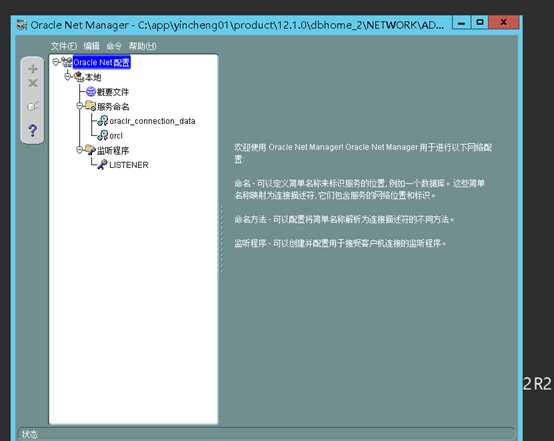
33.我们可以对数据库任意操作。
34.我们还可以配置数据库的网络服务。